- Shop by car
- American Truck & Tow
- Dodge Ram trucks
- GMC trucks
- Chevy trucks
- Ford F-150
- Ram 1500
- GMC Sierra
- Ford F-250 / F-350
- Ram 2500 / 3500 HD
- Chevy Silverado
- Ford Raptor
- Ram 1500 TRX
- Ford Ranger
- Ford trucks
- Toyota trucks
- Infiniti G35 / G37
- Infiniti Q50 / Q60
- Infiniti QX80 / QX60
- Nissan 370Z / 350Z
- Nissan Titan
- Nissan Armada
- Nissan Frontier / Pathfinder
- Honda Ridgeline
- Honda S2000
- Honda Pilot / Passport
- Honda Accord / CR-V / Odyssey
- Acura NSX
- Acura MDX
- Acura TLX / RDX / ILX
- Subaru BRZ / GR86
- Subaru Forester / Outback
- Mazda MX-5 Miata
- Mazda RX-8
- Mazda3 / CX-5 / CX-30
- Mitsubishi Lancer Evo
- Mitsubishi Outlander
- Buick Enclave / Regal
- Toyota Land Cruiser / GR86
- Lexus GX / LX
- Colorado / Canyon
- Cadillac ATS-V / CT4-V
- Lincoln Aviator
- BMW X5
- BMW M5
- BMW X3 / X4 / X6 / X7
- BMW 3-Series
- BMW 5 / 7 / 8-Series
- BMW Z3 / Z4
- Audi A6 / RS6
- Audi Q7 / SQ7
- Audi RS3 / RS5 / RS7
- Audi A8 / A5 / TT / R8
- Mercedes S-Class / AMG GT
- Mercedes GLC / GLS
- Porsche 911
- Porsche Cayenne
- Porsche Panamera
- Porsche Boxster / Cayman
- Porsche Taycan
- VW GTI / Golf
- VW Jetta / GLI
- VW Tiguan / Atlas
- VW Passat / Touareg
- American Truck & Tow
- VehiclesLoading…
- Brake Tech
- Blog
- About
- Account
FREE SHIPPING ON ALL ORDERS · 15% OFF WITH CODE SLYDE15 AT CHECKOUT
FREE SHIPPING ON ALL ORDERS · 15% OFF WITH CODE SLYDE15 AT CHECKOUT

Brake Rotor Break-In Procedure: How to Properly Bed Performance Rotors and Pads
- By Slyde Over Team
- February 26, 2026
Introduction: Why Proper Brake Rotor Break-In Is Critical
Installing new performance brake rotors and carbon ceramic pads is one of the most important upgrades you can make - whether you tow with an F-150 or Silverado or track a Hellcat, Trackhawk, or Camaro ZL1. Proper brake rotor break-in - also called bedding - is essential for maximum stopping power, consistent braking, and long component lifespan on both 555-tier truck rotors and 777-tier 2-piece muscle rotors.
Many drivers install new rotors and immediately tow at max capacity or hit the track. This causes uneven pad transfer, vibration, brake fade, and premature wear. Proper bedding applies to every Ghost Brakes kit - G11H18 drilled and slotted F-150 rotors included.
This guide explains the complete step-by-step process used by performance enthusiasts and professional drivers to properly break in racing brake rotors.
What Is Brake Rotor Bedding?
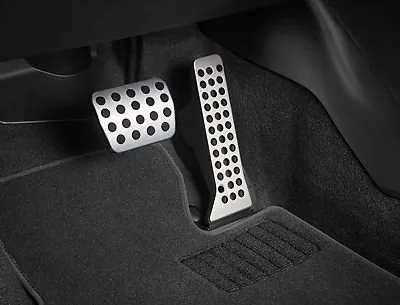
Brake rotor bedding is the process of gradually heating and cooling the brake pads and rotors to transfer an even layer of brake pad material onto the rotor surface. This friction layer is critical for proper braking performance and ensures consistent contact between the brake pad and rotor.
Proper bedding ensures:
- ✓ Maximum stopping power
- ✓ Smooth and consistent braking
- ✓ Reduced brake vibration
- ✓ Improved heat management
- ✓ Longer rotor and pad lifespan
Break-In for F-150 and Truck D&S Rotors
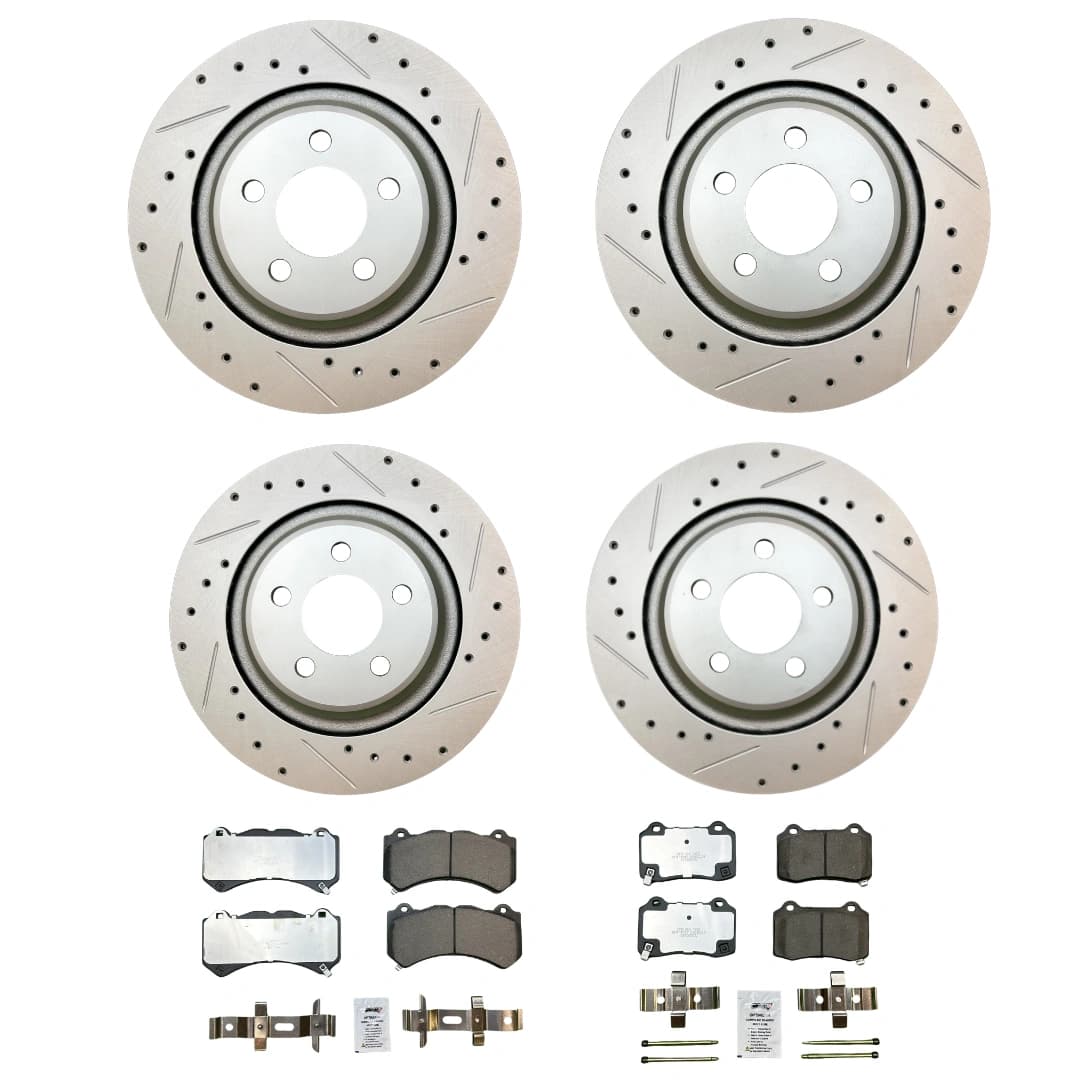
F-150, Silverado, and Tundra owners installing 555-tier G11H18 drilled and slotted rotors follow the same bedding sequence as muscle platforms, with one extra rule: avoid max-capacity trailer towing and sustained grade descents for the first 500–1,000 miles after install.
Truck-specific bedding notes:
- ✓ Light daily driving and empty-bed stops are fine immediately after initial bedding
- ✓ Carbon ceramic pads reach stable friction faster than OEM semi-metallic - first cold stop with a trailer hitch is safer after bedding
- ✗ Do not pull a loaded camper down a long mountain grade until pad transfer completes
- ✗ Do not hold the pedal at a complete stop with hot rotors at a weigh station or drive-through
Read our F-150 drilled and slotted rotors guide and shop F-150 brake kits for towing fitment after break-in.
Why 2-Piece Floating Rotors Need Proper Break-In
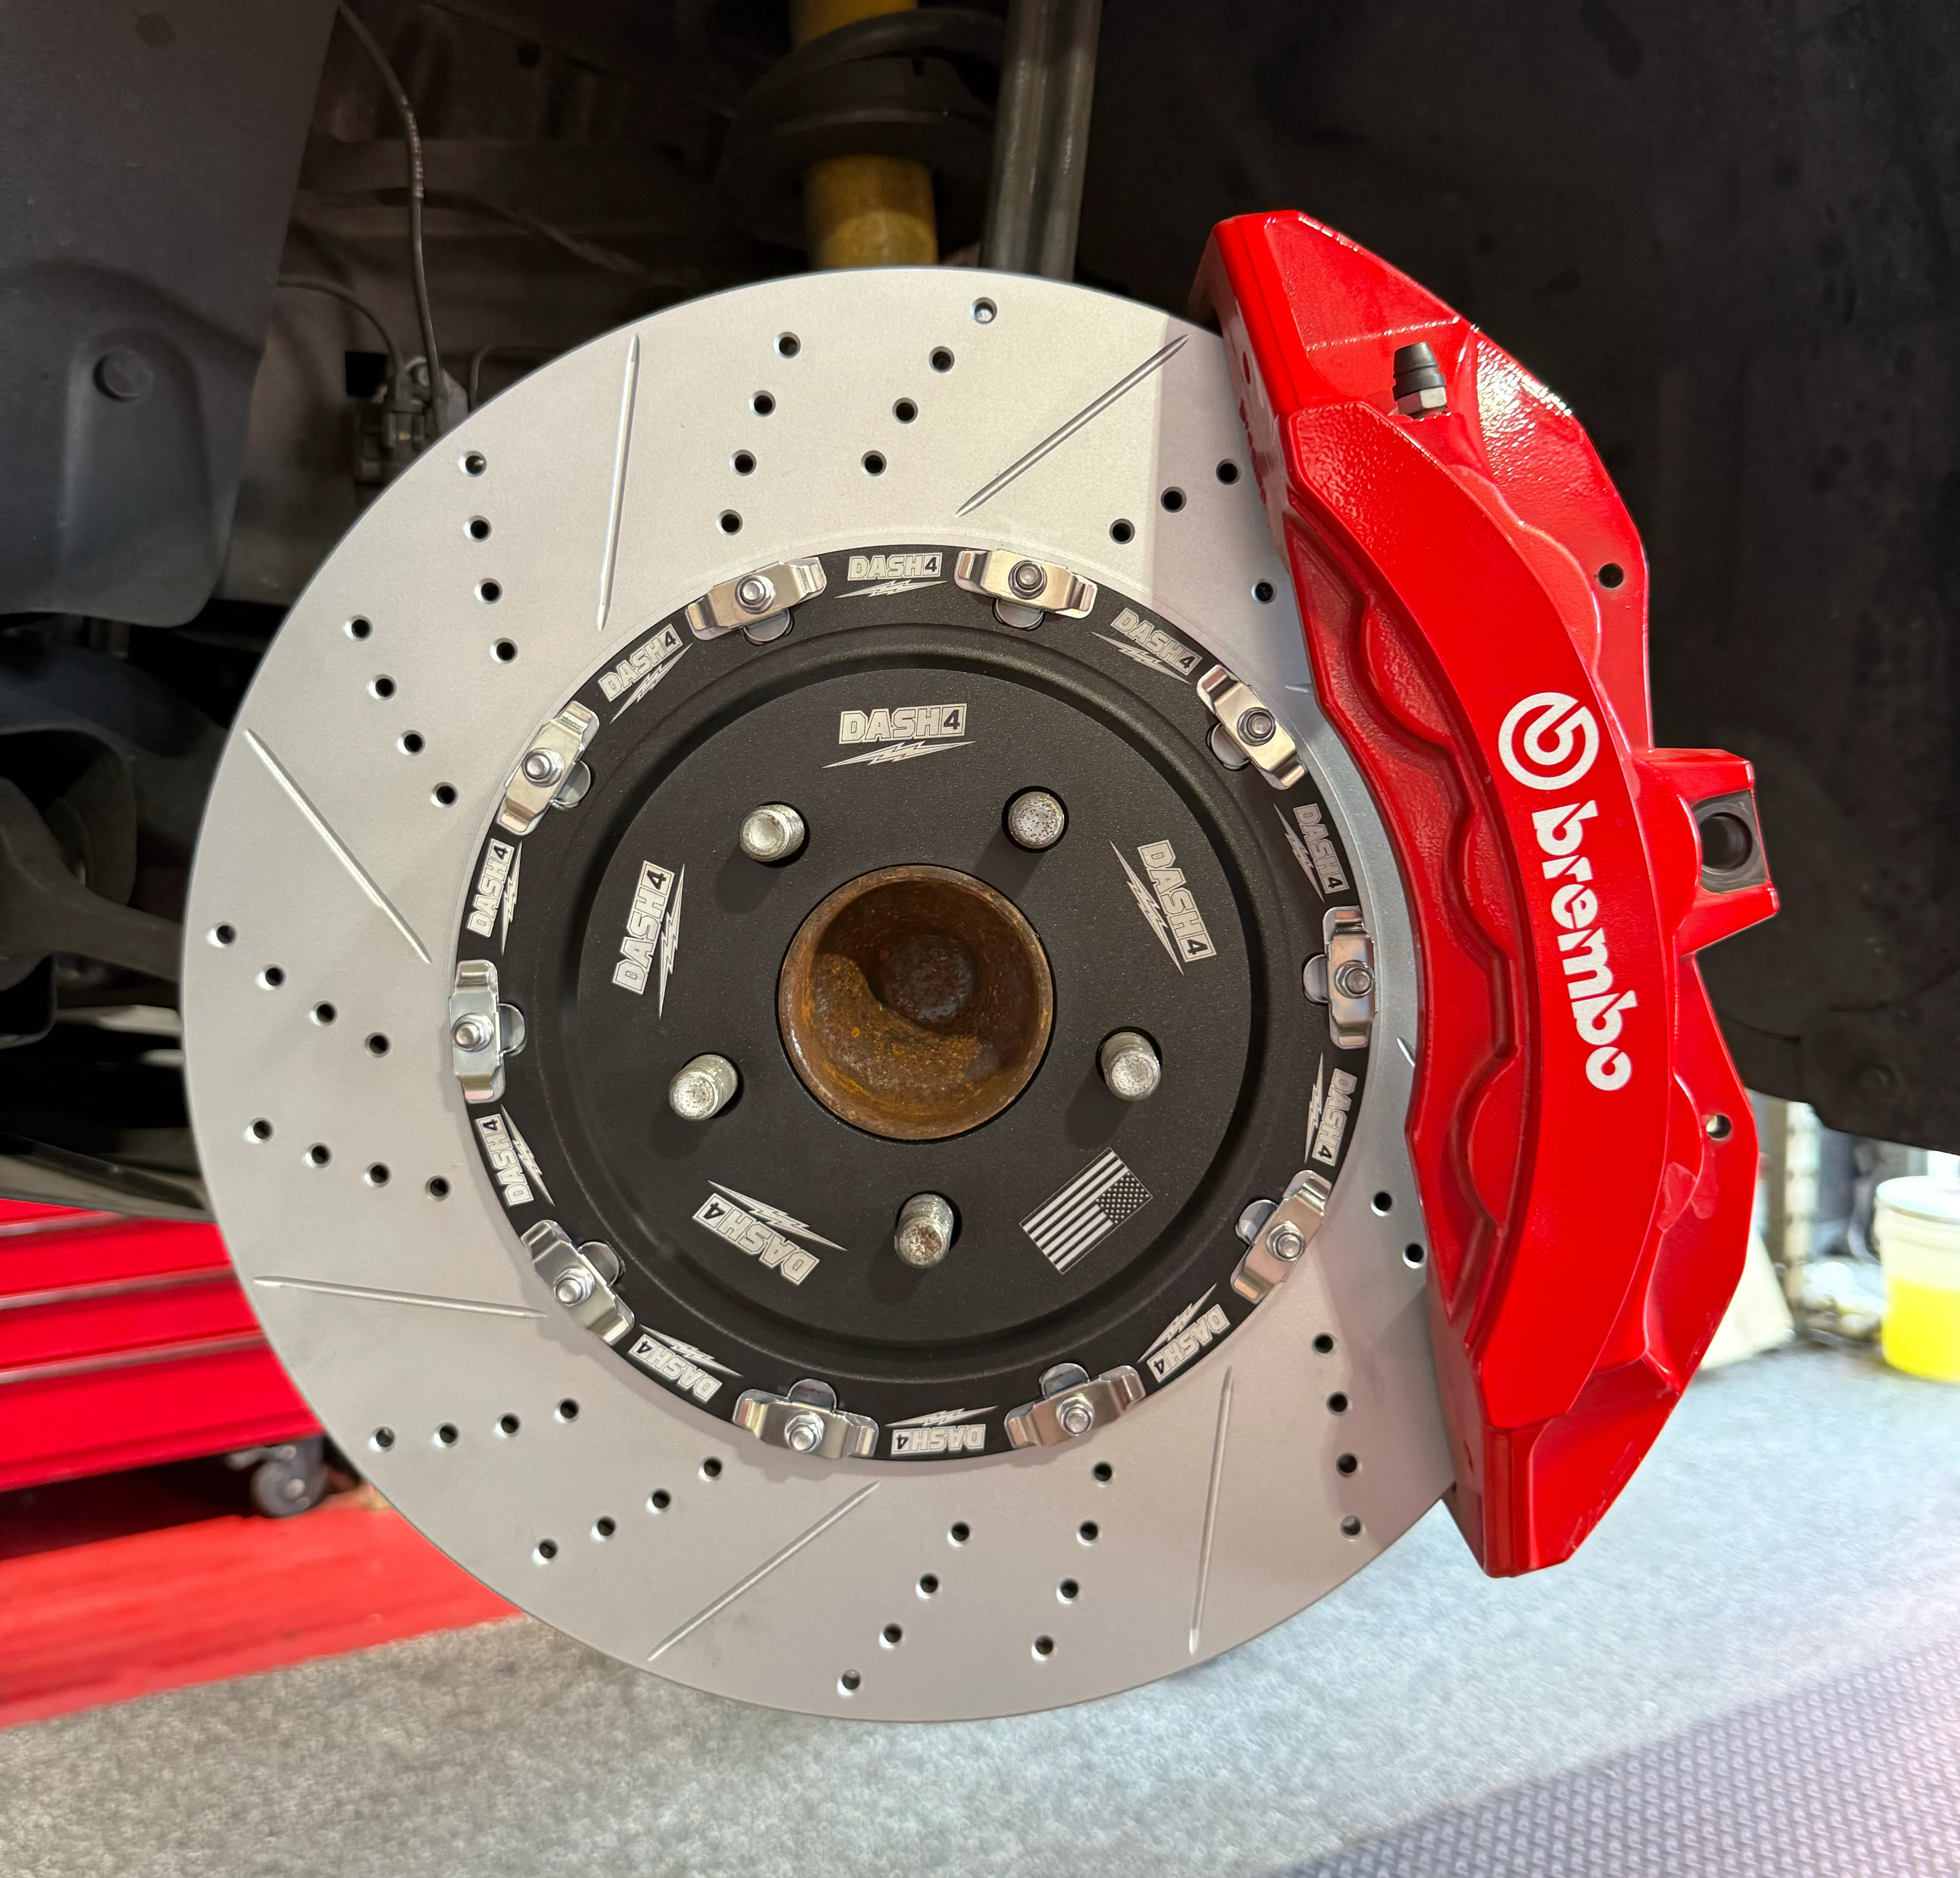
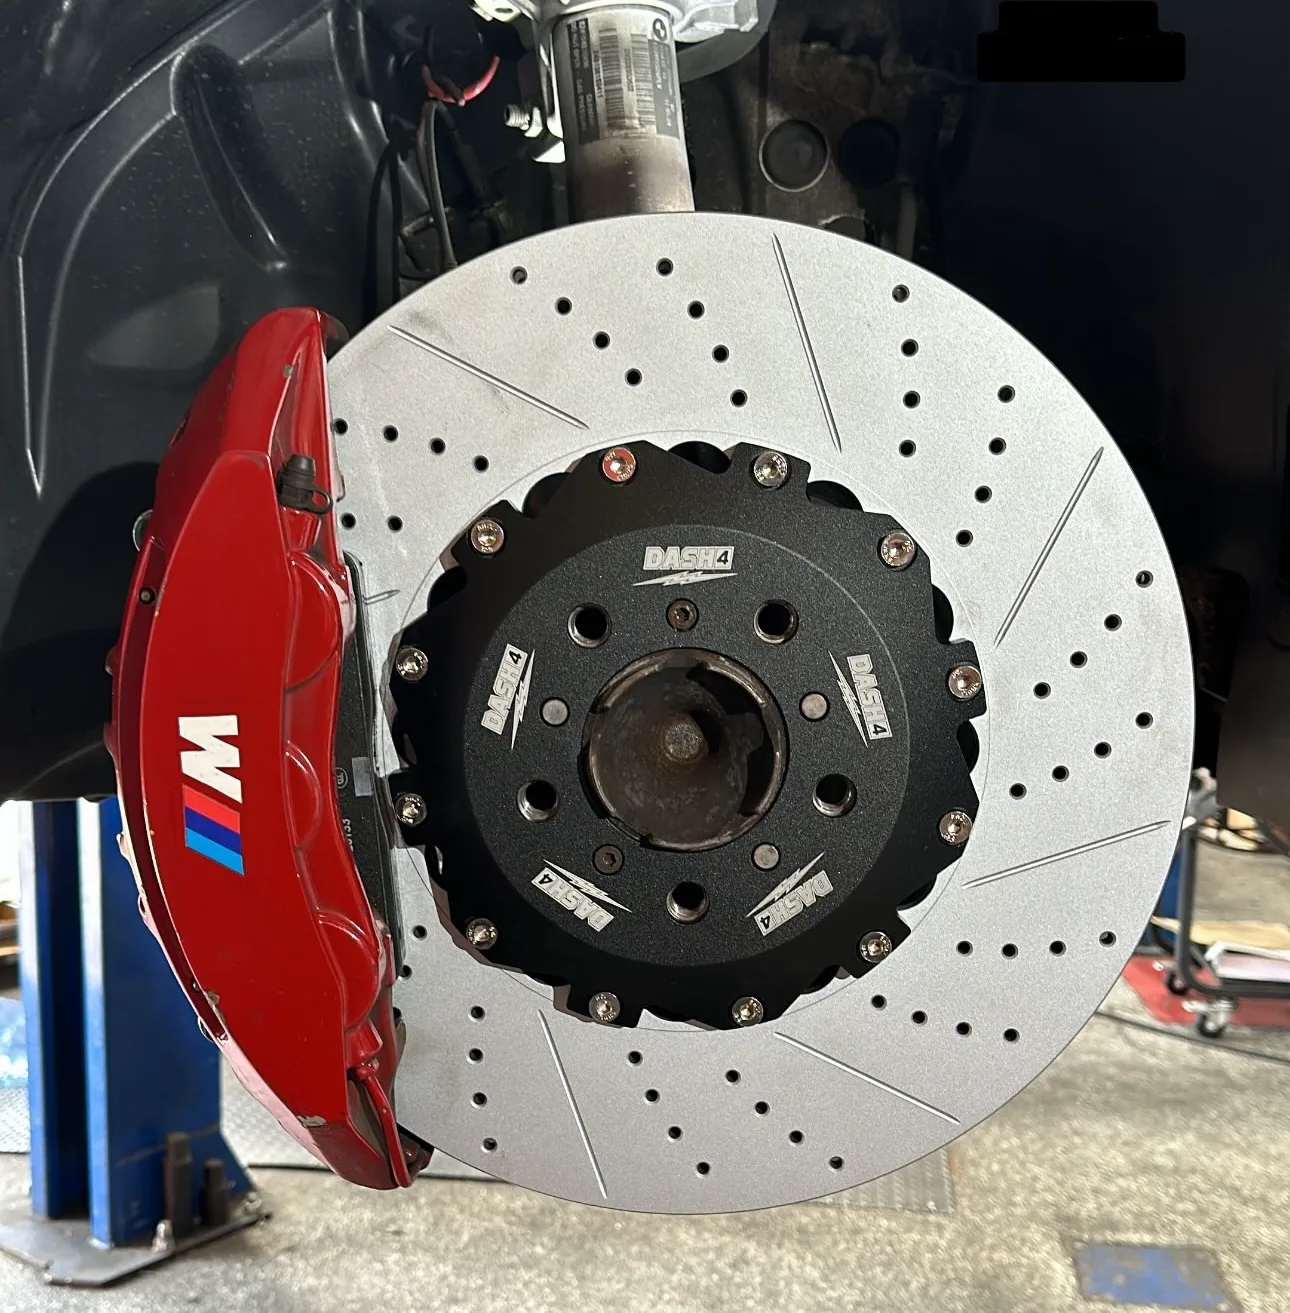
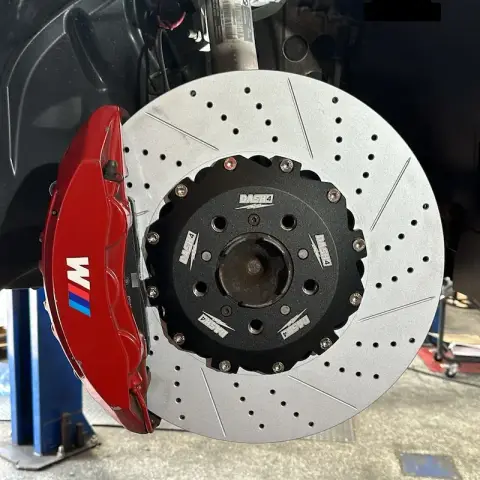
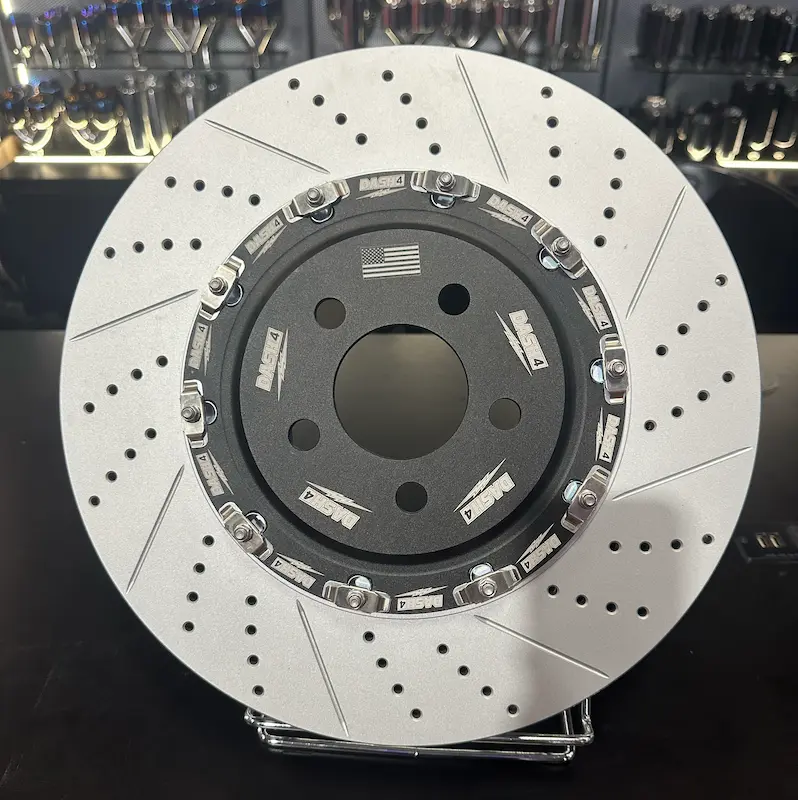
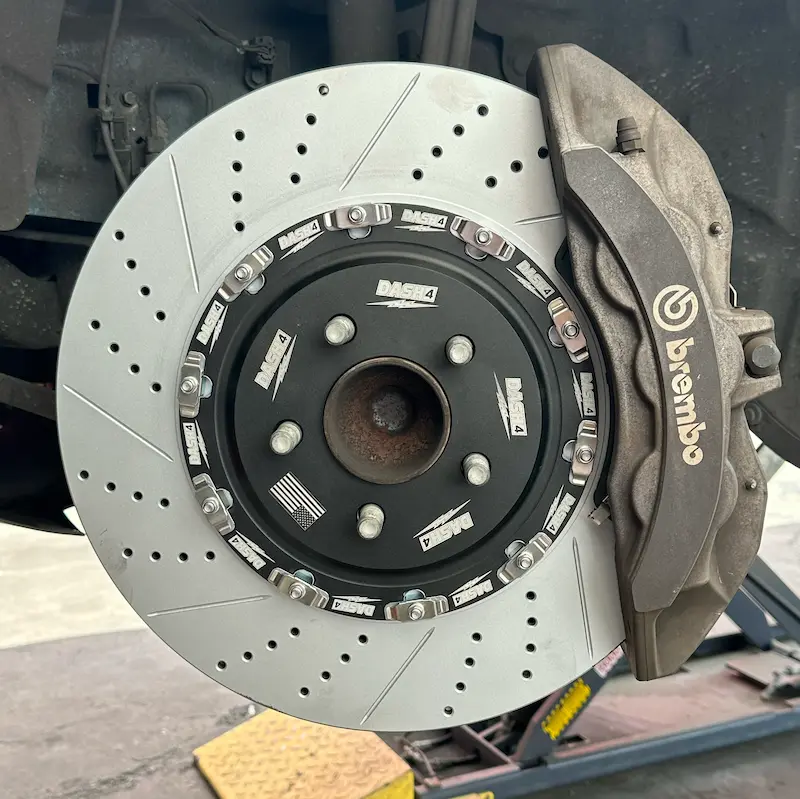
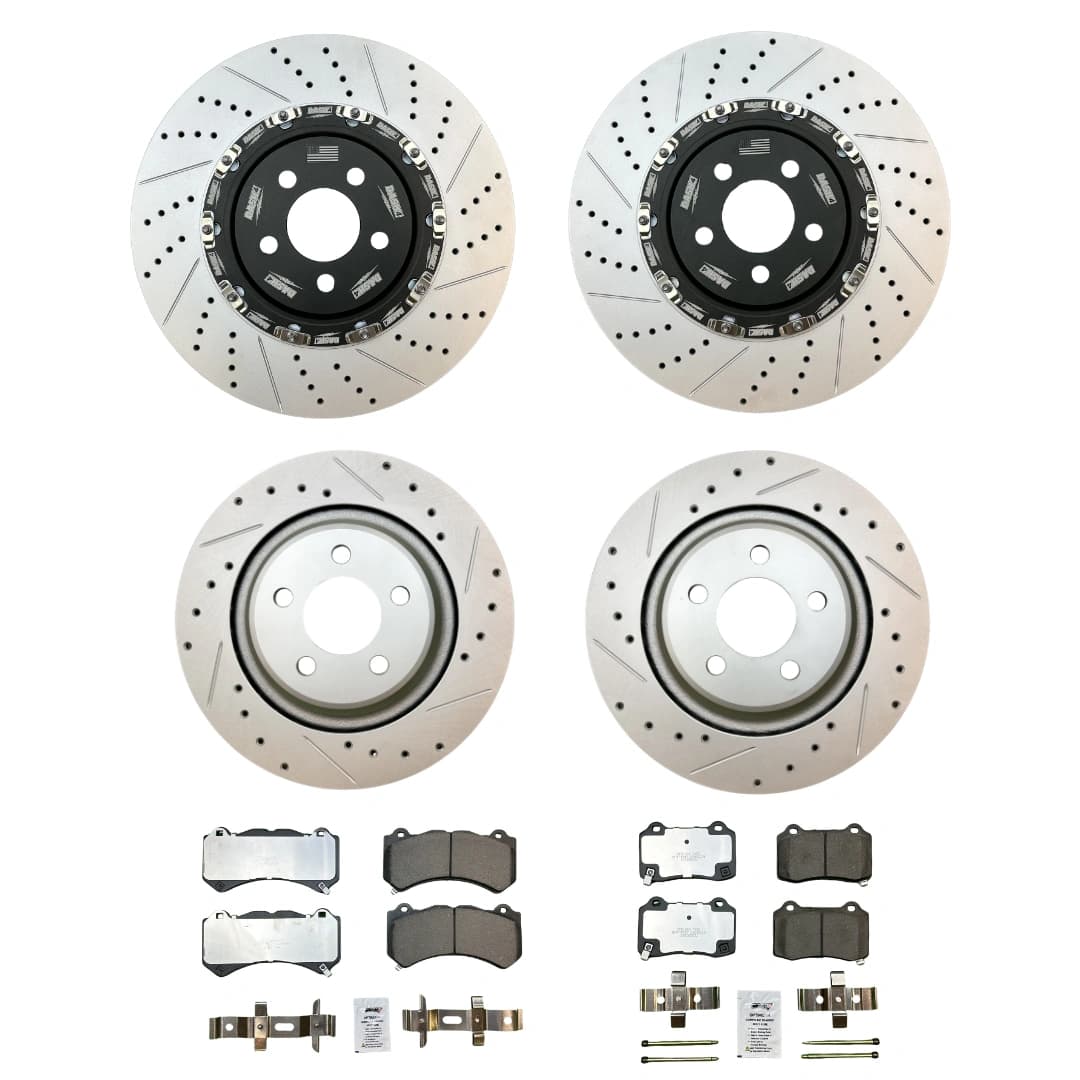
Ghost Brakes 2-piece floating rotors are engineered for high-performance and racing applications. Unlike standard OEM single-piece rotors, 2-piece rotors use a separate aluminum hat and iron friction ring, allowing for thermal expansion and superior heat management.
Benefits of properly bedding 2-piece floating rotors:
- ✓ Improved heat resistance - Prepares rotor surface for extreme temperatures
- ✓ Maximum braking performance - Even friction material transfer
- ✓ Prevention of vibration - Prevents uneven pad deposits
- ✓ Extended rotor lifespan - Reduces premature wear and stress
Step-by-Step Brake Rotor Break-In Procedure
The entire process takes approximately 20–30 minutes and should be performed in a safe, open area.
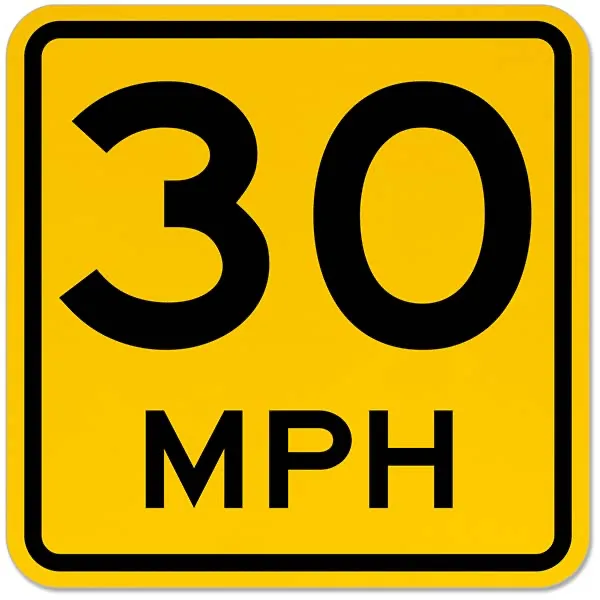
Step 1: Initial Warm-Up Phase
Purpose: Gradually bring brakes up to temperature.
- ✓ Drive at 30–40 mph
- ✓ Apply light brake pressure to slow to 10 mph
- ✓ Repeat 8–10 times
- ✓ Do not come to a complete stop
- ✓ Allow 30 seconds between each stop
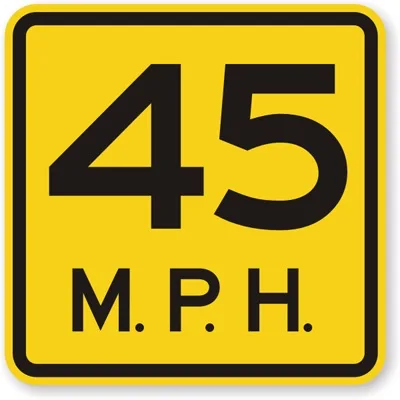
Step 2: Moderate Braking Phase
Purpose: Continue conditioning the rotor surface.
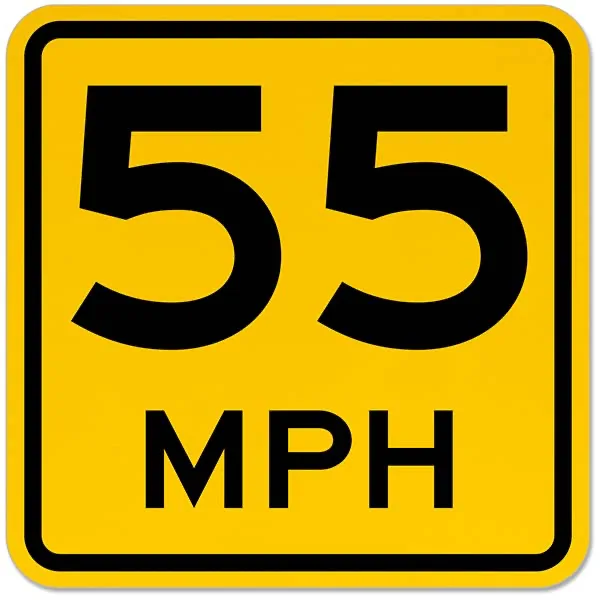
- ✓ Drive at 45–55 mph
- ✓ Apply moderate brake pressure to slow to 10–15 mph
- ✓ Repeat 6–8 times
- ✓ Do not stop completely
- ✓ You may smell brake material - this is normal
Step 3: Firm Braking Phase
Purpose: Fully condition the braking system.
- ✓ Drive at 55–65 mph
- ✓ Apply firm brake pressure to slow to 15 mph
- ✓ Repeat 4–6 times
- ✓ Do not lock brakes
- ✓ Do not come to a complete stop

Step 4: Cooling Phase (Critical)
Purpose: Allow proper stabilization.
- ✓ Drive at highway speeds for 5–10 minutes
- ✓ Avoid aggressive braking
- ✓ Allow airflow to cool components
- ✓ Do not hold brake pedal while stopped with hot brakes
Extended Break-In Period: First 500–1,000 Miles
While the initial bedding process takes only 20–30 minutes, your Ghost Brakes will continue to fully optimize over the first 500–1,000 miles of normal driving. This is completely normal and similar to the break-in period when purchasing a brand new vehicle.
When you buy a new car, manufacturers recommend driving moderately for the first 500–1,000 miles to allow components to properly settle. The same principle applies to new performance brake rotors and pads.
During this period, the rotor surface and brake pad material fully stabilize and form a perfectly even friction layer. This ensures maximum braking performance, even rotor conditioning, maximum durability, and long-term reliability.
What to Avoid During the First 500–1,000 Miles
To ensure proper conditioning, avoid excessive stress during this period:
- ✗ Repeated aggressive braking
- ✗ Track driving immediately after installation
- ✗ Riding the brakes continuously
- ✗ Holding brake pedal after aggressive stops
- ✗ Excessive heat buildup
Normal daily driving is completely safe and recommended.
Signs Your Rotors Are Properly Broken In
After proper bedding and normal driving, you will notice:
- ✓ Smooth braking performance
- ✓ Strong and consistent stopping power
- ✓ No vibration or pulsation
- ✓ Improved brake response
- ✓ Consistent pedal feel
This indicates your Ghost Brakes are fully conditioned.
What Happens If You Skip the Break-In Process?

Skipping the bedding process can cause:
- ✗ Brake vibration
- ✗ Uneven braking
- ✗ Brake fade
- ✗ Premature rotor wear
- ✗ Reduced performance
Proper bedding prevents these issues and ensures optimal performance.
Why Ghost Brakes 2-Piece Floating Rotors Deliver Superior Performance
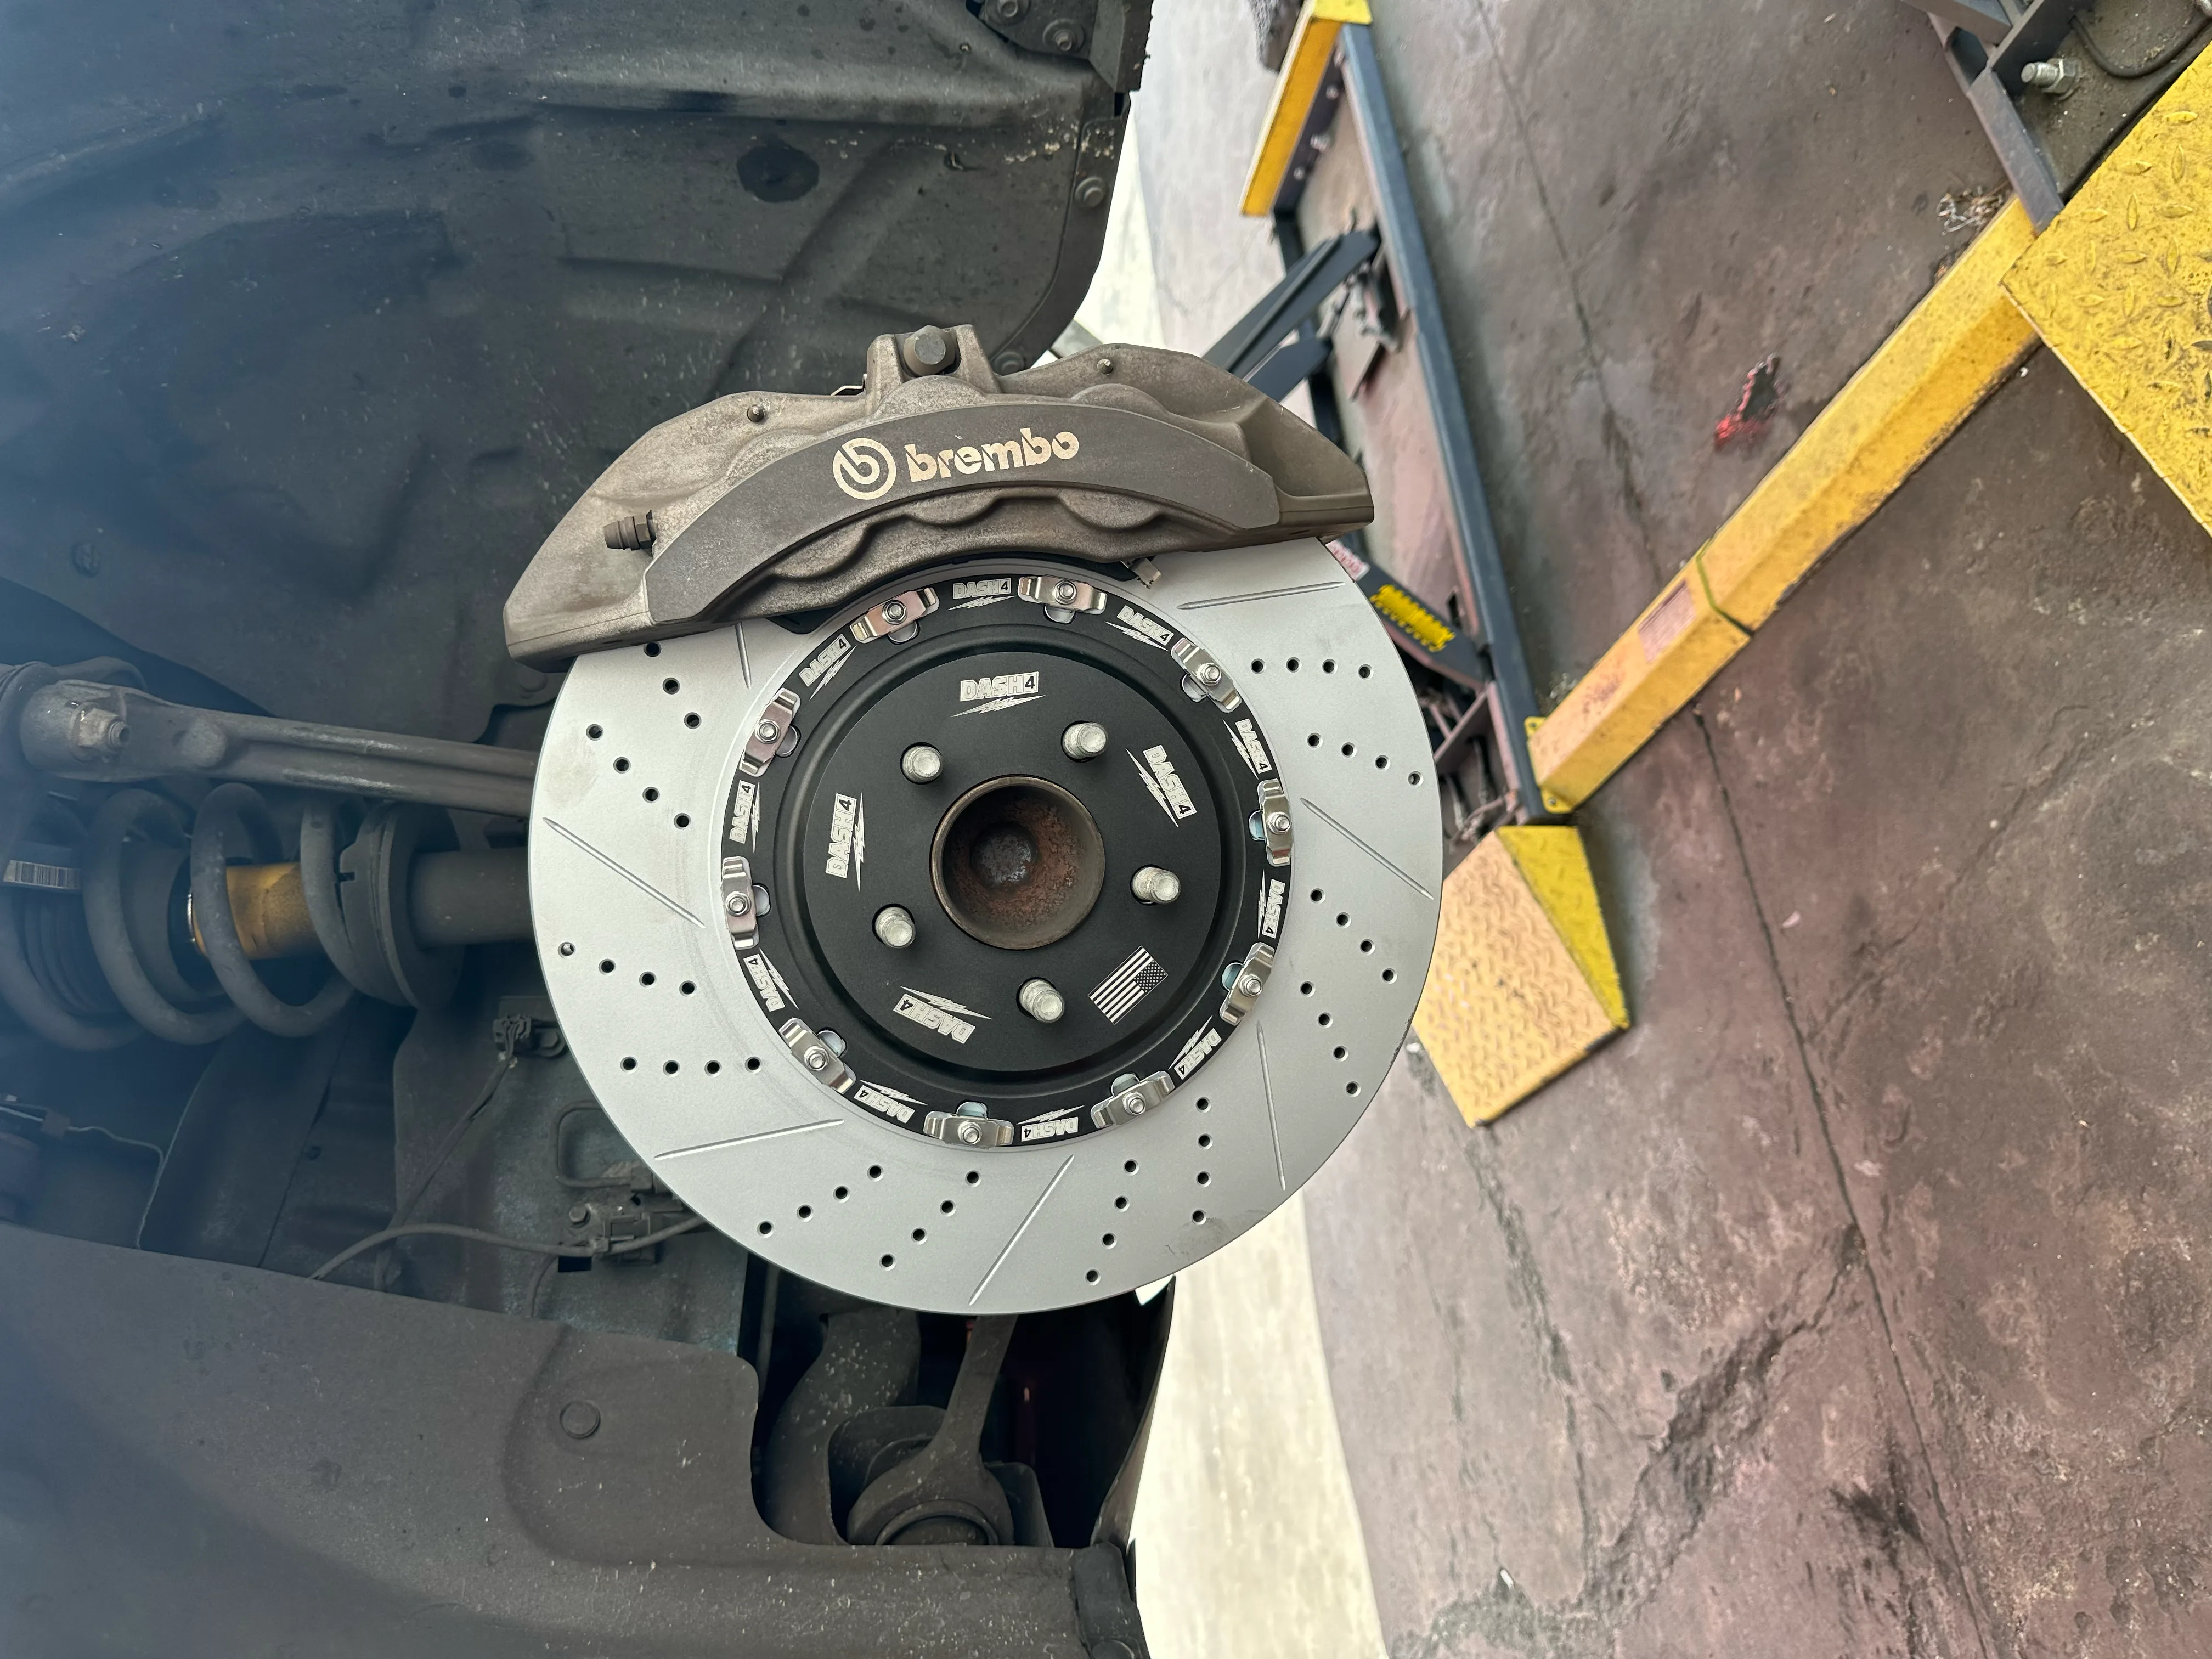
Ghost Brakes 2-piece floating rotors are engineered specifically for high-performance vehicles including:
- ✓ Dodge Hellcat
- ✓ Hellcat Redeye
- ✓ Jeep Trackhawk
- ✓ Dodge Durango SRT
- ✓ Camaro SS
- ✓ Camaro ZL1
Benefits include:
- ✓ Superior heat dissipation
- ✓ Reduced unsprung weight
- ✓ Increased durability
- ✓ Track-ready performance
- ✓ Longer lifespan than OEM rotors
How Long Does Brake Rotor Break-In Take?

Initial bedding process: 20–30 minutes
Full conditioning period: 500–1,000 miles of normal driving
After this period, your braking system will reach peak performance.
Final Thoughts
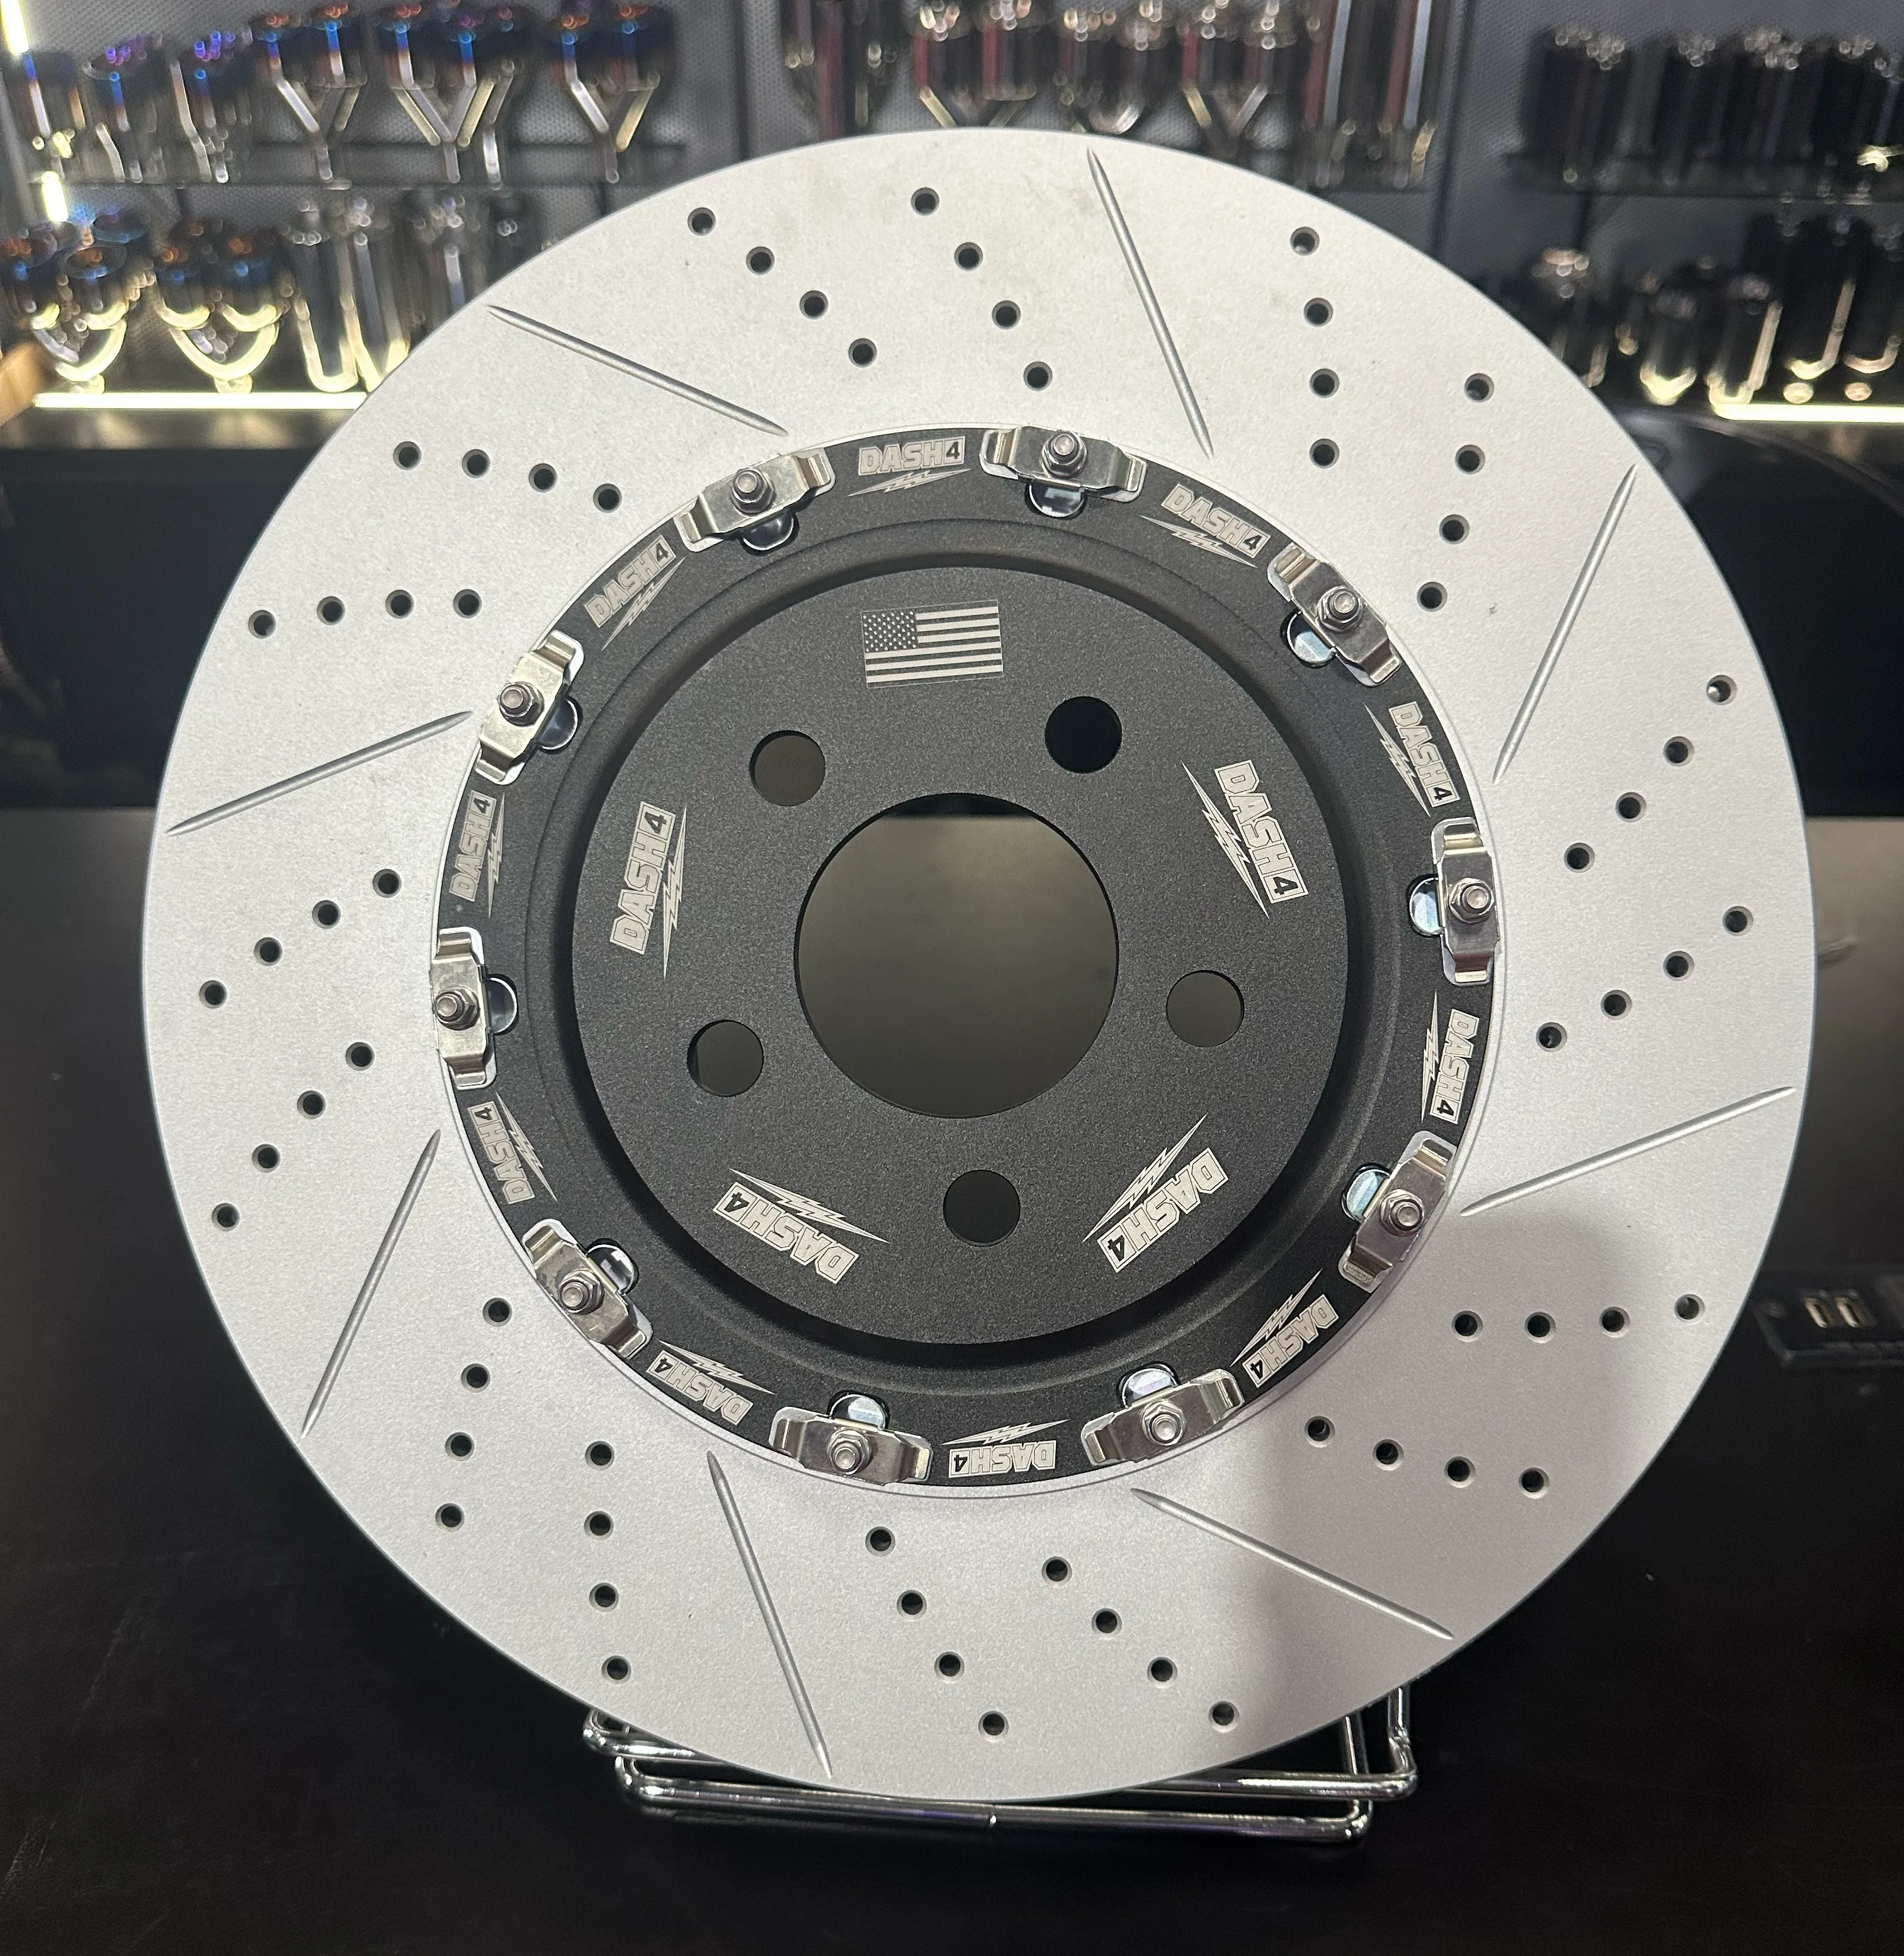
Proper brake rotor break-in is essential for achieving maximum stopping power, consistent performance, and long component lifespan. Ghost Brakes 2-piece floating rotors are engineered for extreme performance, and following the correct break-in procedure ensures optimal results.
Taking the time to properly bed your rotors protects your investment and ensures your braking system performs at its highest level for years to come.
Related Articles:
Bedding 555-Tier Truck Rotors vs 777-Tier 2-Piece Muscle Rotors
The bedding cycle itself - gradual heat-up, controlled stops, cool-down - is identical whether you just installed a 555-tier G11H18 drilled and slotted truck rotor kit on an F-150 or a 777-tier 2-piece floating kit on a Hellcat. What changes is what you do after the initial 20–30 minute procedure:
- Truck kits (F-150, Silverado, Ram, Tundra): Avoid hitching a trailer at or near max capacity for the first 500–1,000 miles. Light loads and normal driving are fine - the pad transfer layer needs time to stabilize before it sees sustained towing heat. See the F-150 brake kits page to confirm your kit and fitment before installing.
- Muscle and track kits (Hellcat, Camaro ZL1, Corvette Z06): Avoid track days or repeated hard canyon runs until the odometer clears 500–1,000 miles. Daily street driving during this period is exactly what completes the bedding process.
Skipping this window is the single most common cause of new-rotor complaints on both platforms - not a defective part, but pad material that never had the chance to transfer evenly. If you're still deciding between rotor architectures before installing, see our drilled vs slotted rotors comparison for a full breakdown of which design fits your driving.
Frequently Asked Questions
How do you break in new F-150 drilled and slotted rotors?
Bed F-150 G11H18 D&S rotors with 8-10 moderate stops from 35 mph to 10 mph, then 6-8 firmer stops from 45 mph - never coming to a complete stop while hot. Finish with a 5-10 minute cool-down drive without aggressive braking. Avoid max-capacity towing for the first 500-1,000 miles.
Is the break-in procedure different for 2-piece floating rotors?
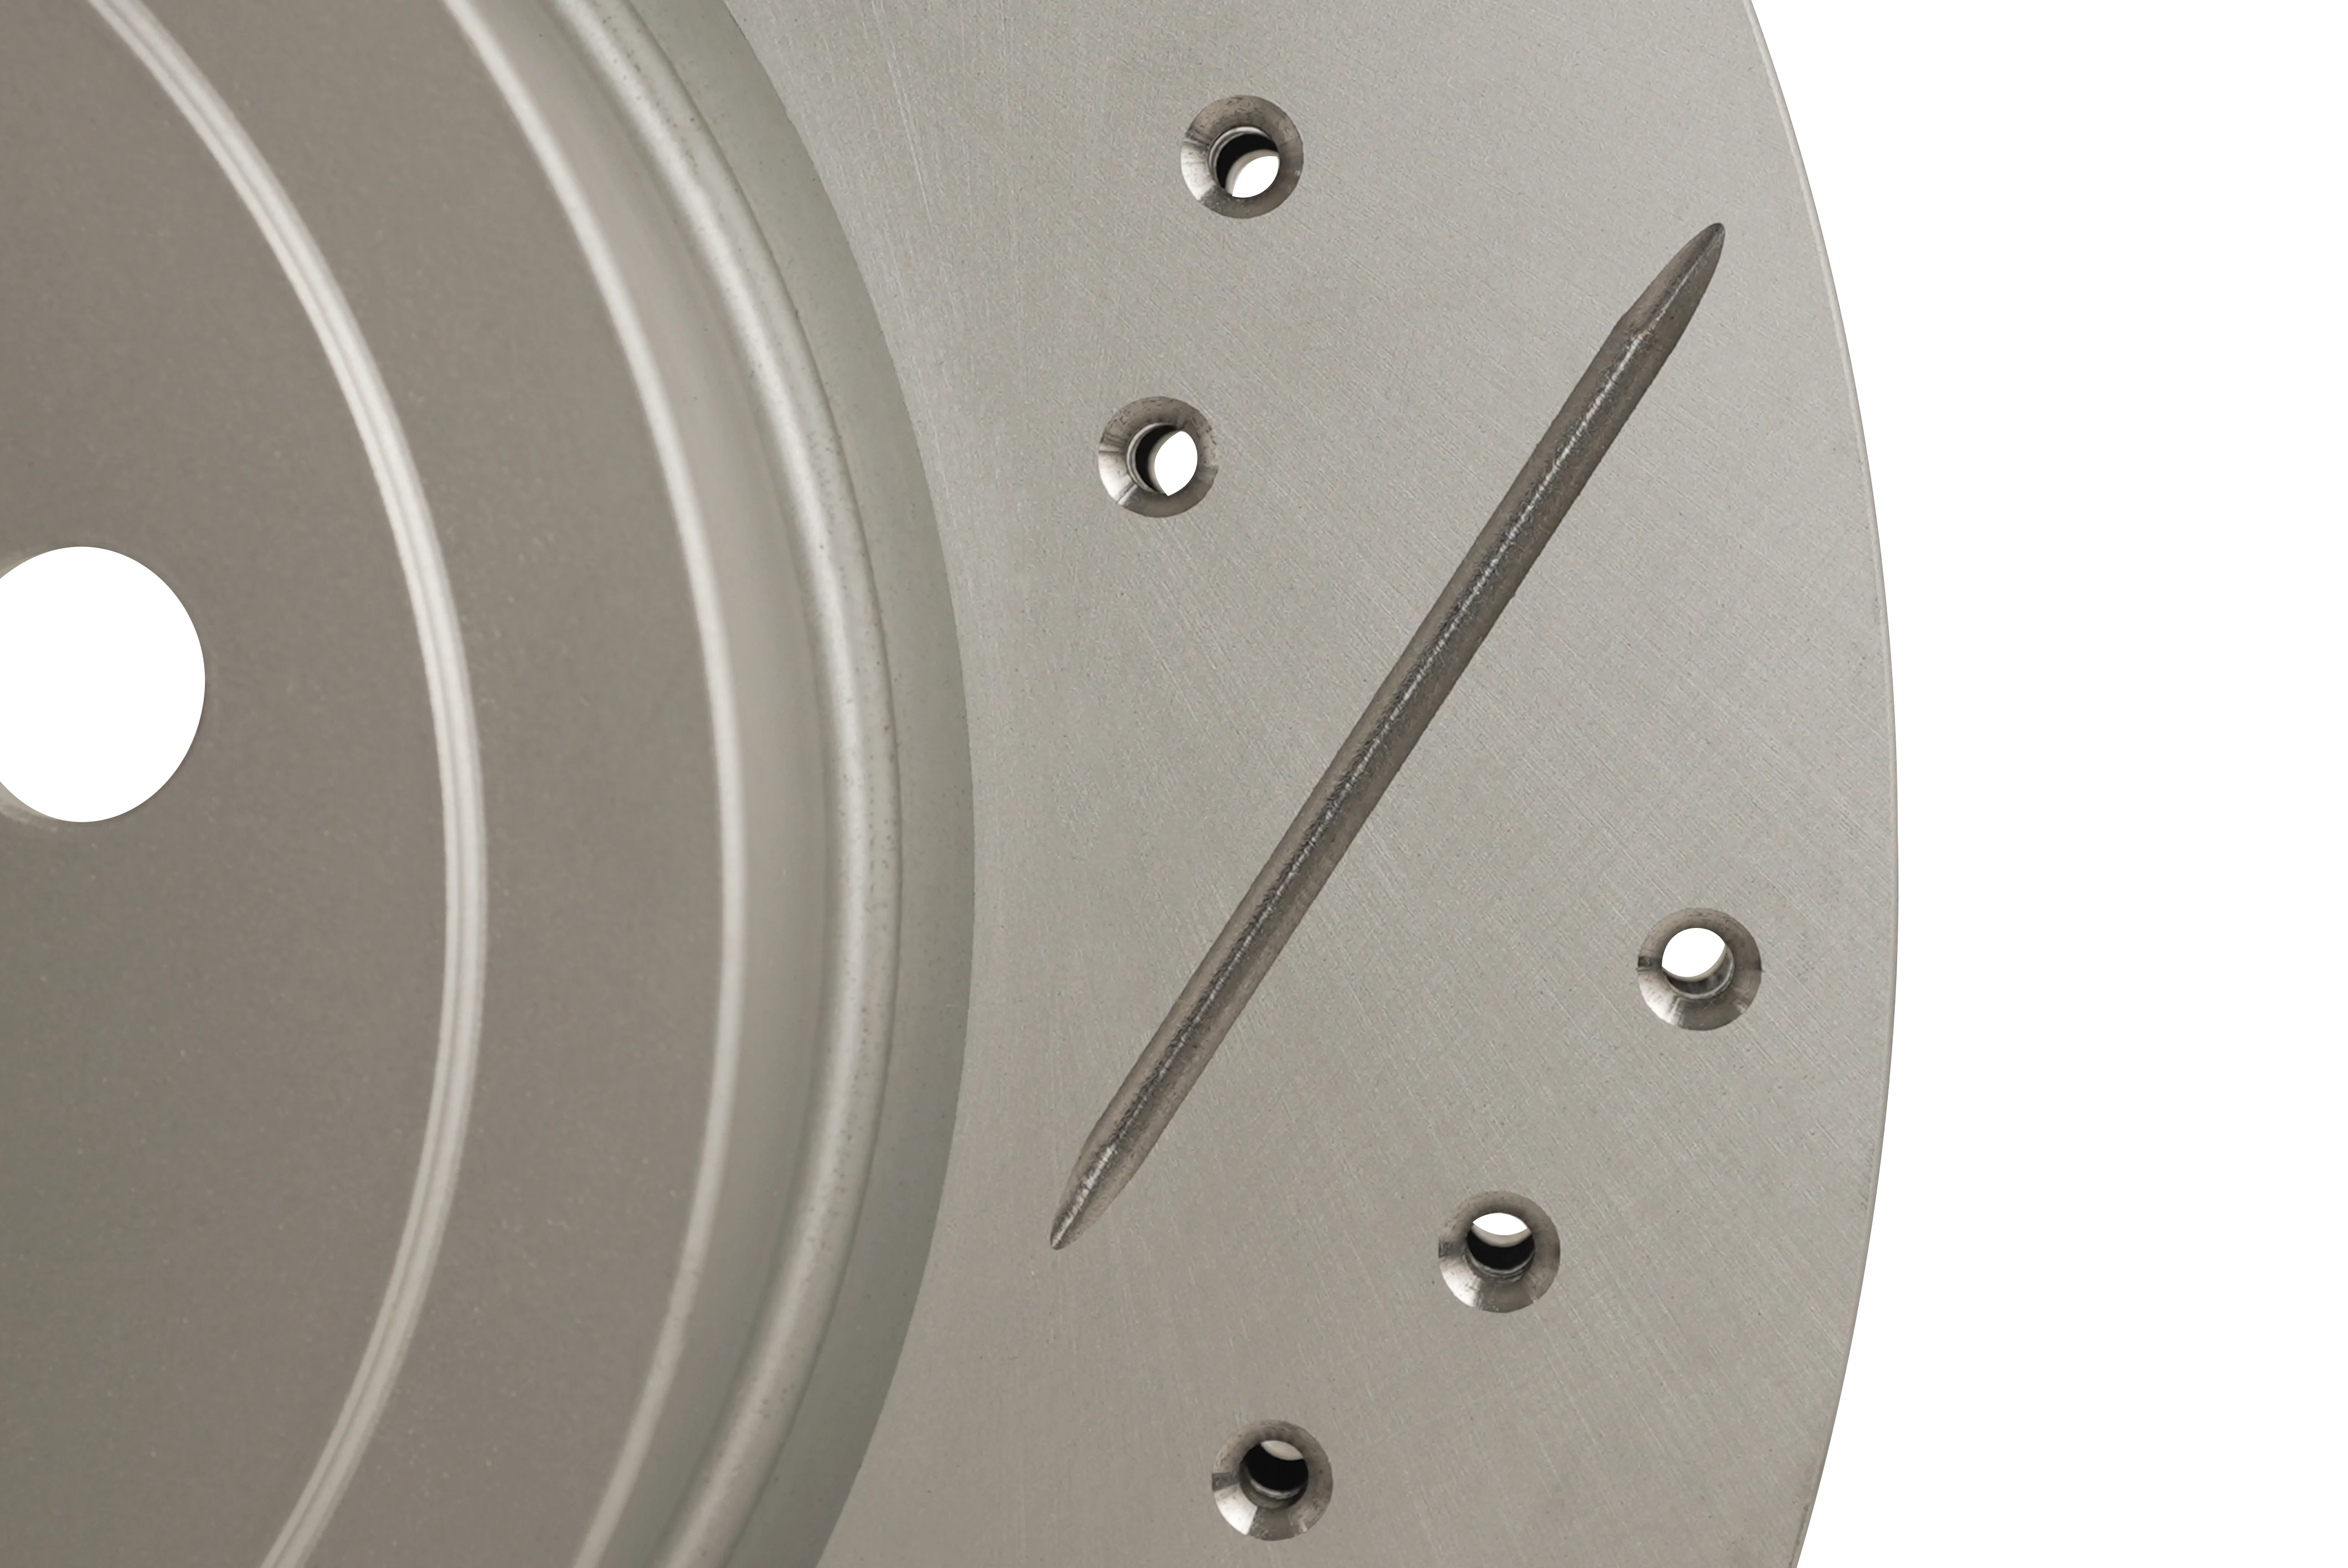
The bedding sequence is the same gradual heat-and-cool cycle for both 555-tier truck rotors and 777-tier 2-piece muscle rotors. The difference is duty cycle after bedding: avoid immediate track sessions on 2-piece kits and avoid max trailer loads on truck kits until the 500-1,000 mile transfer layer fully stabilizes.
How long does brake rotor break-in take?
Initial bedding takes 20-30 minutes of controlled stops in a safe open area. Full pad transfer and rotor conditioning complete over the first 500-1,000 miles of normal driving - similar to breaking in a new vehicle.
Can I tow immediately after installing new brake rotors?
Complete the initial 20-30 minute bedding procedure first, then use normal daily driving including light loads. Avoid max-capacity trailer towing and sustained grade descents for the first 500-1,000 miles to allow even pad material transfer on G11H18 D&S rotor faces.
What happens if I skip the brake bedding procedure?
Skipping bedding causes uneven pad deposits, pedal pulsation, brake fade, and premature rotor wear. Aggressive driving immediately after install is the most common cause of new-rotor vibration complaints on both truck and muscle platforms.
Should I come to a complete stop during bedding?
No. During the initial bedding cycle, slow to 10-15 mph but do not hold the brake pedal at a complete stop while rotors are hot. Stopping with hot pads transfers material unevenly and can create high spots that cause pulsation.
Do carbon ceramic pads need a break-in period?
Yes. Carbon ceramic pads included with Ghost Brakes truck and 2-piece muscle kits require the same bedding procedure as the rotors. The pad transfer layer is what delivers consistent friction - bedding creates that layer evenly across the rotor face.
When can I track my car after installing 2-piece rotors?
Complete initial bedding the day of install, then drive normally for 500-1,000 miles before track or repeated canyon sessions. Hellcat, Camaro ZL1, and Corvette Z06 owners who skip this period often report vibration that proper bedding would have prevented.
Ready for Your Brake Upgrade?
555-tier D&S for F-150 towing. 777-tier 2-piece for Hellcat and Corvette. Follow this guide after install.
Shop Brake Kits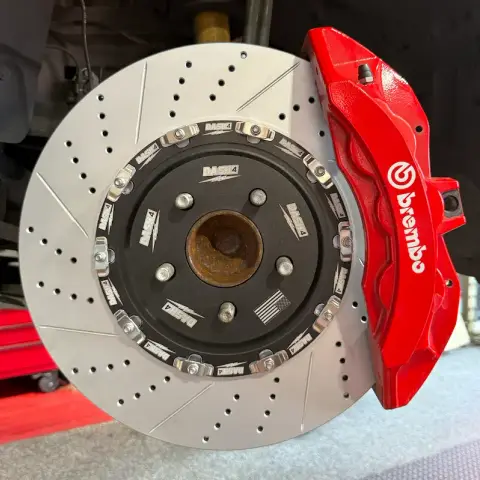
$1854.11$1575.13
$746.16$634.68
$559.15$475.73
$1854.11$1575.13
$746.16$634.68
$559.15$475.73
$1854.11$1575.13

By Slyde Over Team on May 18, 2026
Complete comparison of rotor surface patterns - what drilled and slotted designs actually do, which is best for towing vs track vs street, and why construction quality matters more.

By Slyde Over Team on May 18, 2026
Pad fade vs fluid fade - what you feel when brakes fade, the towing and track scenarios that cause it, and how to prevent it completely with carbon ceramic pads.

By Slyde Over Team on May 18, 2026
Complete M3/M4 brake upgrade guide - Brembo compatibility, F-chassis vs G-chassis differences, how many track laps before fade, and Ghost Brakes kit selection.

By Slyde Over Team on May 18, 2026
Complete Golf R and GTI brake upgrade guide - MK8 Brembo spec, MK7 differences, FWD/AWD track brake dynamics, and dust reduction for VW factory wheels.
By Slyde Over Team on April 7, 2026
Why OEM F-150 brakes fail under towing loads and exactly which Ghost Brakes kit delivers consistent stopping power when hauling a trailer.
By Slyde Over Team on August 18, 2026
Everything F-150 owners need to know about drilled and slotted truck rotors - towing grades, G11H18 metallurgy, fitment by year, and which Ghost Brakes kit to buy.
By Slyde Over Team on April 7, 2026
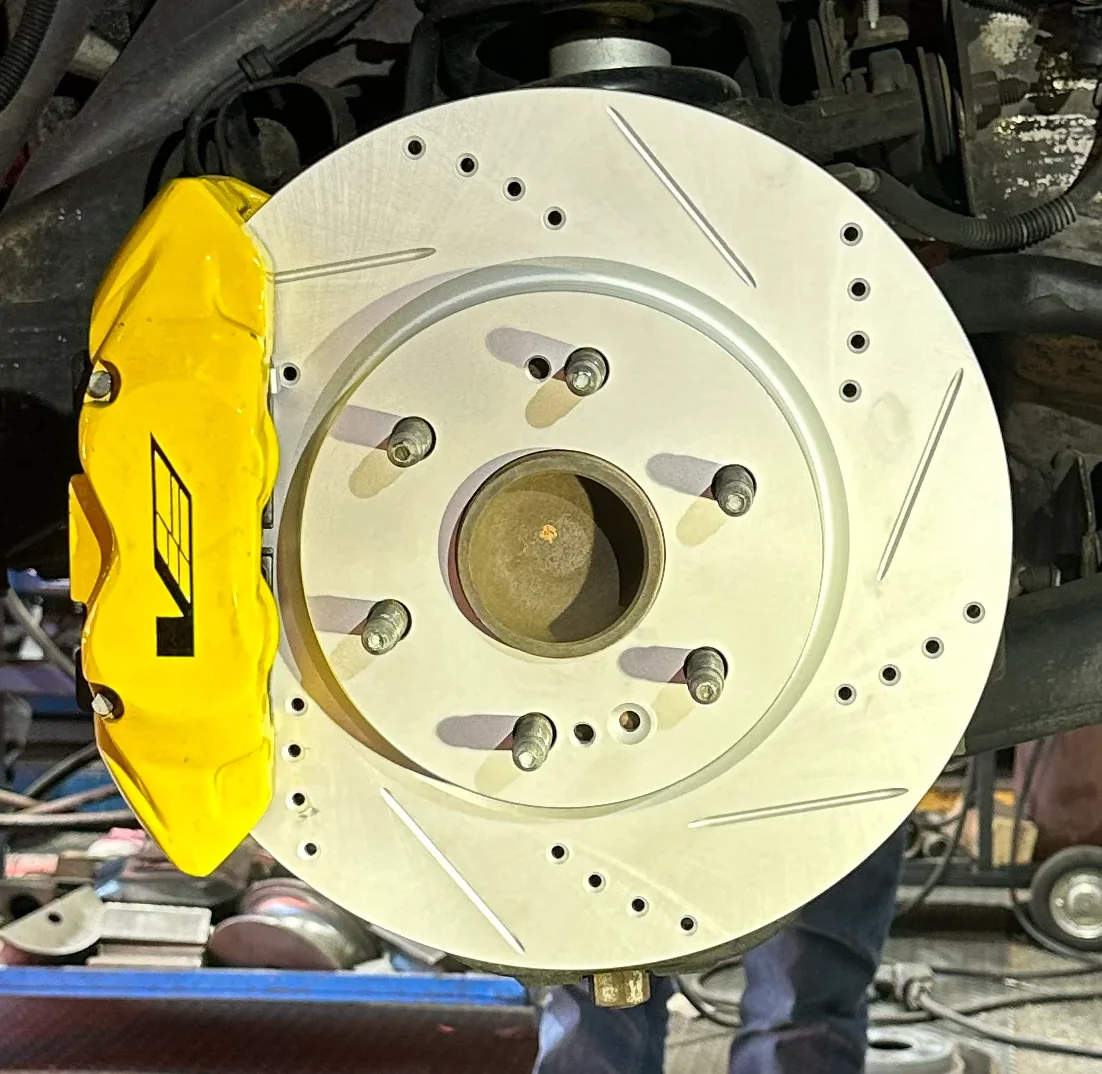
The honest answer for Silverado owners who tow regularly - and the upgrade that solves fade, warp, and premature wear at the same time.
By Slyde Over Team on August 18, 2026
Silverado 1500 and HD owners: why drilled and slotted truck rotors beat OEM under trailer load, and how to pick the right Ghost Brakes kit.
By Slyde Over Team on April 7, 2026
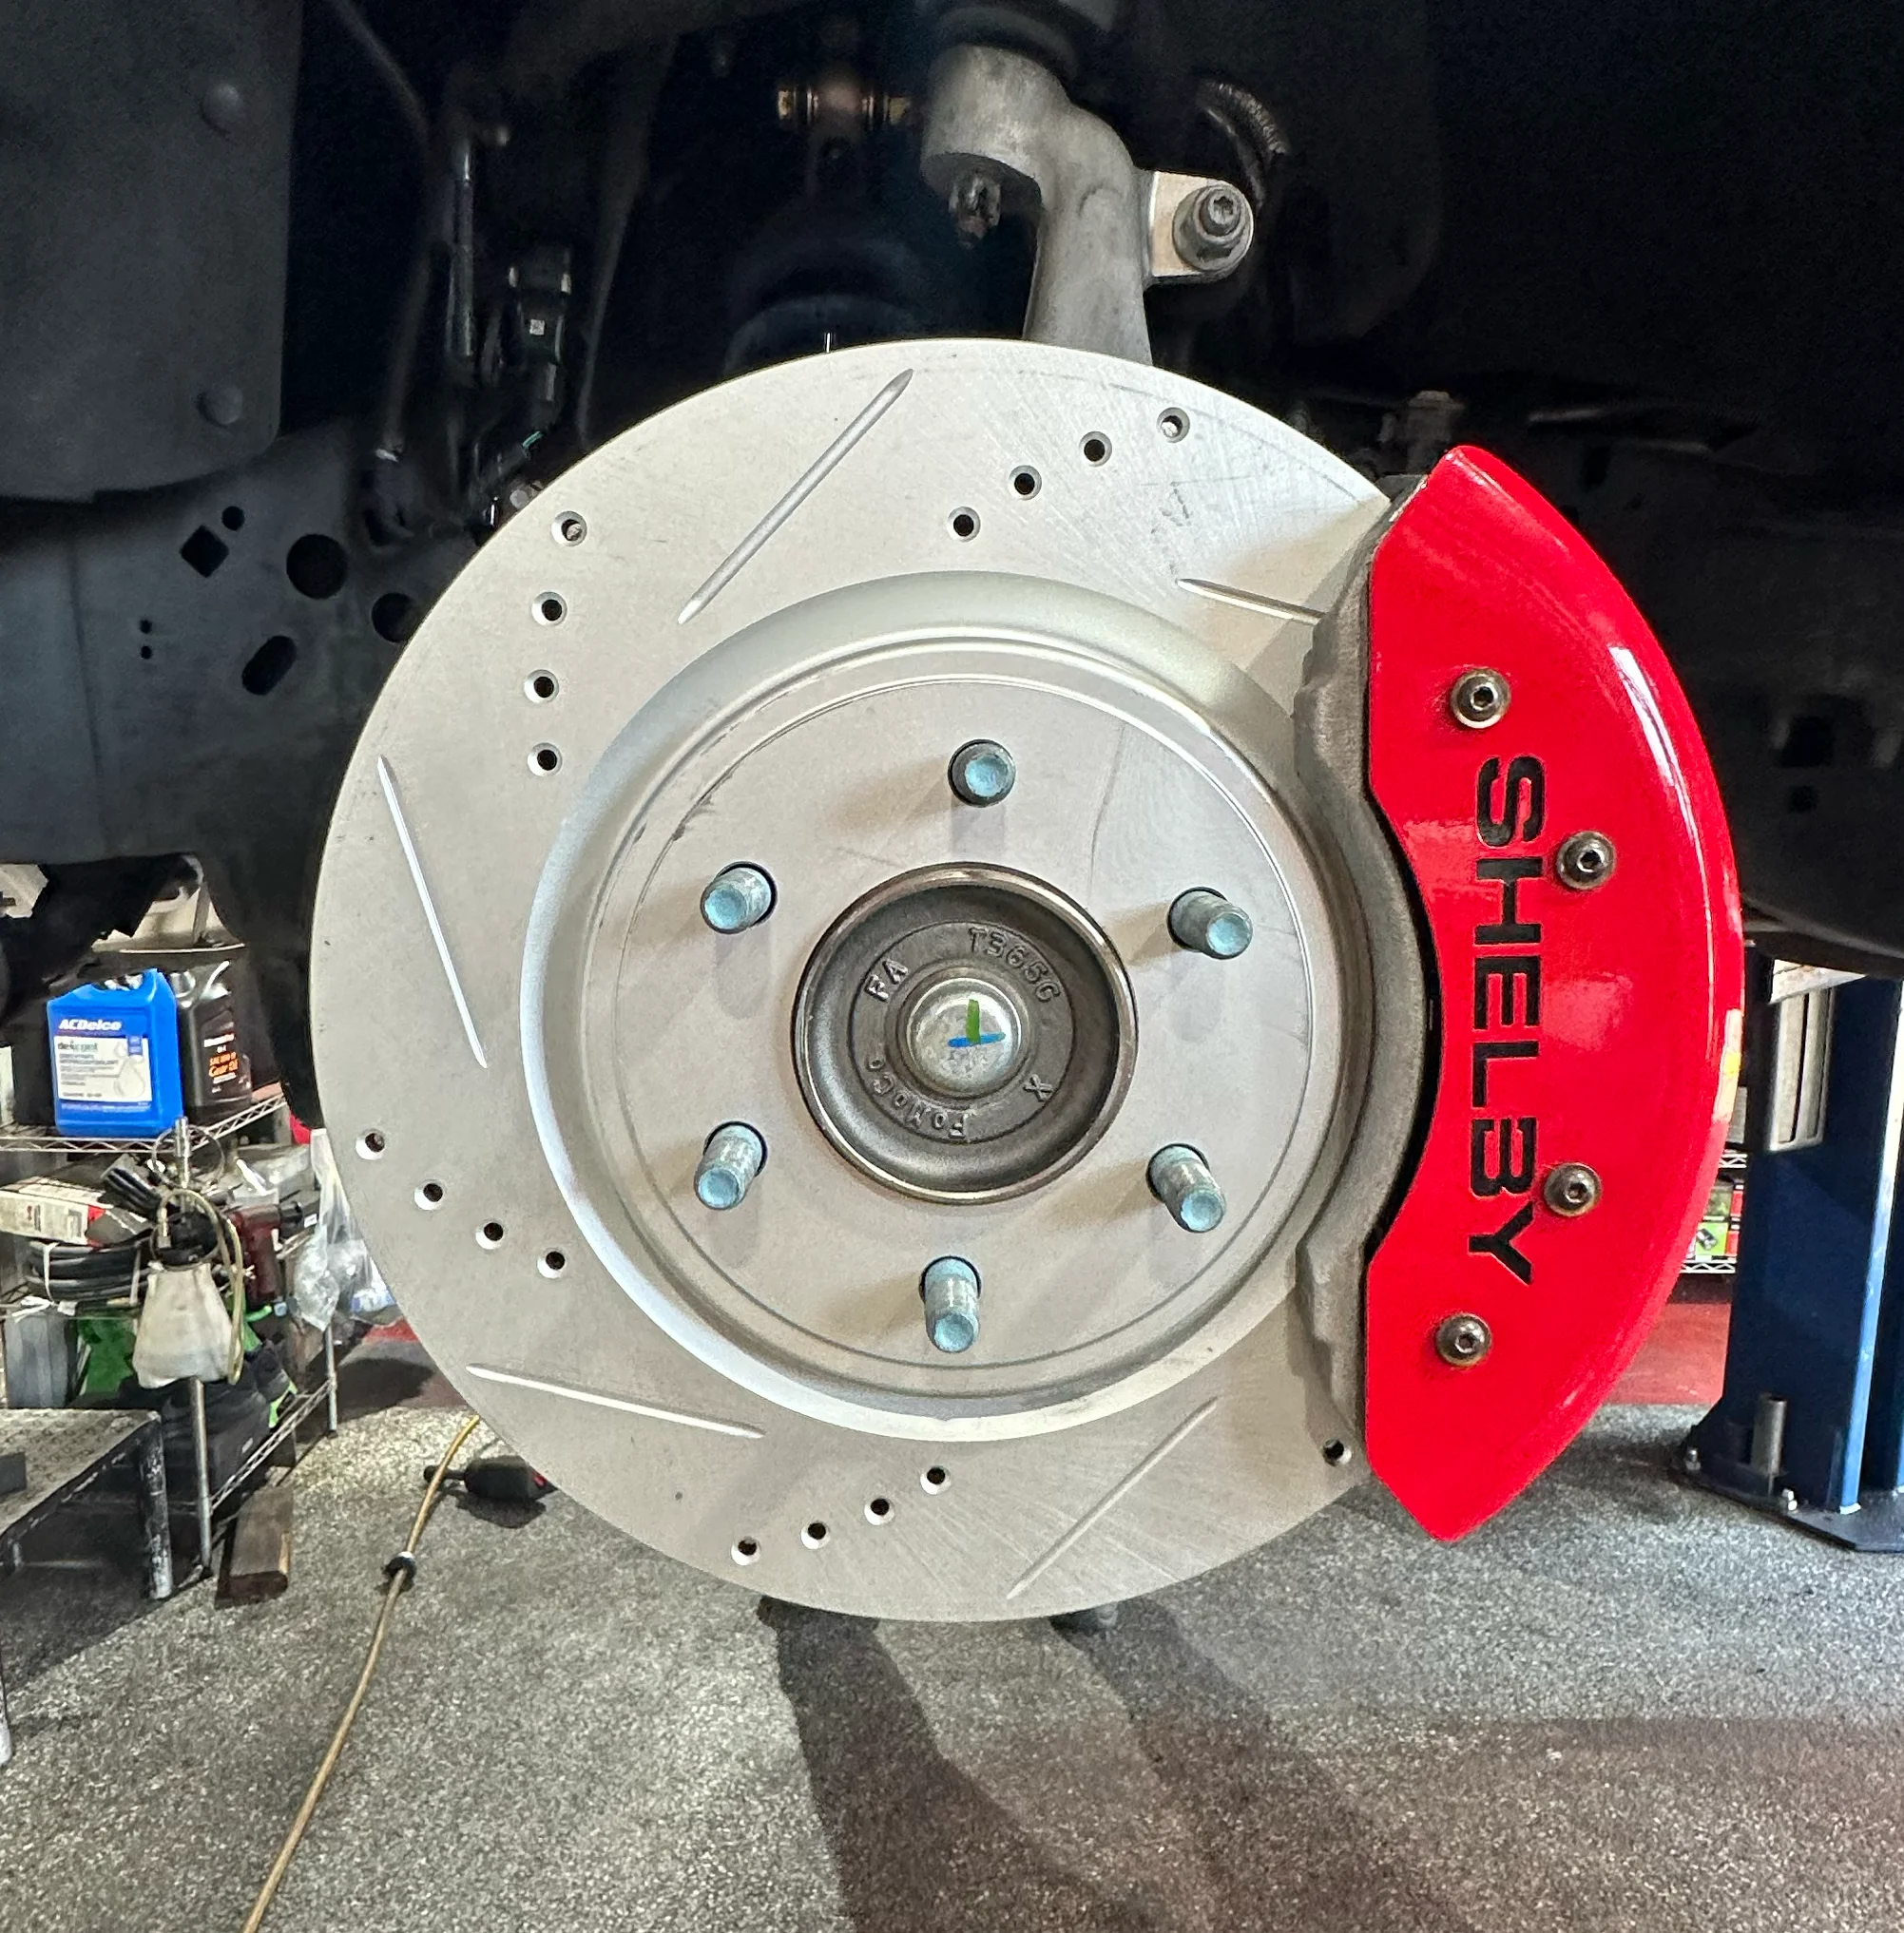
F-150, Silverado, Ram, Expedition, Tahoe - every major tow vehicle covered. The physics of towing brake failure and the right fix for each.

By Slyde Over Team on May 18, 2026
12,000 lbs of tow capacity demands more than OEM brake hardware - complete guide covering 2nd gen V8, 3rd gen turbo, i-FORCE MAX hybrid, and TRD Pro configurations.
By Slyde Over Team on August 18, 2026
Toyota Tundra drilled and slotted truck rotors explained - i-FORCE MAX, TRD Pro, and max tow rating brake upgrades that hold up on grades.
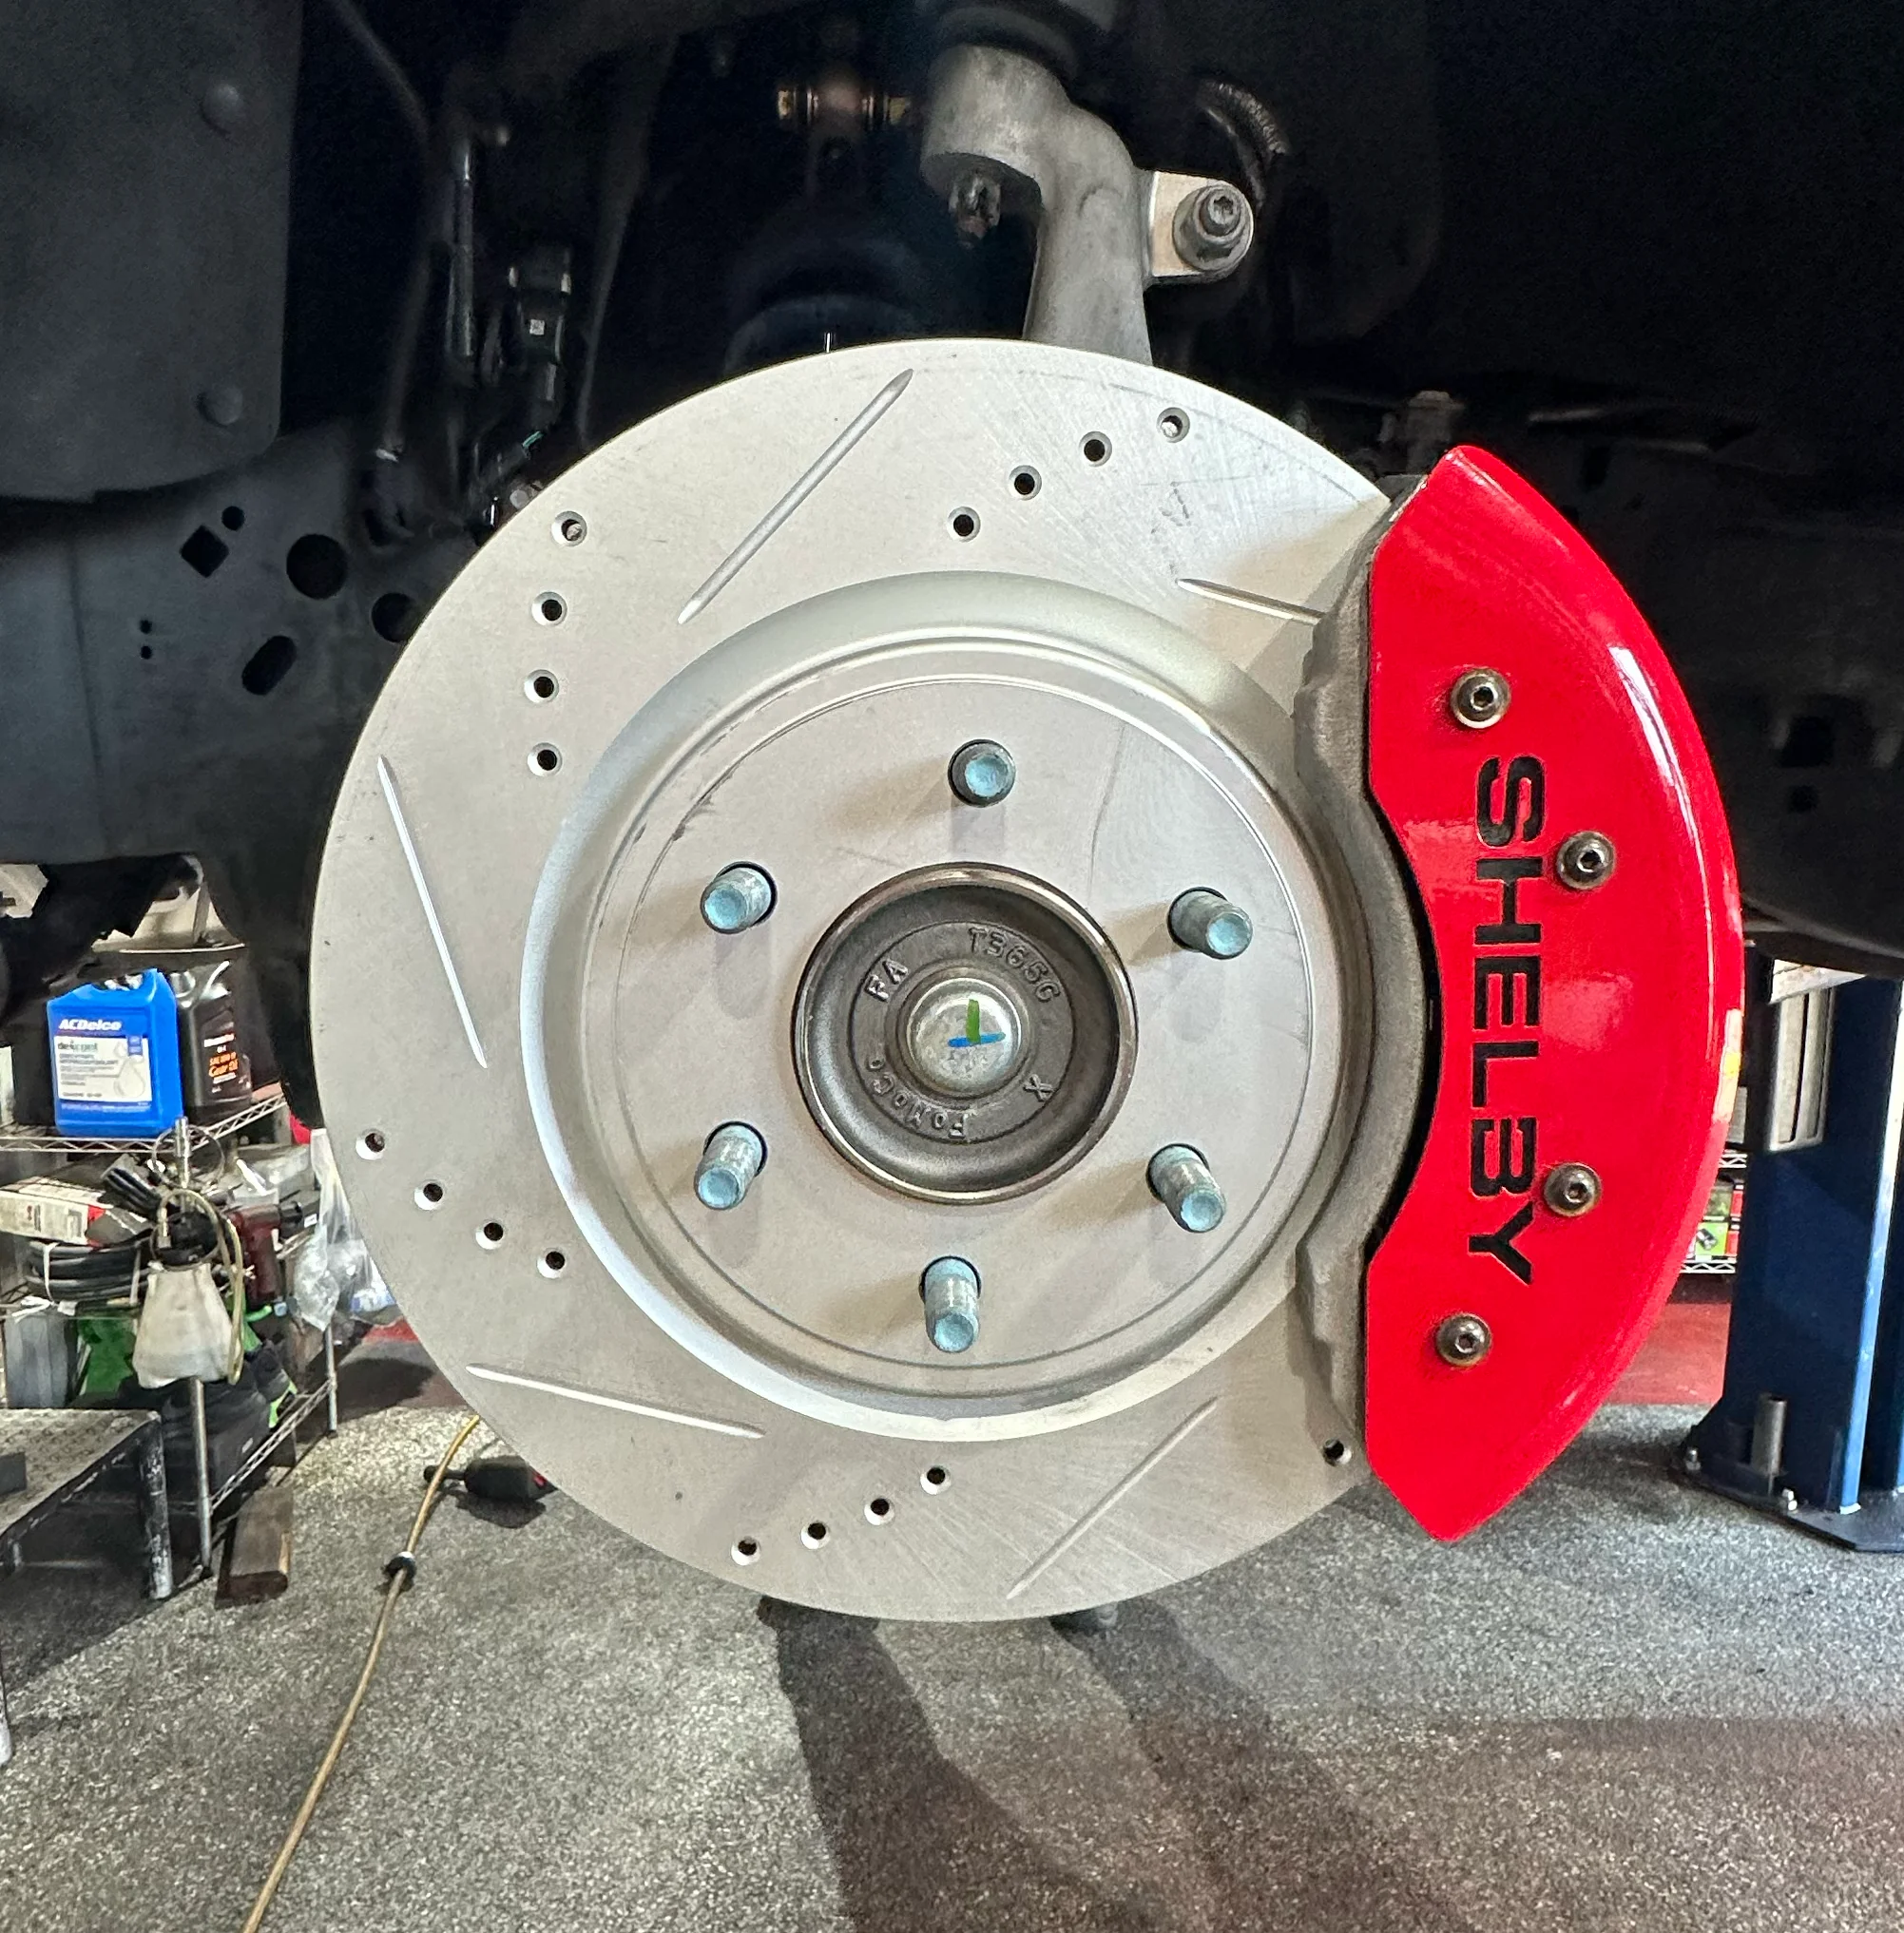
By Slyde Over Team on April 7, 2026
Raptor brake fitment is different from standard F-150. This guide covers rotor spec, Raptor R differences, and the upgrade that handles desert running.

By Slyde Over Team on May 18, 2026
Water crossings, mud contamination, and towing to trailheads - why TRD Pro use destroys OEM Tacoma brakes and the Ghost Brakes kit that handles every trail condition.
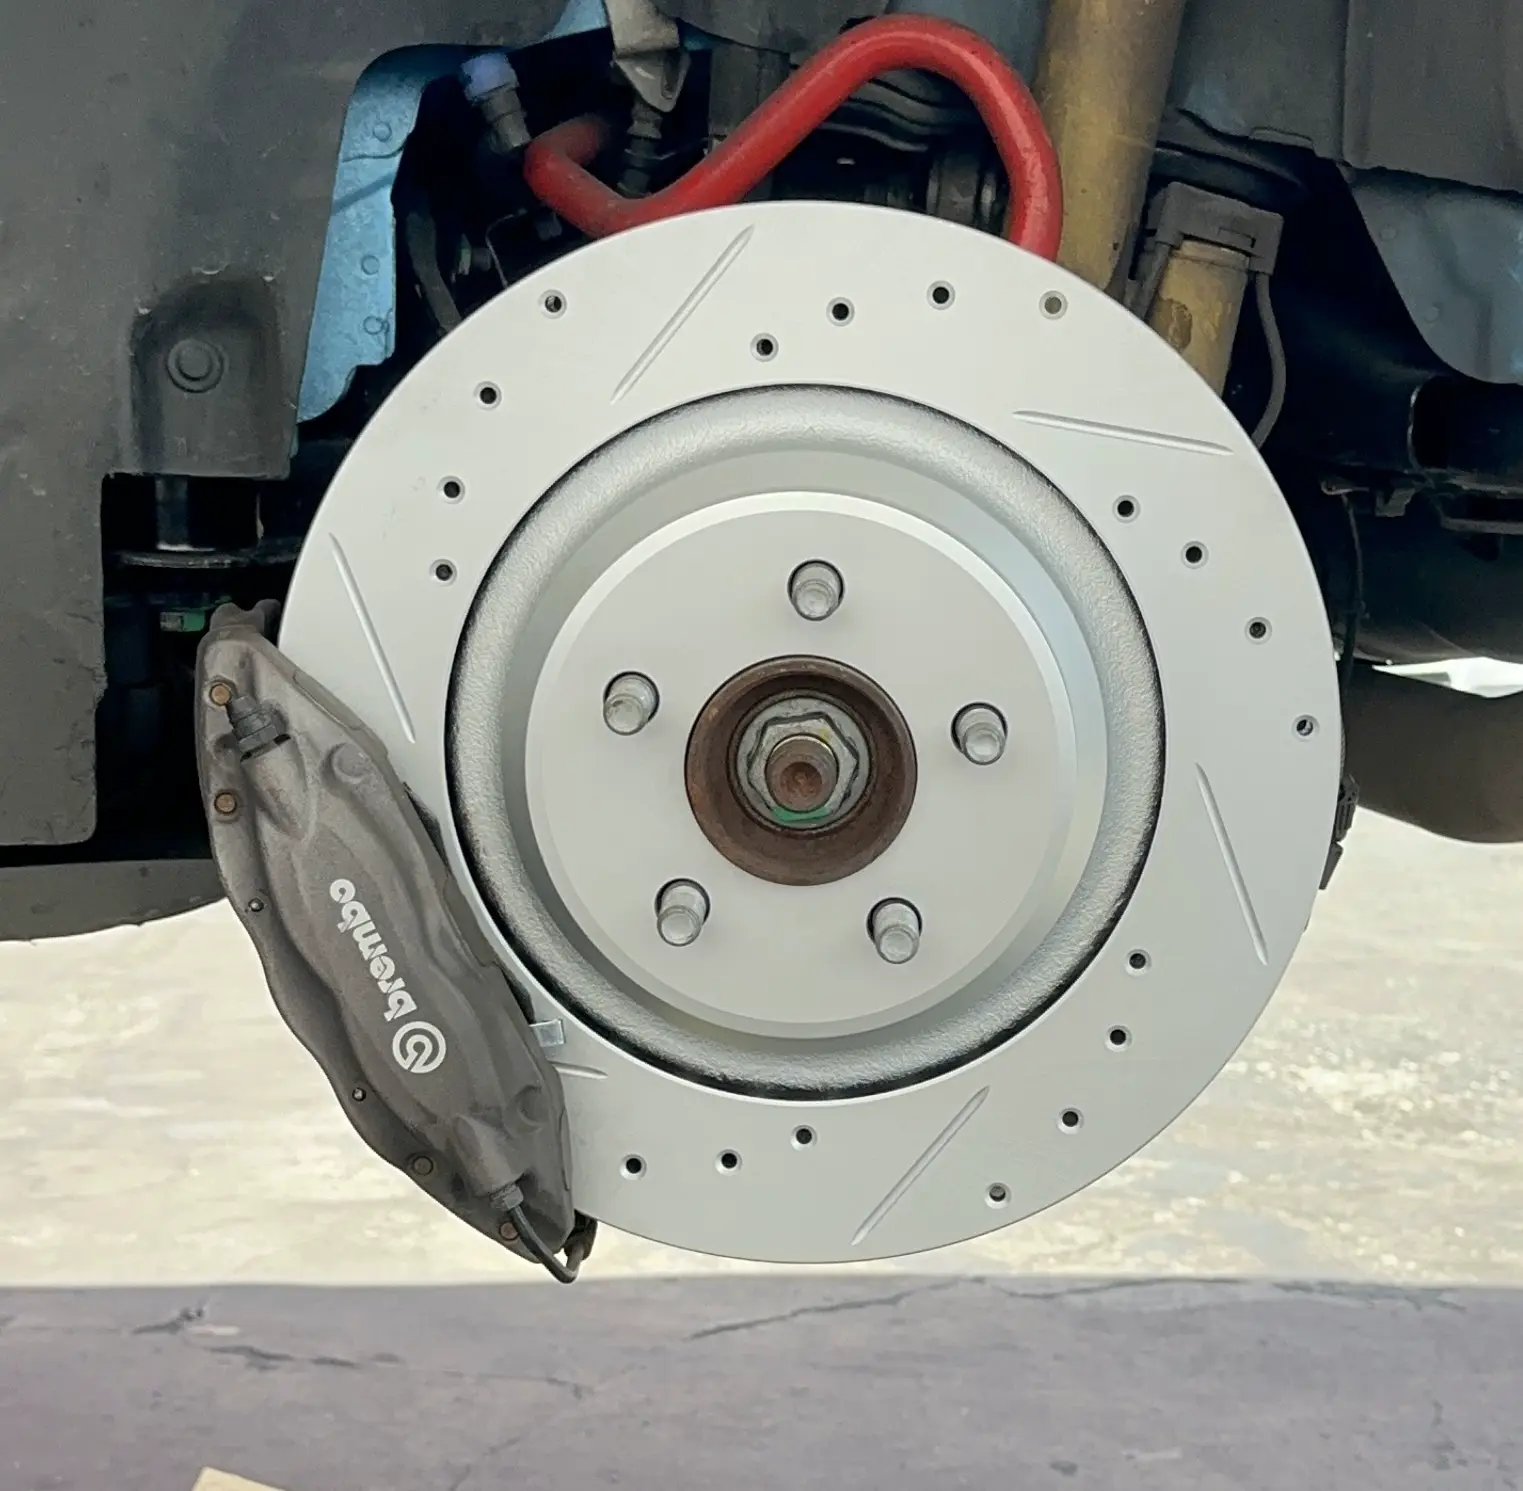
By Slyde Over Team on August 18, 2026
Ram 1500 Rebel, Laramie, and Big Horn towing brake guide - drilled and slotted truck rotors, carbon ceramic pads, and fitment by generation.
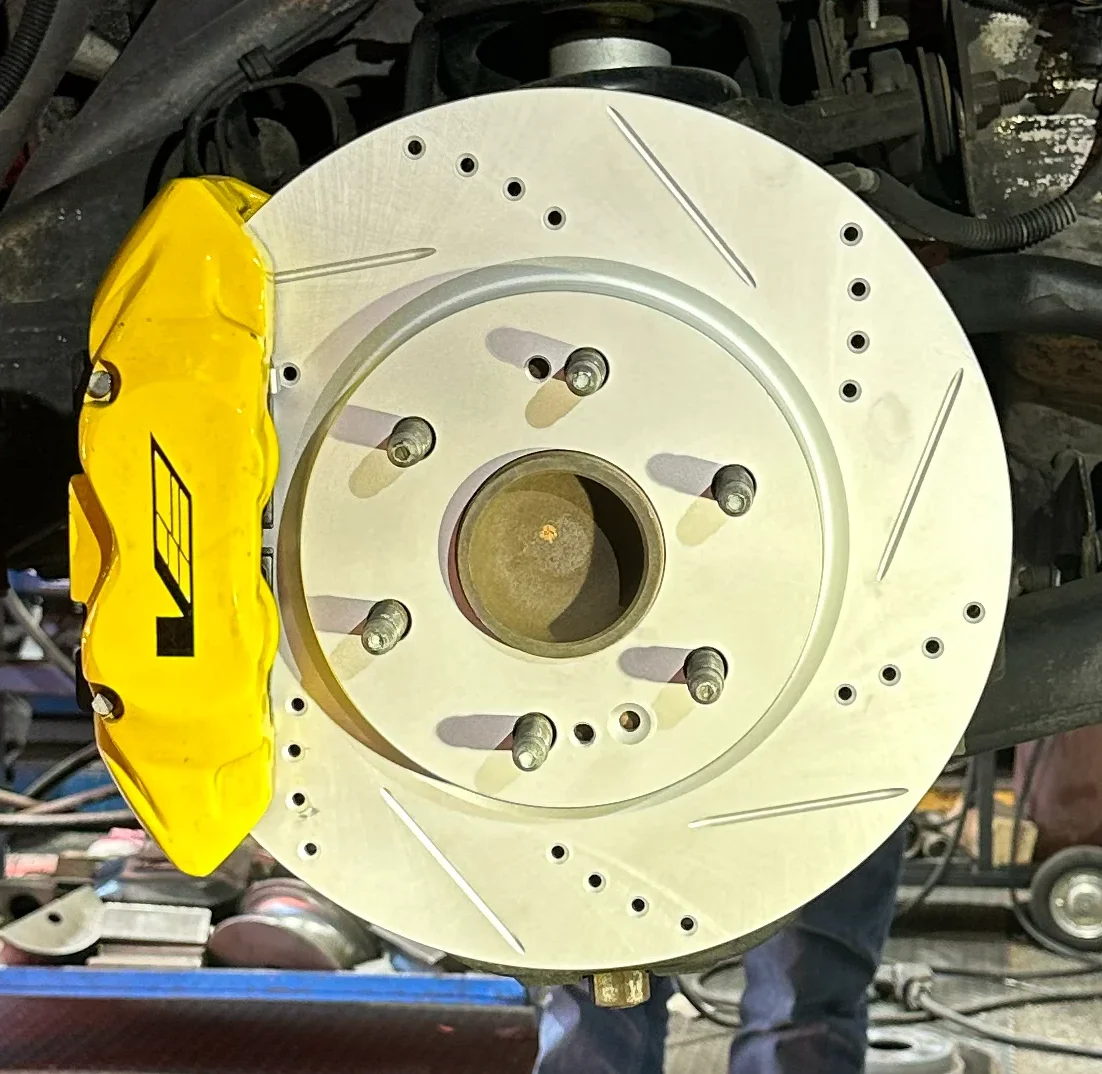
By Slyde Over Team on August 18, 2026
GMC Sierra 1500, Denali, and AT4/AT4X buyer guide - G11H18 drilled and slotted truck rotors, carbon ceramic pads, and fitment for regular towing.
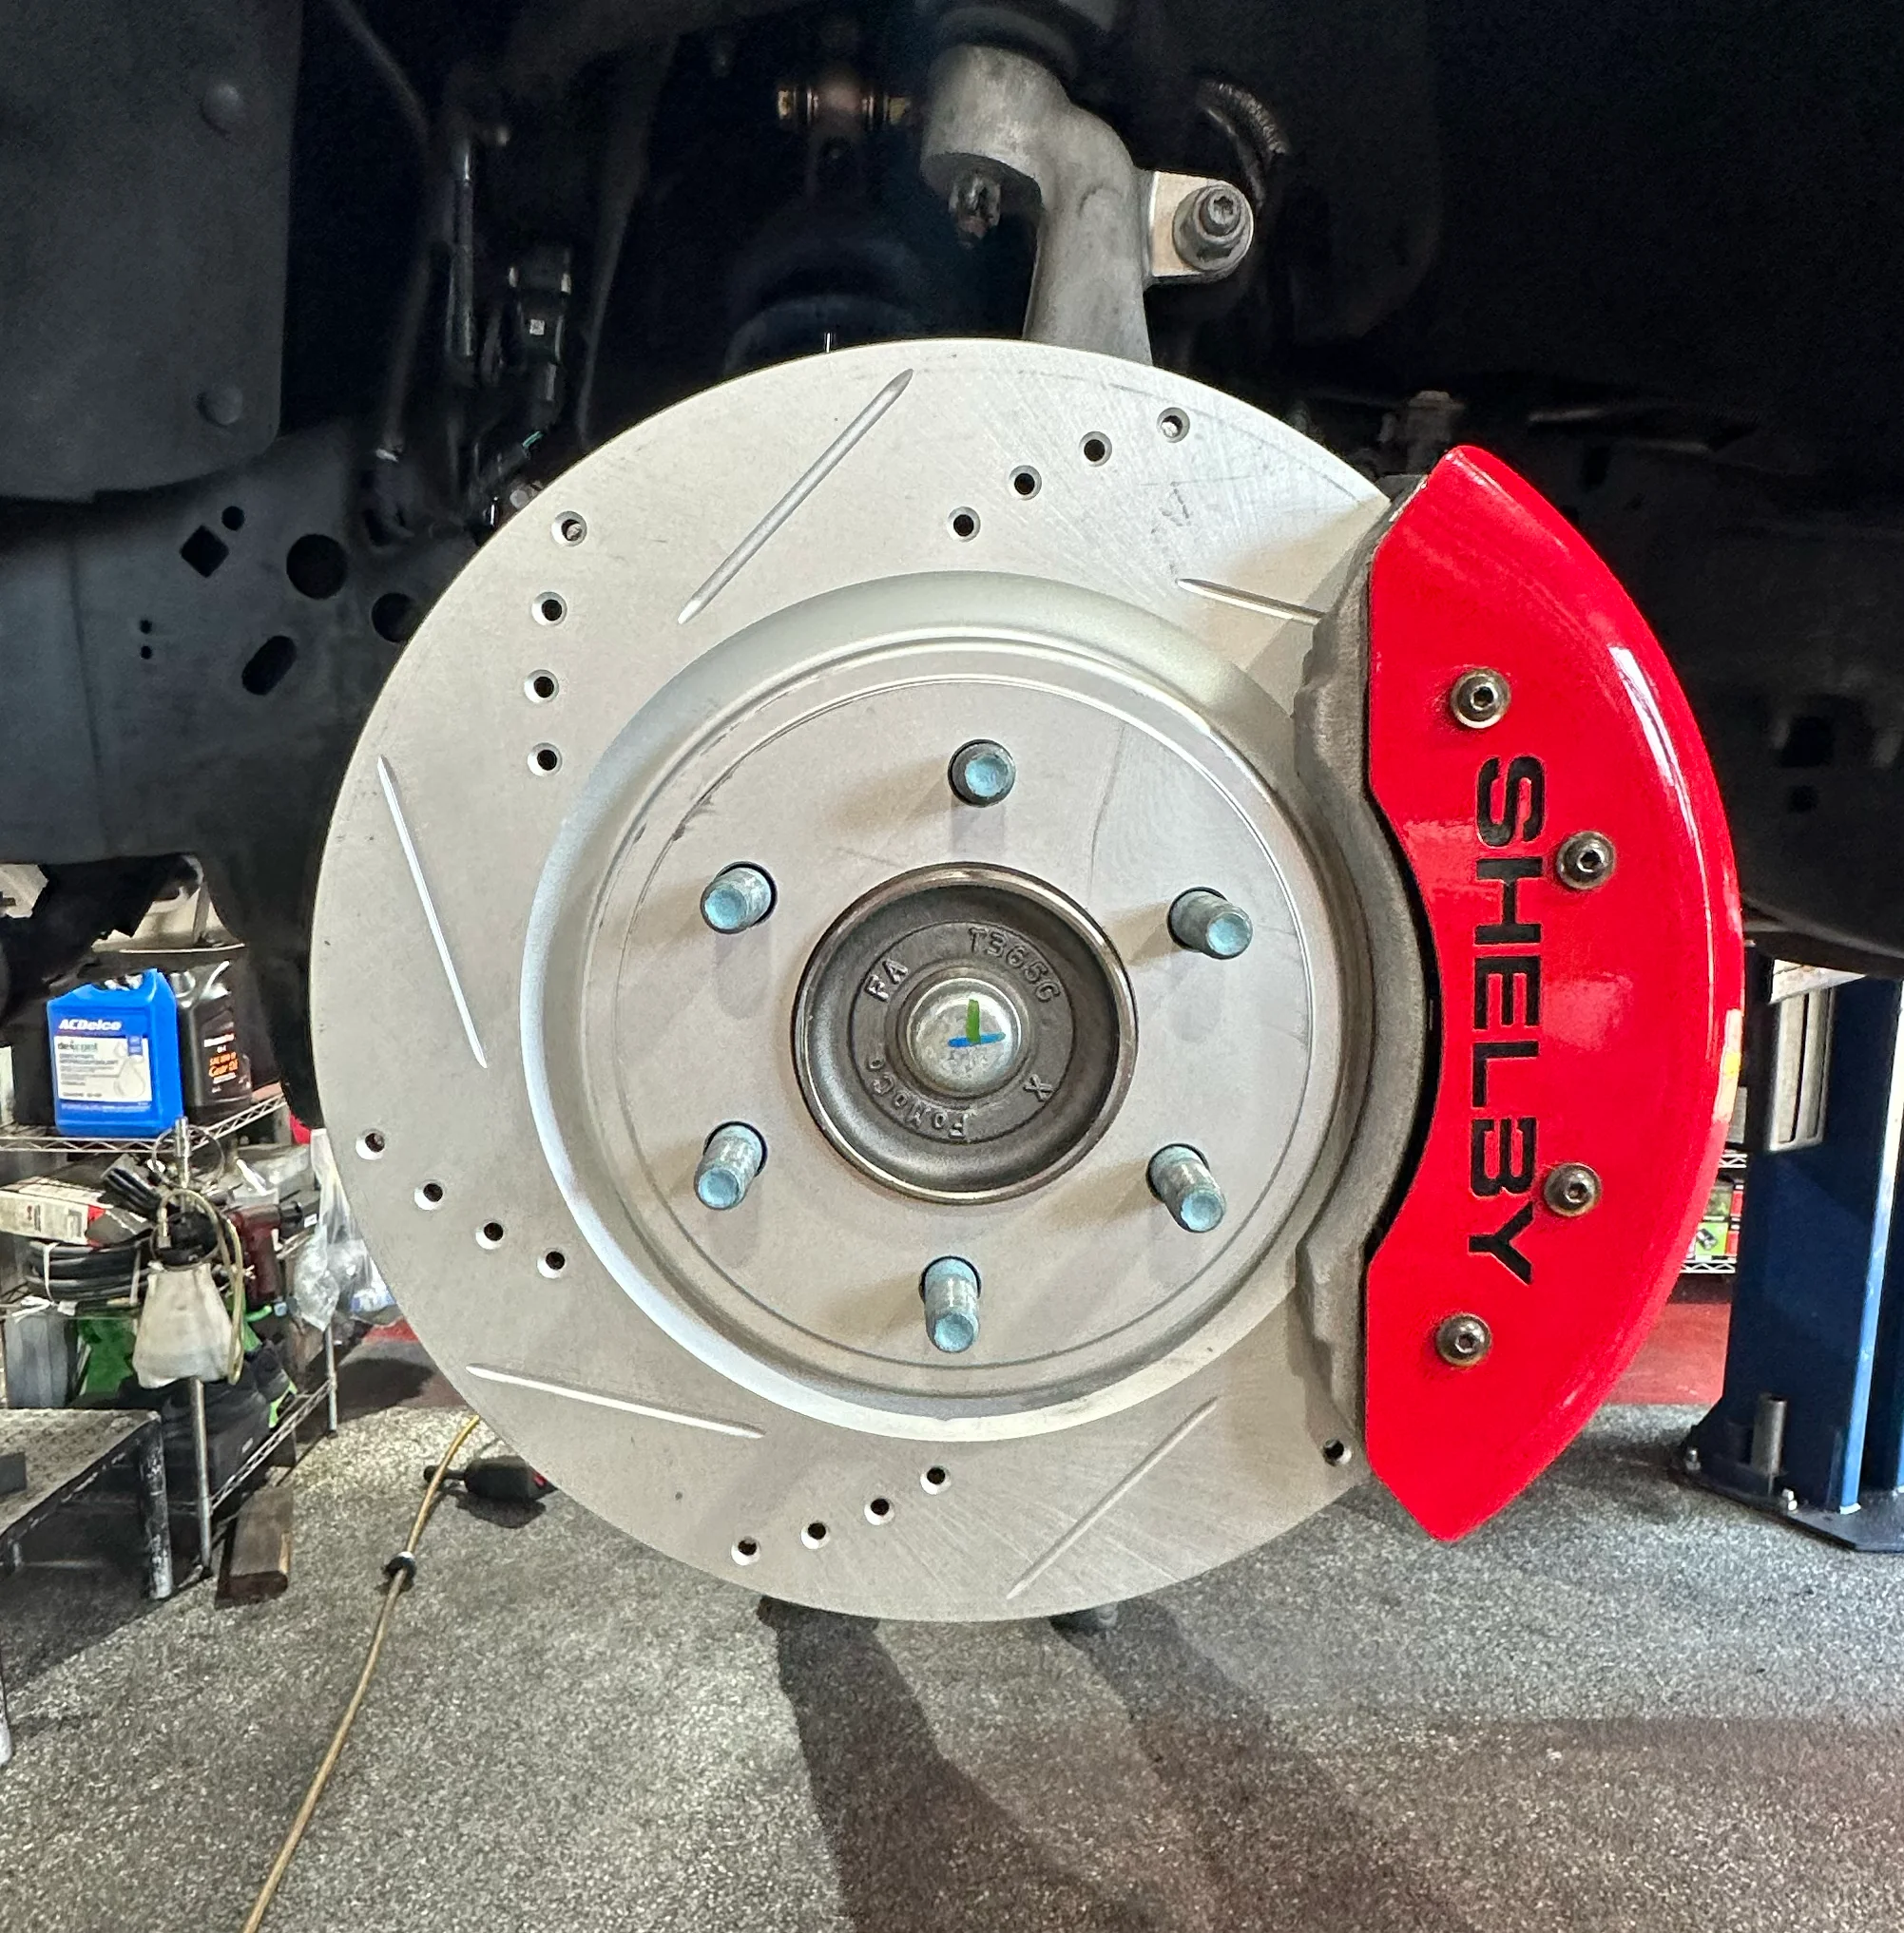
By Slyde Over Team on August 18, 2026
Ford F-250/F-350 Super Duty buyer guide - G11H18 drilled and slotted truck rotors, carbon ceramic pads, and heavy-duty towing fitment for Power Stroke diesel trucks.
By Slyde Over Team on August 18, 2026
Honest comparison for truck owners: Ghost Brakes G11H18 drilled and slotted kits vs PowerStop Z23 for F-150 and Silverado towing duty.
By Slyde Over Team on May 18, 2026
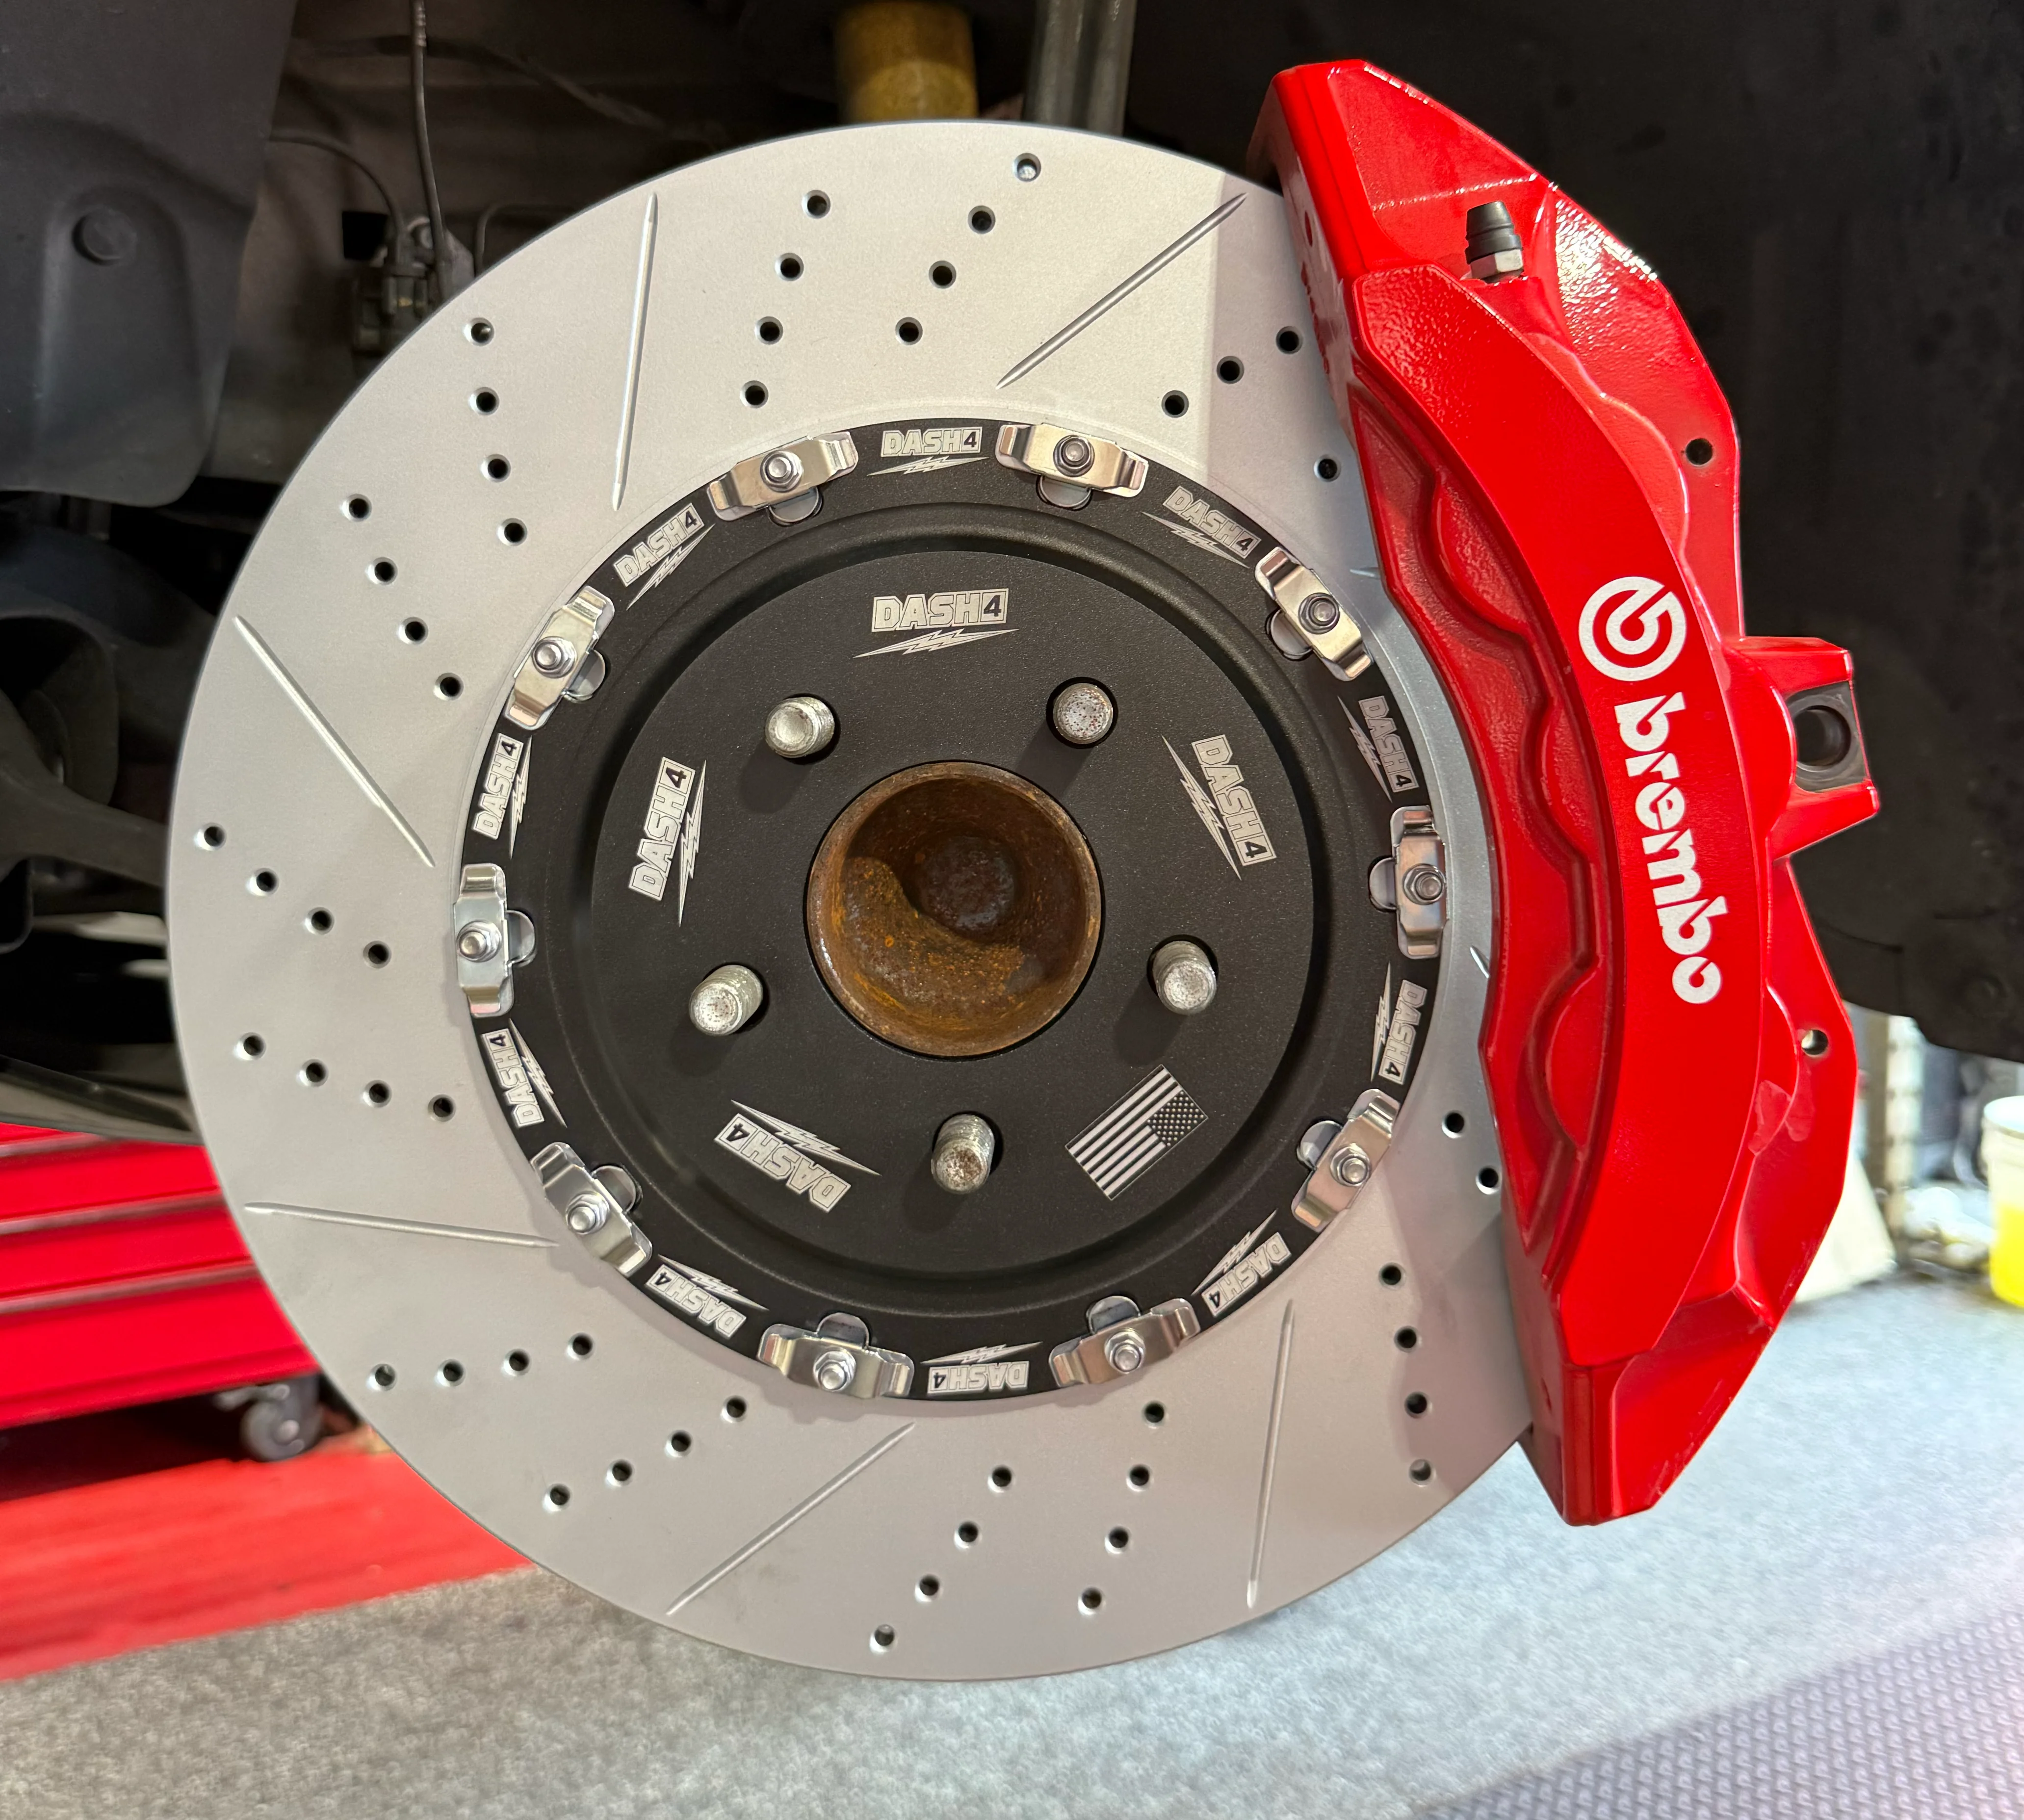
Why OEM Challenger Hellcat, Redeye, and Super Stock brakes fail under serious use - and the Ghost Brakes 2-piece kit that actually matches the Challenger's performance.
By Slyde Over Team on May 18, 2026
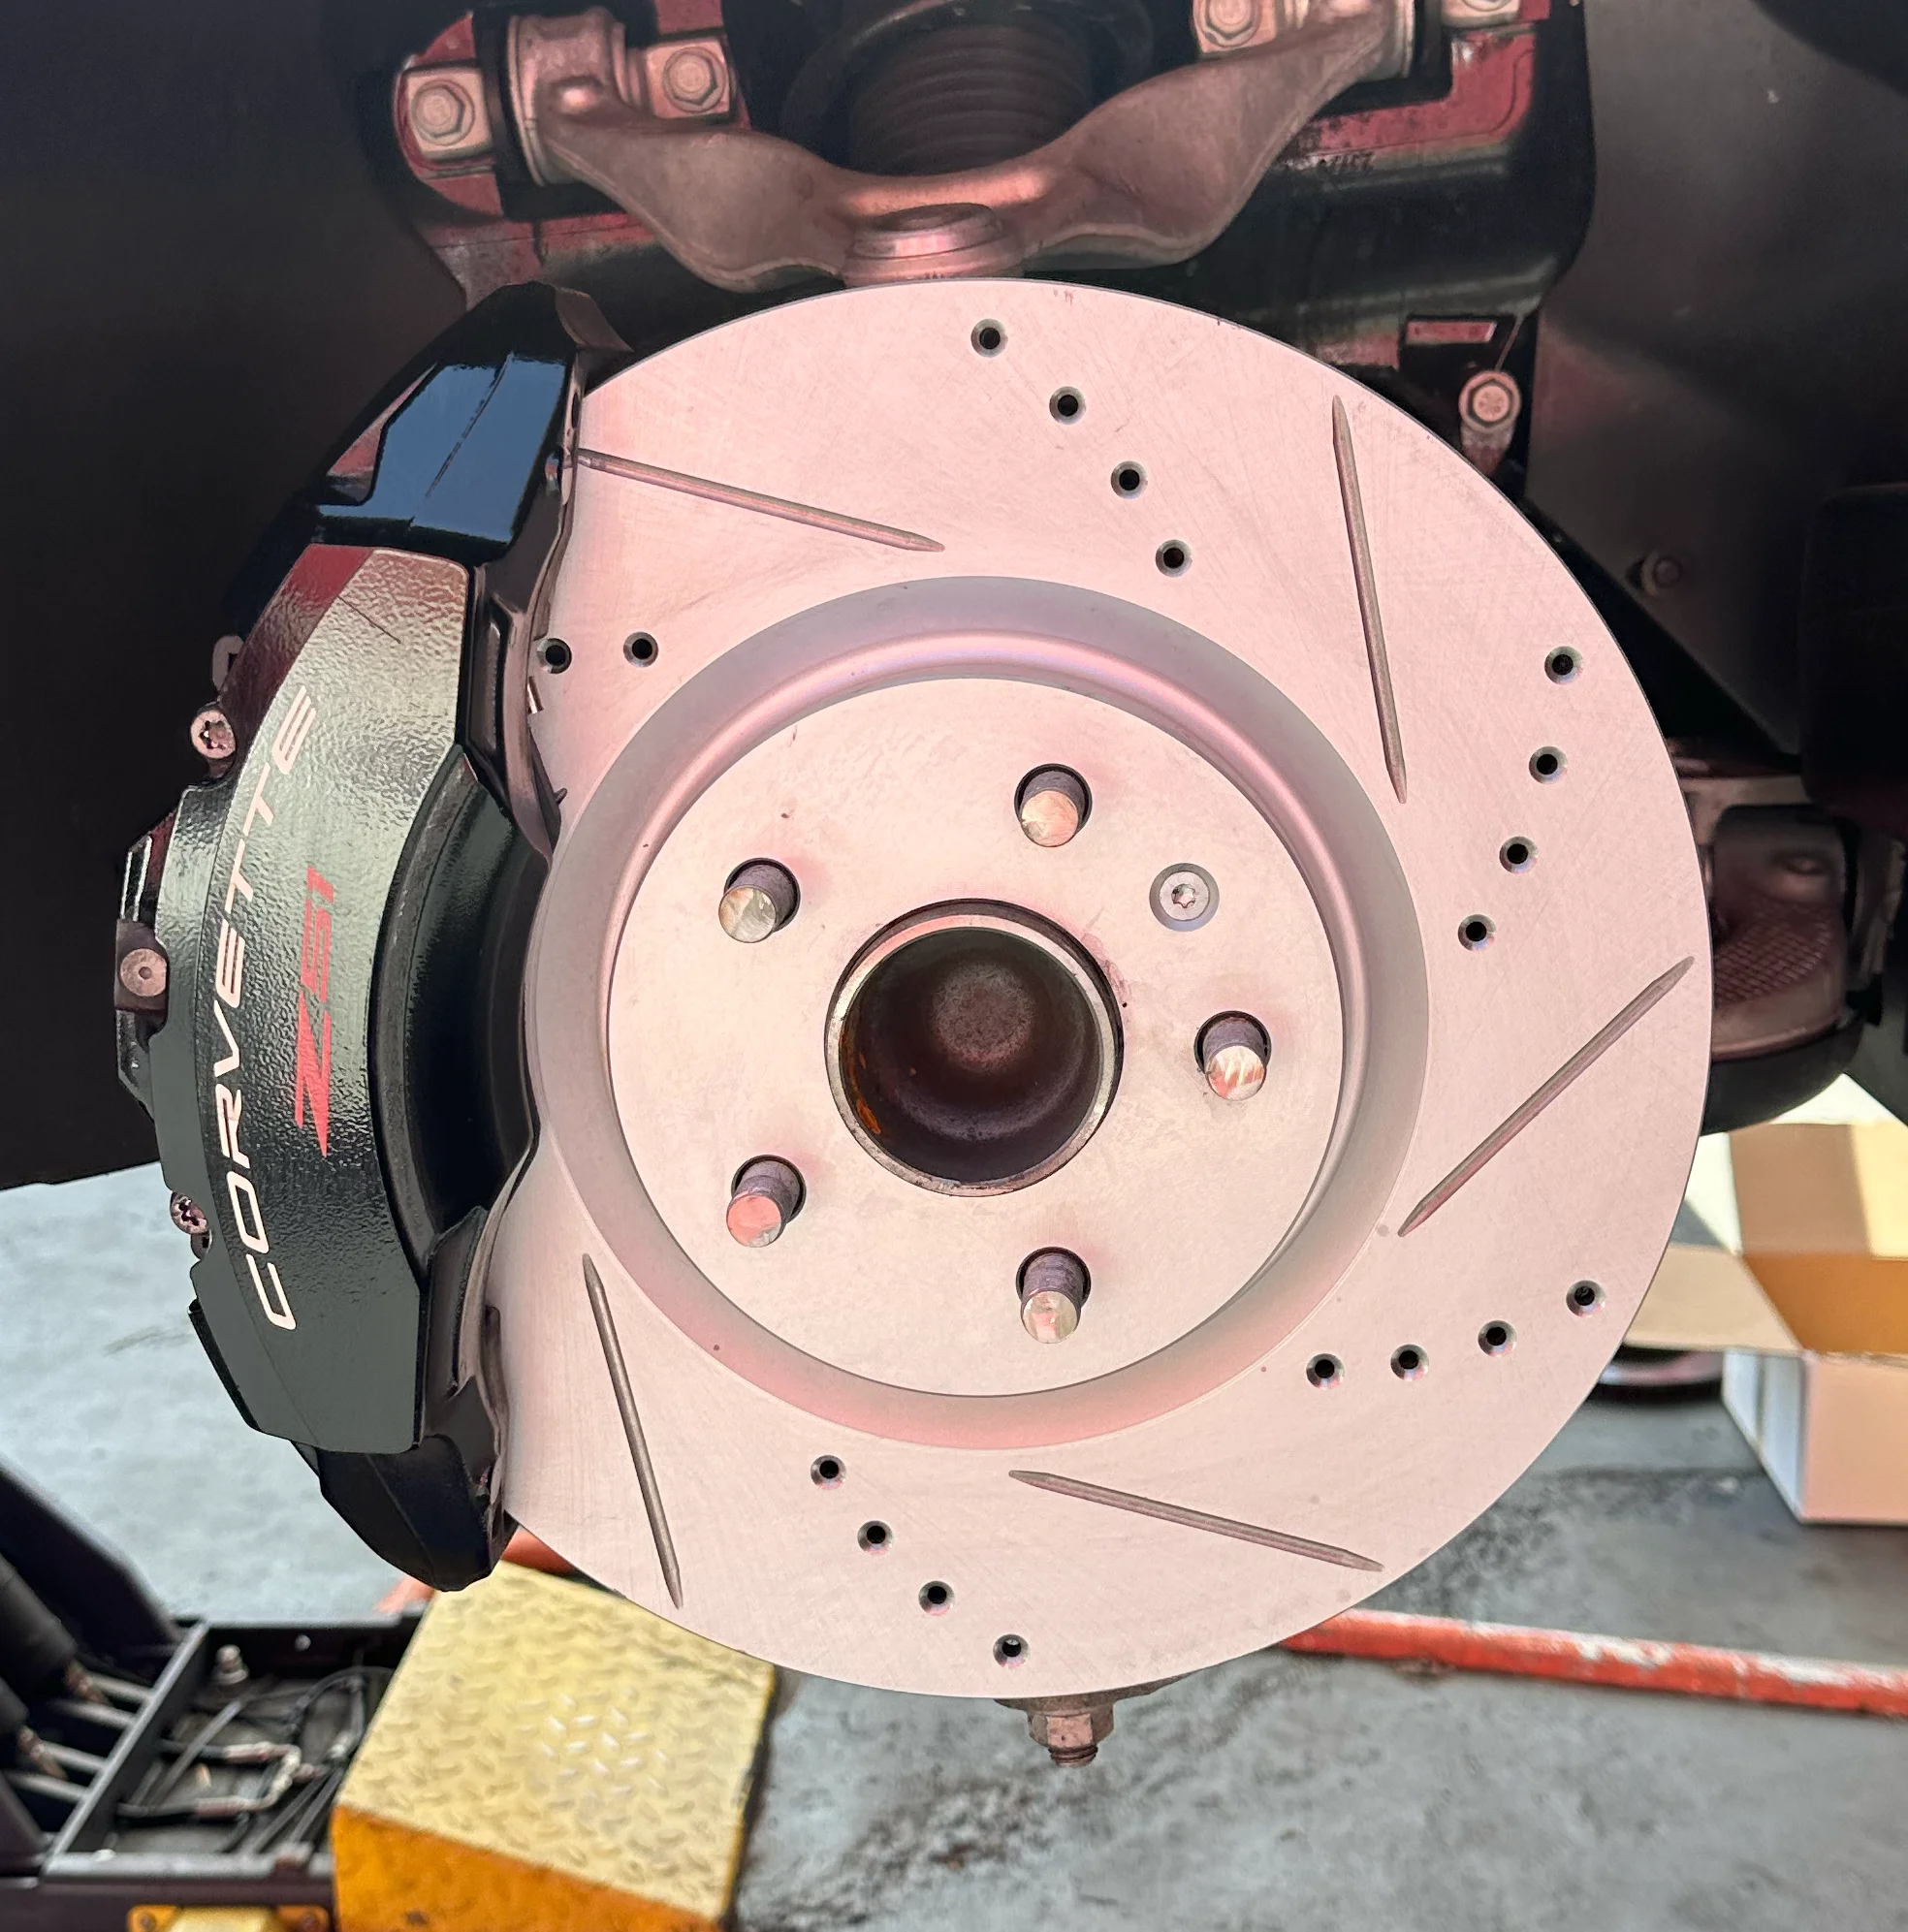
C7 vs C8 brake dynamics, Z06 track-day demands, and the Ghost Brakes kit that handles America's sports car from canyon roads to track days.
By Slyde Over Team on August 7, 2026
CT5-V Blackwing carbon aero mods done? Upgrade brakes next - Ghost Brakes 2-piece floating rotors for 668 HP V-Series track performance.
By Slyde Over Team on August 7, 2026
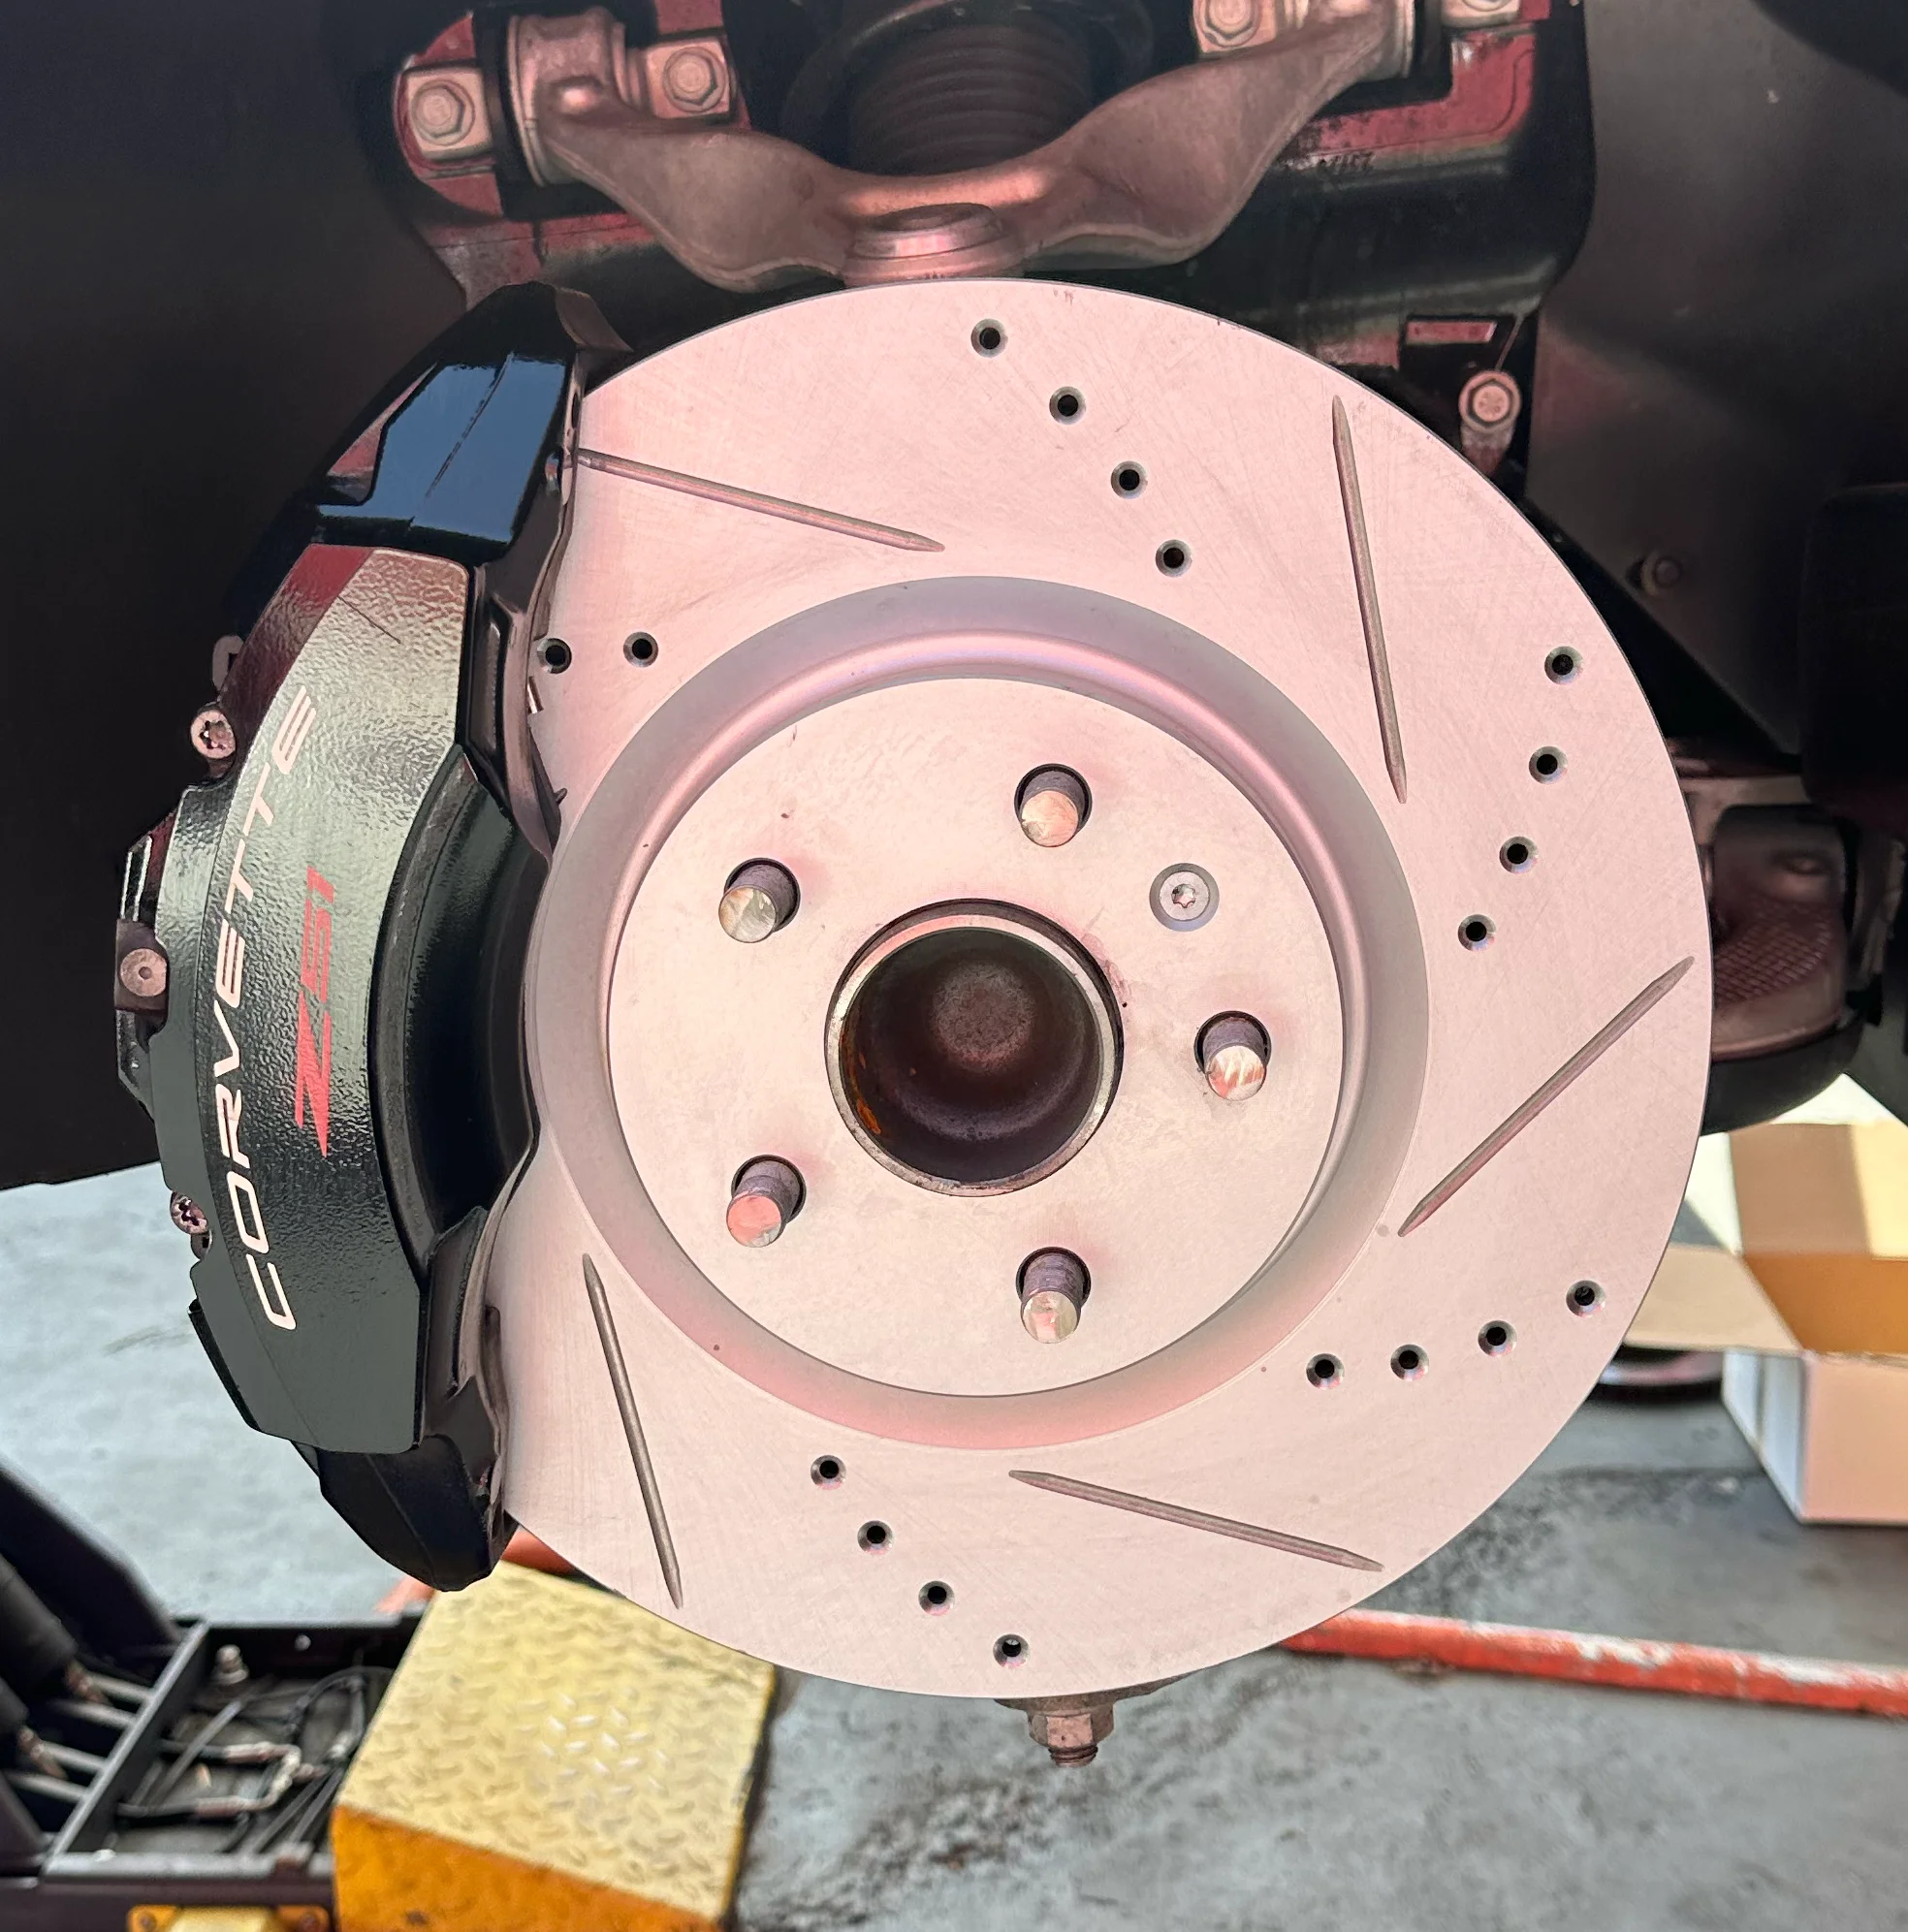
Added Z06 or Z07 carbon aero to your C8? Upgrade brakes next - G3500 2-piece floating rotors for C8 Z06, E-Ray, and ZR1.
By Slyde Over Team on August 7, 2026
Installed ZL1 or 1LE track-package aero on your Camaro? Here is the brake upgrade that matches your new cornering speed.

By Slyde Over Team on July 30, 2026
Complete Kia K5 / Stinger brake upgrade guide - Ghost Brakes G11H18 drilled and slotted rotors with carbon ceramic pads. Bolt-on install, lifetime warranty.

By Slyde Over Team on July 30, 2026
Complete Kia Sportage brake upgrade guide - Ghost Brakes G11H18 drilled and slotted rotors with carbon ceramic pads. Bolt-on install, lifetime warranty.

By Slyde Over Team on July 30, 2026
Complete Kia Telluride brake upgrade guide - Ghost Brakes G11H18 drilled and slotted rotors with carbon ceramic pads. Bolt-on install, lifetime warranty.

By Slyde Over Team on July 30, 2026
Complete Audi S4 / RS5 brake upgrade guide - Ghost Brakes G11H18 drilled and slotted rotors with carbon ceramic pads. Bolt-on install, lifetime warranty.

By Slyde Over Team on July 30, 2026
Complete Audi Q5 / SQ5 brake upgrade guide - Ghost Brakes G11H18 drilled and slotted rotors with carbon ceramic pads. Bolt-on install, lifetime warranty.

By Slyde Over Team on July 30, 2026
Complete Audi A4 / S4 brake upgrade guide - Ghost Brakes G11H18 drilled and slotted rotors with carbon ceramic pads. Bolt-on install, lifetime warranty.

By Slyde Over Team on July 30, 2026
Complete Mercedes GLE brake upgrade guide - Ghost Brakes G11H18 drilled and slotted rotors with carbon ceramic pads. Bolt-on install, lifetime warranty.

By Slyde Over Team on July 30, 2026
Complete Mercedes E-Class brake upgrade guide - Ghost Brakes G11H18 drilled and slotted rotors with carbon ceramic pads. Bolt-on install, lifetime warranty.

By Slyde Over Team on July 30, 2026
Complete Mercedes C-Class brake upgrade guide - Ghost Brakes G11H18 drilled and slotted rotors with carbon ceramic pads. Bolt-on install, lifetime warranty.

By Slyde Over Team on July 30, 2026
Complete Porsche Macan brake upgrade guide - Ghost Brakes G11H18 drilled and slotted rotors with carbon ceramic pads. Bolt-on install, lifetime warranty.

By Slyde Over Team on July 30, 2026
Complete Acura Integra Type S brake upgrade guide - Ghost Brakes G11H18 drilled and slotted rotors with carbon ceramic pads. Bolt-on install, lifetime warranty.

By Slyde Over Team on July 30, 2026
Complete BMW M2 brake upgrade guide - Ghost Brakes G11H18 drilled and slotted rotors with carbon ceramic pads. Bolt-on install, lifetime warranty.

By Slyde Over Team on July 30, 2026
Complete Lexus IS / RC F brake upgrade guide - Ghost Brakes G11H18 drilled and slotted rotors with carbon ceramic pads. Bolt-on install, lifetime warranty.

By Slyde Over Team on July 30, 2026
Complete Nissan Z brake upgrade guide - Ghost Brakes G11H18 drilled and slotted rotors with carbon ceramic pads. Bolt-on install, lifetime warranty.

By Slyde Over Team on July 30, 2026
Complete Subaru WRX brake upgrade guide - Ghost Brakes G11H18 drilled and slotted rotors with carbon ceramic pads. Bolt-on install, lifetime warranty.

By Slyde Over Team on July 30, 2026
Complete Honda Civic Type R brake upgrade guide - Ghost Brakes G11H18 drilled and slotted rotors with carbon ceramic pads. Bolt-on install, lifetime warranty.

By Slyde Over Team on July 30, 2026
Complete Toyota 4Runner TRD brake upgrade guide - Ghost Brakes G11H18 drilled and slotted rotors with carbon ceramic pads. Bolt-on install, lifetime warranty.
By Slyde Over Team on July 30, 2026
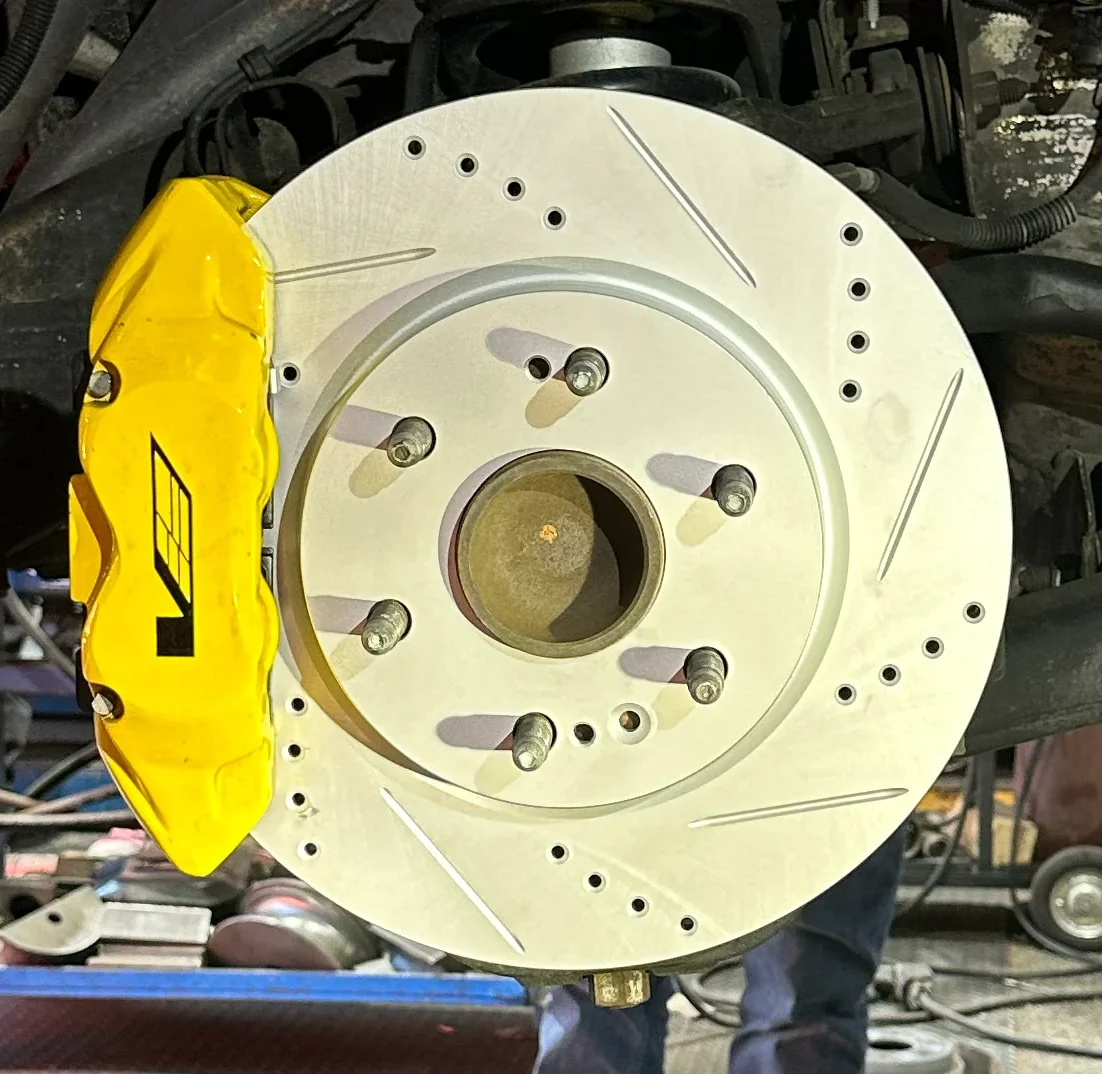
Complete Cadillac Escalade brake upgrade guide - Ghost Brakes G11H18 drilled and slotted rotors with carbon ceramic pads. Bolt-on install, lifetime warranty.
By Slyde Over Team on July 30, 2026
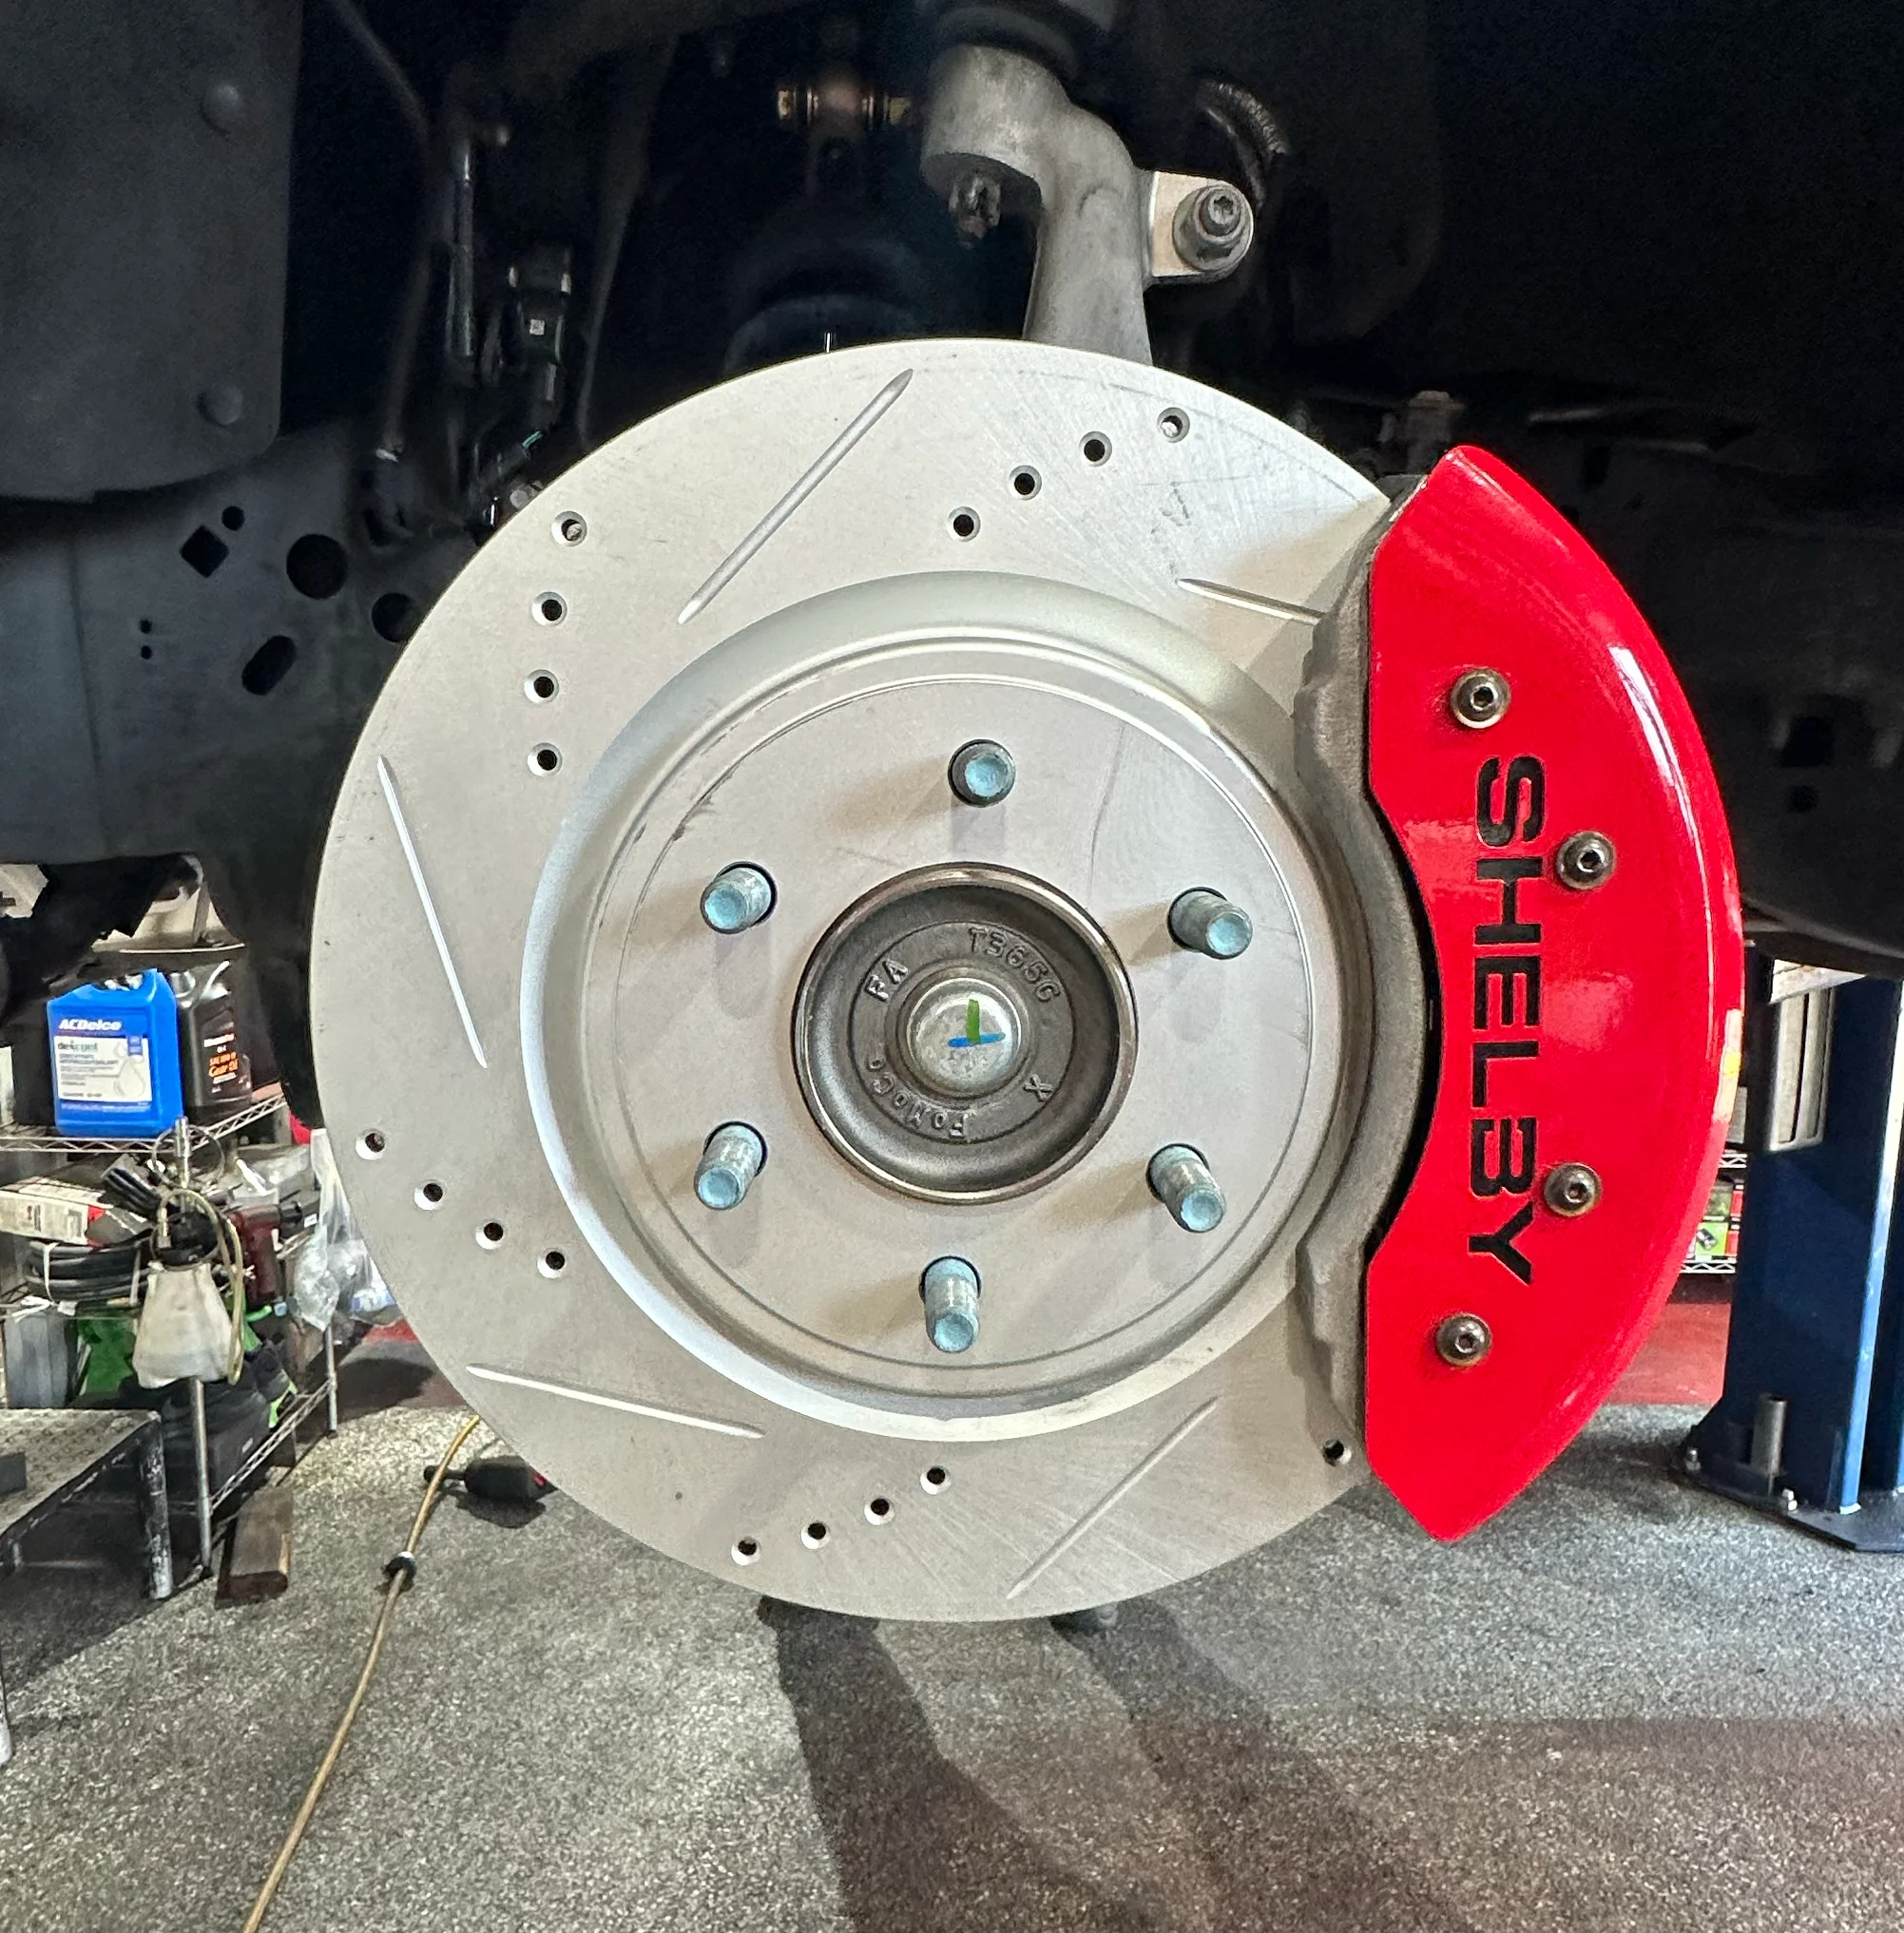
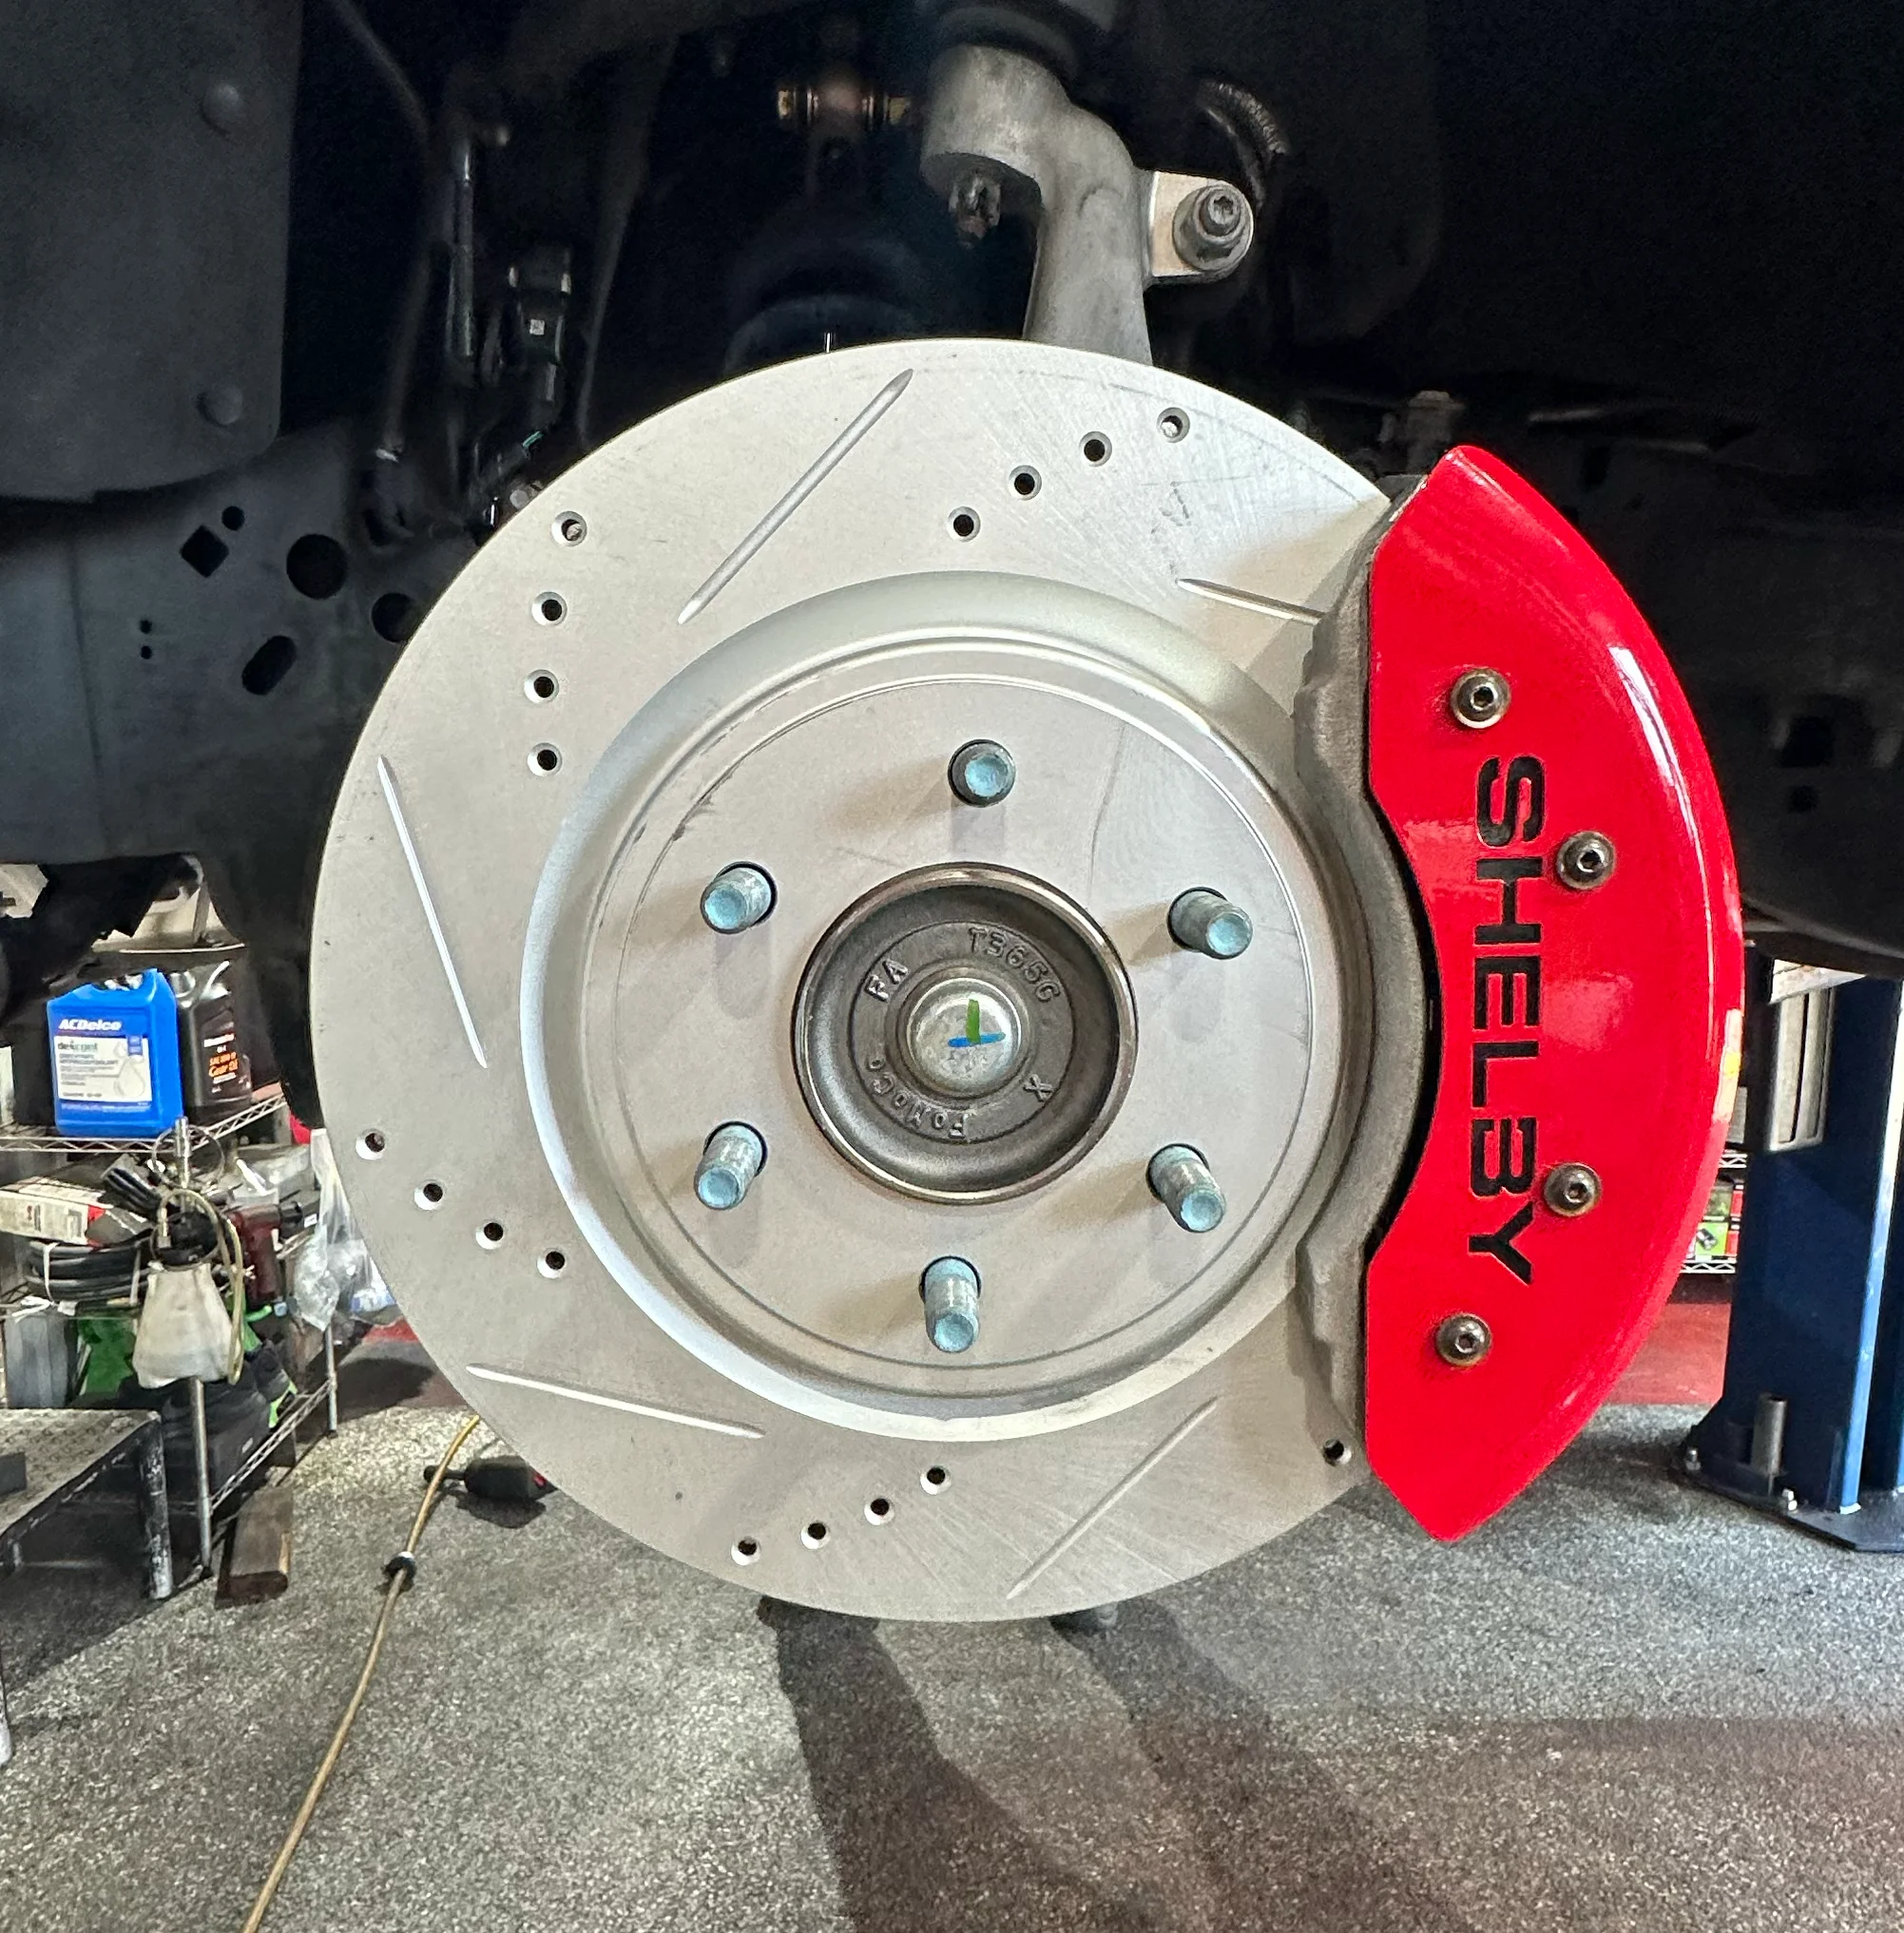
Complete Lincoln Navigator brake upgrade guide - Ghost Brakes G11H18 drilled and slotted rotors with carbon ceramic pads. Bolt-on install, lifetime warranty.
By Slyde Over Team on July 30, 2026
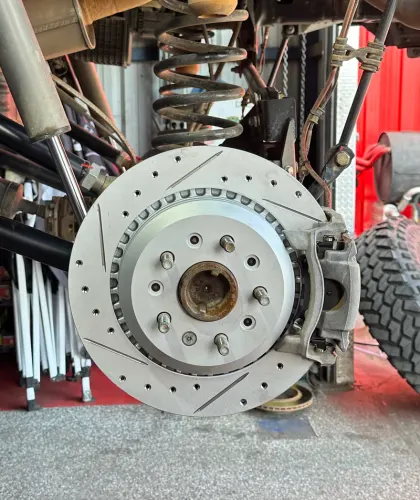
Complete Ford Expedition brake upgrade guide - Ghost Brakes G11H18 drilled and slotted rotors with carbon ceramic pads. Bolt-on install, lifetime warranty.
By Slyde Over Team on July 30, 2026
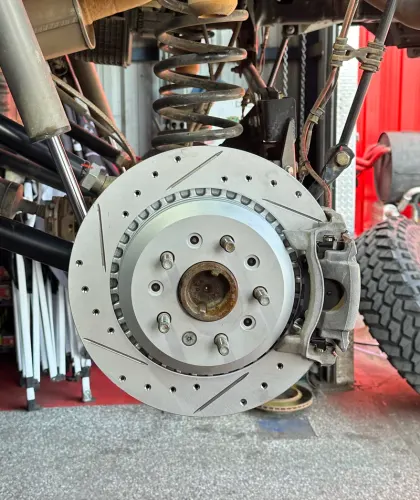
Complete Jeep Wrangler JL and Gladiator JT off-road maintenance schedule - oil, diffs, brakes, tires, and inspection intervals for 35"+ trail use.
By Slyde Over Team on July 30, 2026
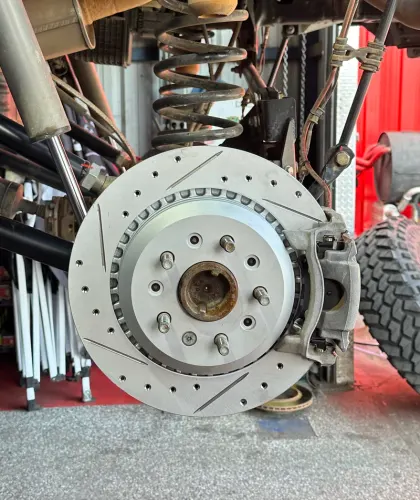
Serpentine belt inspection and replacement guide for Jeep Wrangler JL and Gladiator JT - wear symptoms, interval, and what a squeal means on a trail rig.
By Slyde Over Team on July 30, 2026
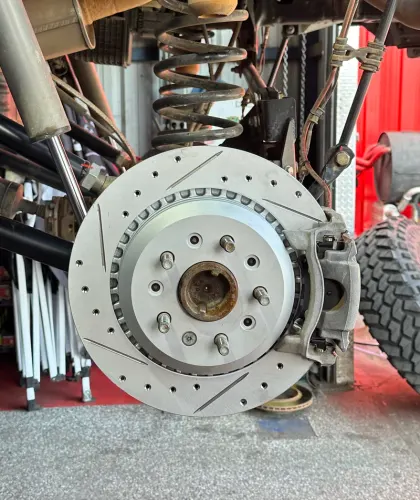
Jeep Wrangler JL and Gladiator JT battery replacement and electrical guide - group size, dual-battery setups for winches, and signs of a failing battery on trai
By Slyde Over Team on July 30, 2026
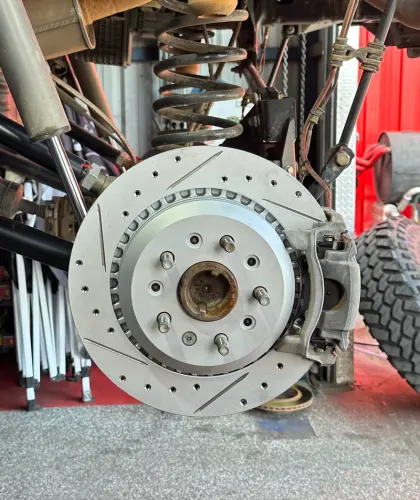
Jeep Wrangler and Gladiator tire rotation interval and wear pattern guide for 35"+ off-road tires - rotation patterns, alignment checks, and trail wear symptoms
By Slyde Over Team on July 30, 2026
Jeep Wrangler and Gladiator sway bar disconnect and suspension inspection guide - electronic Rubicon disconnect, manual setups, and 35"+ tire considerations.
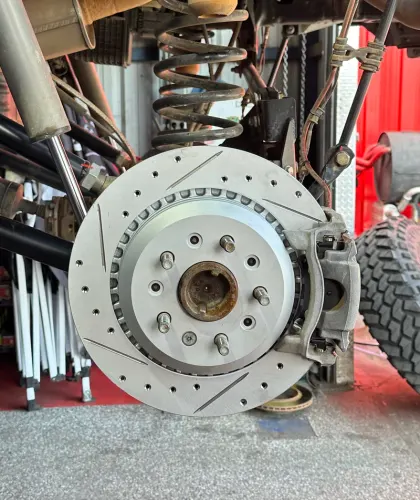
By Slyde Over Team on July 30, 2026
Jeep Wrangler JL and Gladiator JT differential and transfer case fluid service - specs, intervals, and why off-road use with 35"+ tires demands shorter service.
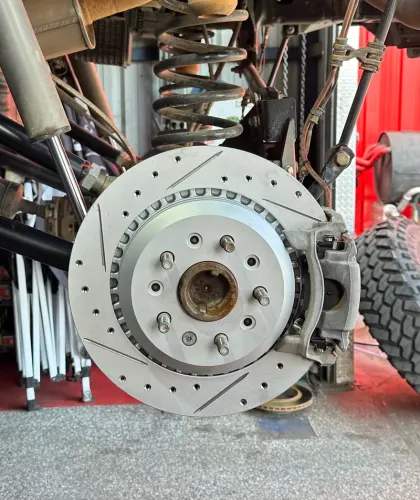
By Slyde Over Team on July 30, 2026
Complete Jeep Gladiator JT oil change guide for 3.6L Pentastar and 3.0L EcoDiesel engines. Correct oil type, capacity, filter, and severe-duty interval for towi
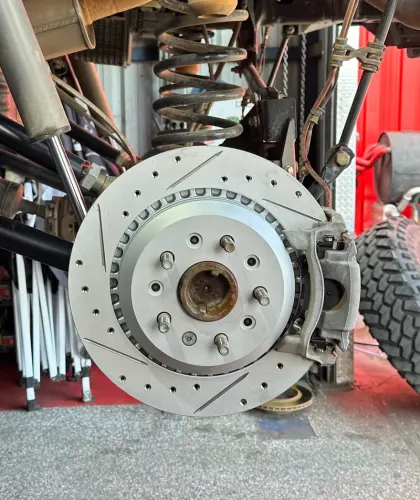
By Slyde Over Team on July 30, 2026
Complete Jeep Wrangler JL oil change guide for 3.6L Pentastar and 2.0L Turbo engines. Correct oil type, capacity, filter, and severe-duty interval for off-road
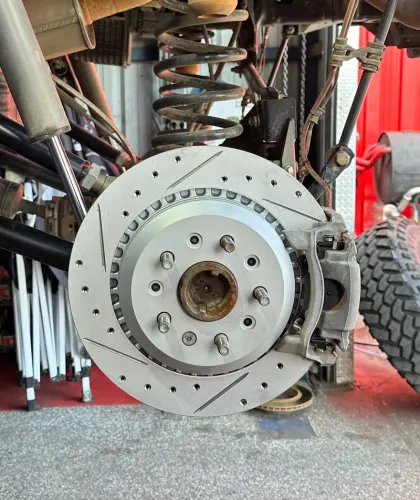
By Slyde Over Team on July 30, 2026
Complete Toyota Tundra and Tacoma TRD maintenance schedule - oil, fluids, filters, brakes, and inspection intervals for towing and off-road use.
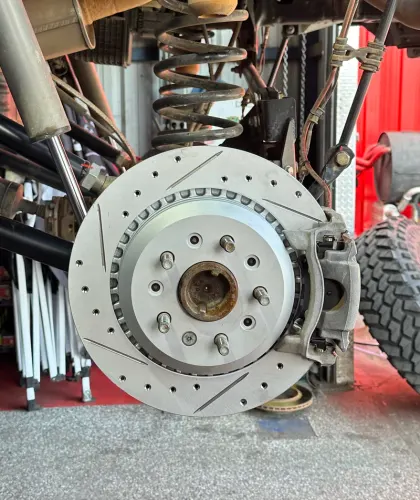
By Slyde Over Team on July 30, 2026
Serpentine belt and alternator inspection guide for Toyota Tundra and Tacoma - wear symptoms, interval, and what a squeal usually means.
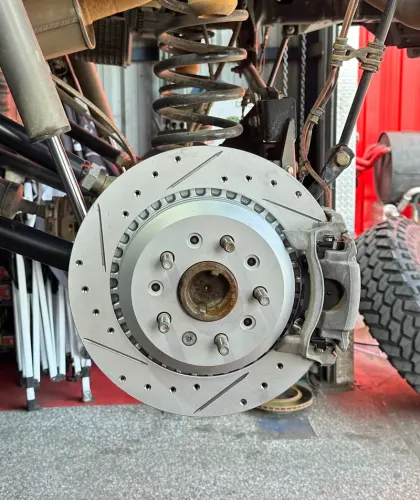
By Slyde Over Team on July 30, 2026
Toyota Tundra and Tacoma battery replacement guide - correct group size, i-FORCE MAX hybrid considerations, and signs of a failing battery.
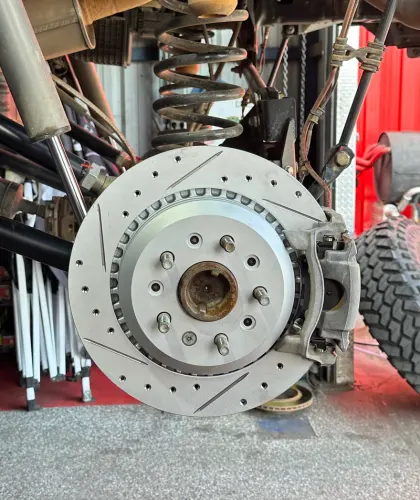
By Slyde Over Team on July 30, 2026
Toyota TRD Pro Fox shock inspection and service guide for Tundra and Tacoma - symptoms of wear, fluid checks, and why off-road use shortens the interval.
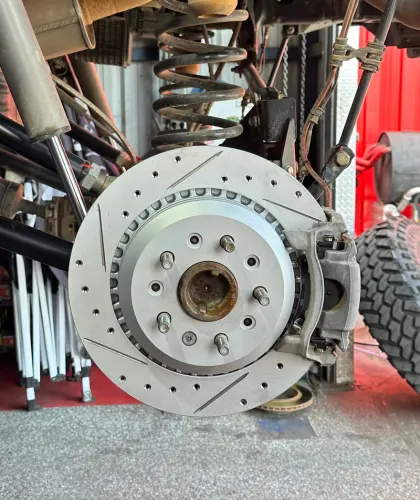
By Slyde Over Team on July 30, 2026
Toyota Tundra and Tacoma TRD tire rotation interval and wear pattern guide - why towing, payload, and off-road use each wear tires differently.
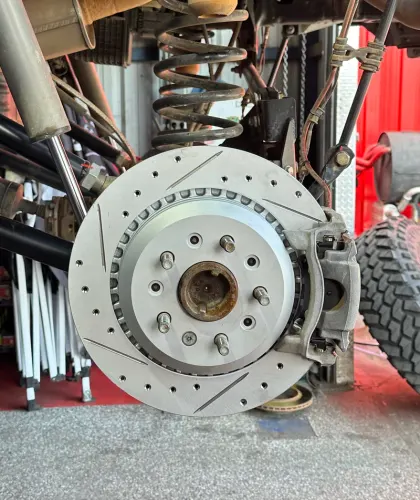
By Slyde Over Team on July 30, 2026
Toyota Tundra and Tacoma TRD 4x4 transfer case and differential fluid service - spec, interval, and why off-road and towing use both shorten it.
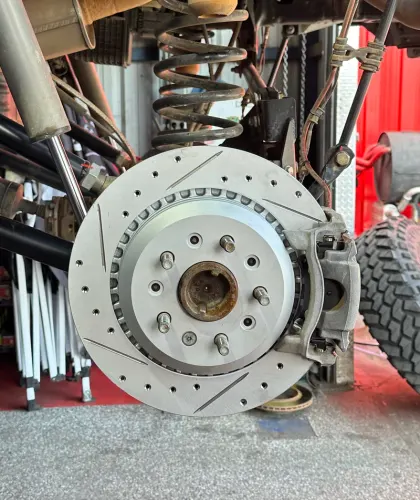
By Slyde Over Team on July 30, 2026
Toyota Tacoma TRD Pro and Off-Road oil change guide for 4th-gen 2.4L turbo and 3rd-gen V6 engines. Oil type, capacity, filter, and off-road interval.
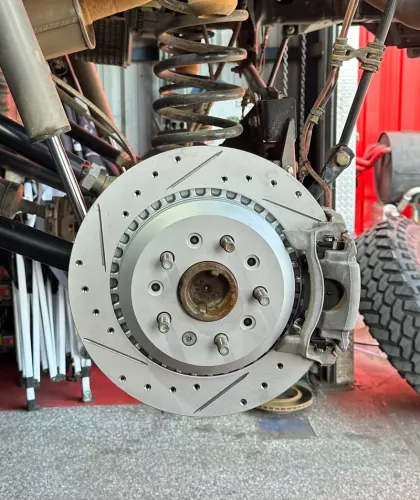
By Slyde Over Team on July 30, 2026
Complete Toyota Tundra oil change guide for 3.5L twin-turbo and i-FORCE MAX hybrid engines. Correct oil type, capacity, filter, and severe-duty interval for tow

By Slyde Over Team on July 30, 2026
Ghost Brakes vs DBA Disc Brakes Australia - compare 2-piece rotor technology, pad options, GEOMET coating, and fitment for American muscle and trucks.

By Slyde Over Team on July 30, 2026
Ghost Brakes 2-piece floating kits vs Baer Brakes Pro+ and Eradispeed - rotor technology, install complexity, and fitment for American muscle.

By Slyde Over Team on July 30, 2026
Ghost Brakes bolt-on 2-piece kits vs Wilwood big brake kits - rotor architecture, caliper requirements, and which fits your muscle car or truck.

By Slyde Over Team on July 30, 2026
Ghost Brakes complete 2-piece brake kits vs Hawk Performance pad-focused upgrades - rotor architecture, compounds, and recommendations.

By Slyde Over Team on July 30, 2026
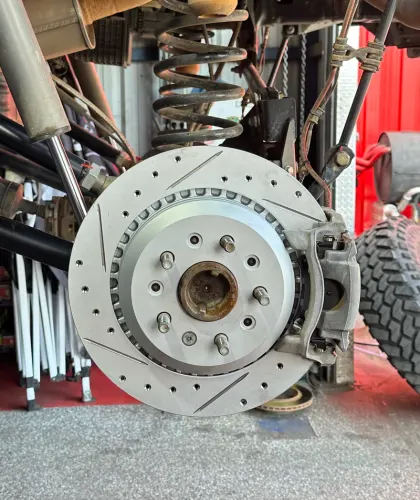
Ghost Brakes 2-piece rotors vs Brembo OEM and aftermarket kits - rotor construction, pad compounds, pricing, and fitment for Hellcat, Z06, and ZL1.
By Slyde Over Team on July 30, 2026
Complete Corvette Z06 maintenance schedule for C7 LT4 and C8 LT6. Oil, DCT, diff, brakes, and track prep.
By Slyde Over Team on July 30, 2026
Corvette Z06 battery guide for C7 and C8. AGM group size, frunk access on C8, and pre-track checks.
By Slyde Over Team on July 30, 2026
Corvette Z06 track alignment and tire guide for C7 and C8. Camber, toe, and hot tire pressures for HPDE.
By Slyde Over Team on July 30, 2026
Corvette Z06 spark plug replacement for C7 LT4 and C8 LT6. Factory interval and misfire symptoms under load.
By Slyde Over Team on July 30, 2026
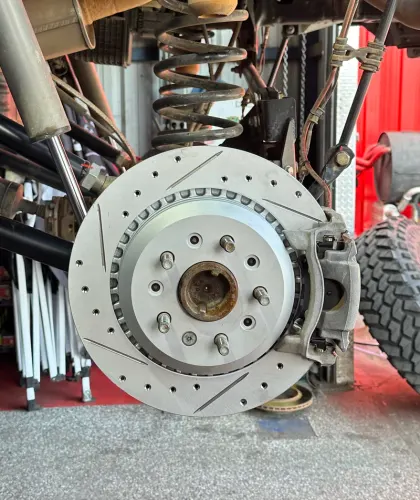
Corvette Z06 brake fluid flush guide for C7 and C8. Racing DOT 4, Brembo bleed procedure, and track tips.
By Slyde Over Team on July 30, 2026
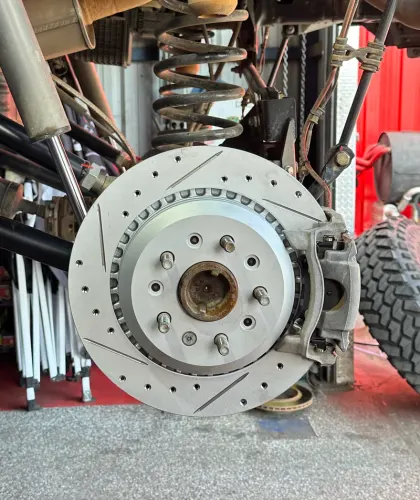
Corvette Z06 rear differential fluid service for C7 and C8. eLSD fluid spec, interval, and track maintenance.
By Slyde Over Team on July 30, 2026
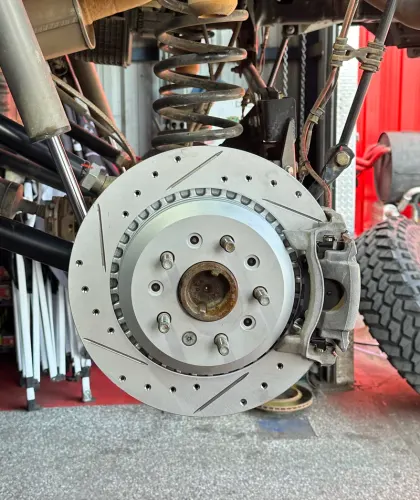
Corvette Z06 transmission fluid service for C8 DCT and C7 TR6060 manual. Fluid spec and track-day tips.
By Slyde Over Team on July 30, 2026
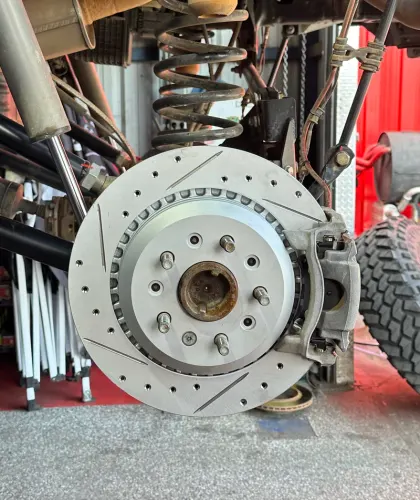
Complete Corvette Z06 oil change guide for C7 LT4 and C8 Z06 LT6. Dry-sump service, capacity, and track interval.
By Slyde Over Team on July 30, 2026
Complete Camaro ZL1 maintenance schedule for street and track use. Oil, trans, diff, brakes, and seasonal prep intervals.
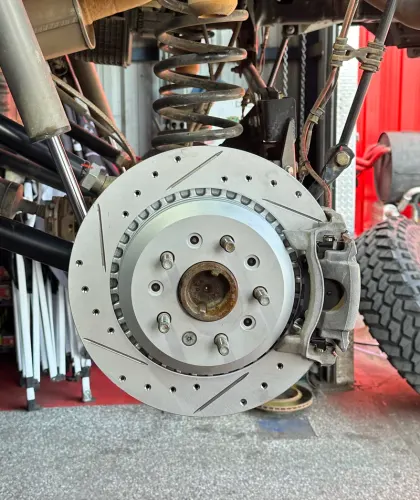
By Slyde Over Team on July 30, 2026
Camaro ZL1 battery replacement guide. Correct group size, AGM vs flooded, and pre-track electrical checks.
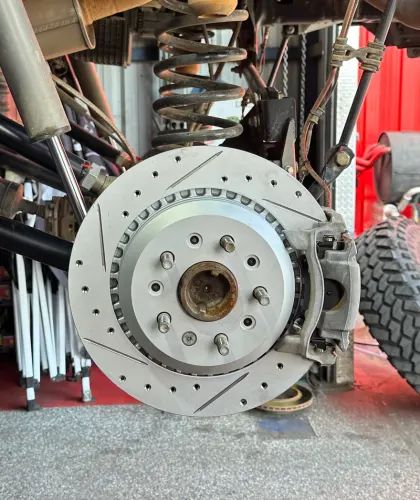
By Slyde Over Team on July 30, 2026
Camaro ZL1 track alignment and tire pressure guide. Recommended camber, toe, and hot pressures for HPDE.
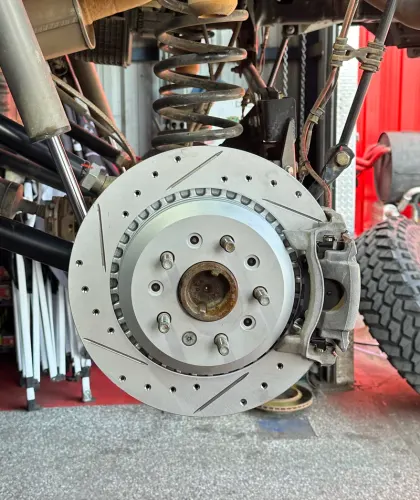
By Slyde Over Team on July 30, 2026
Camaro ZL1 LT4 spark plug and ignition coil replacement guide. Factory interval, heat range, and misfire symptoms.
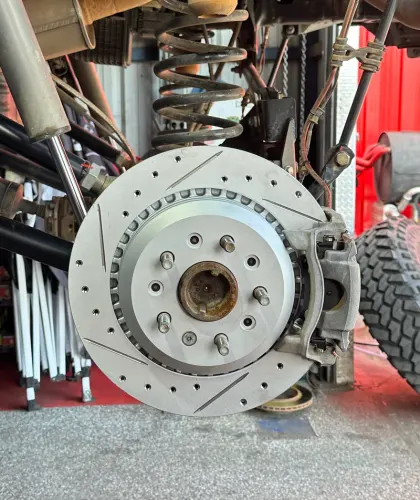
By Slyde Over Team on July 30, 2026
Camaro ZL1 brake fluid flush guide for street and track. When to upgrade to DOT 4 racing fluid and bleed Brembo calipers.
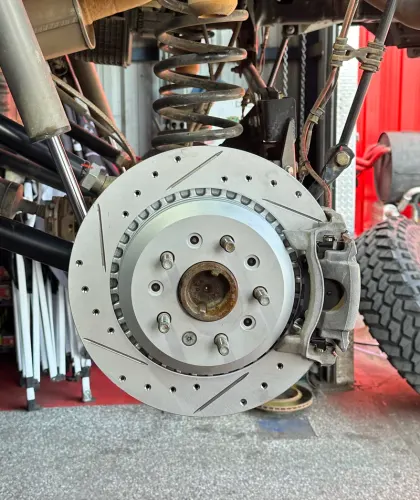
By Slyde Over Team on July 30, 2026
Camaro ZL1 rear differential fluid service guide. Fluid spec for the limited-slip MRC diff and track-day maintenance.
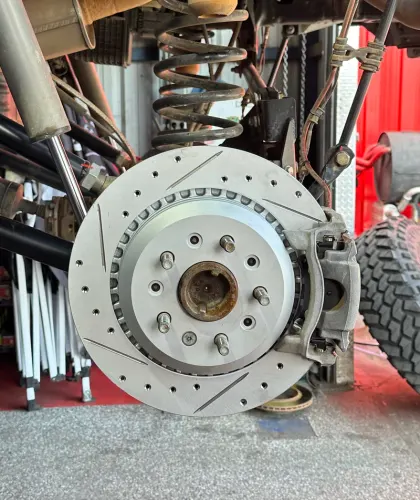
By Slyde Over Team on July 30, 2026
Camaro ZL1 transmission fluid service for 10L90 automatic and TR6060 manual. Fluid spec, interval, and track use tips.
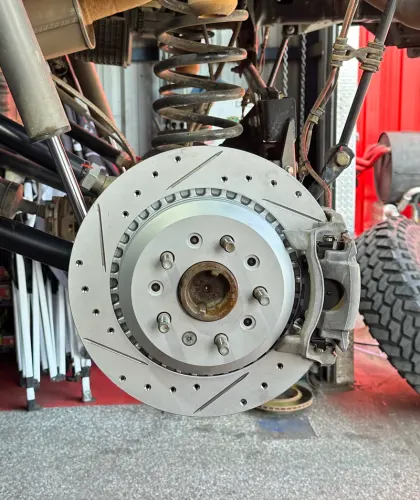
By Slyde Over Team on July 30, 2026
Complete Camaro ZL1 oil change guide for the supercharged LT4. Correct Dexos oil spec, capacity, filter, and track-day interval.
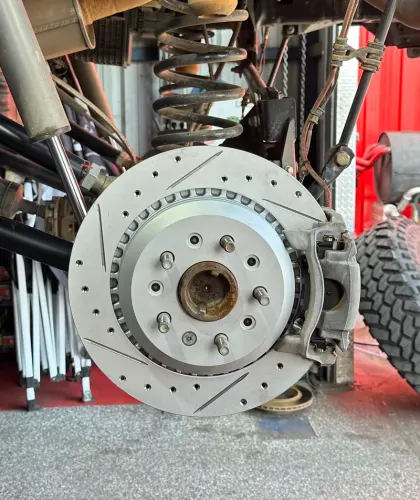
By Slyde Over Team on July 29, 2026
Serpentine belt and alternator inspection guide for Ram 1500 and 2500 - wear symptoms, interval, and what a squeal usually means.
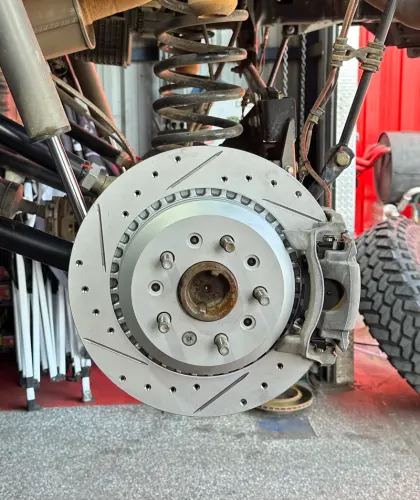
By Slyde Over Team on July 29, 2026
Ram 1500 and 2500 battery replacement guide - correct group size, dual-battery diesel setups, and signs of a failing battery.
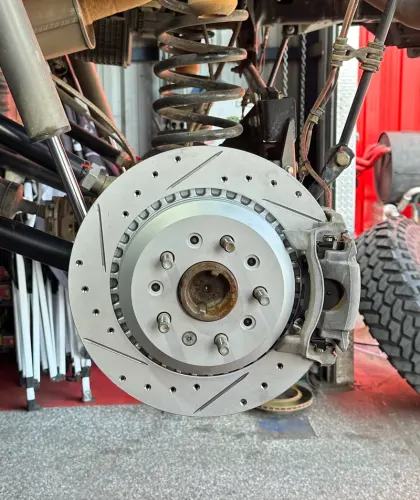
By Slyde Over Team on July 29, 2026
Ram 1500 and 2500 tire rotation interval and wear pattern guide - why towing, payload, and off-road use each wear tires differently.
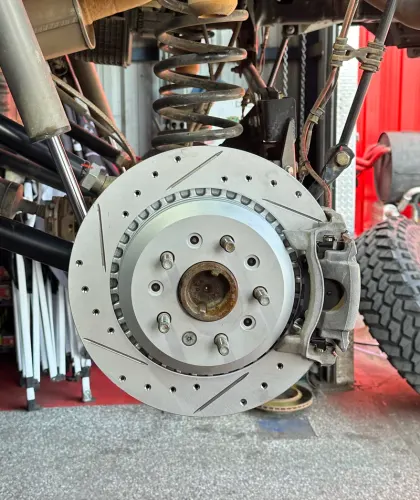
By Slyde Over Team on July 29, 2026
Ram 1500 and 2500 4x4 transfer case and front differential fluid service - spec, interval, and why off-road and towing use both shorten it.
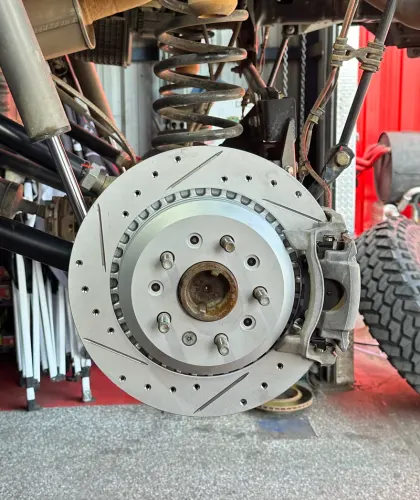
By Slyde Over Team on July 29, 2026
Pre-tow checklist for Ram 2500 - brakes, cooling system, hitch, tires, and trailer brake controller before a heavy pull.
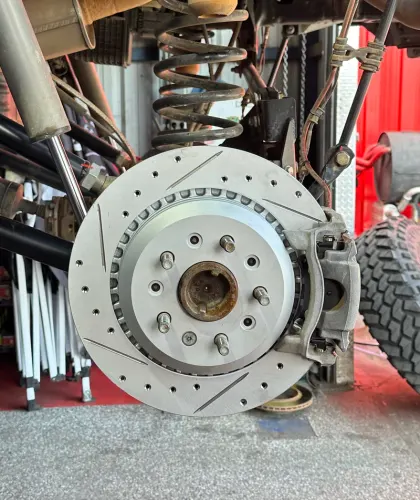
By Slyde Over Team on July 29, 2026
Ram 2500 6.7L Cummins diesel fuel filter and DEF service guide - interval, symptoms of a clogged filter, and DEF fluid basics.
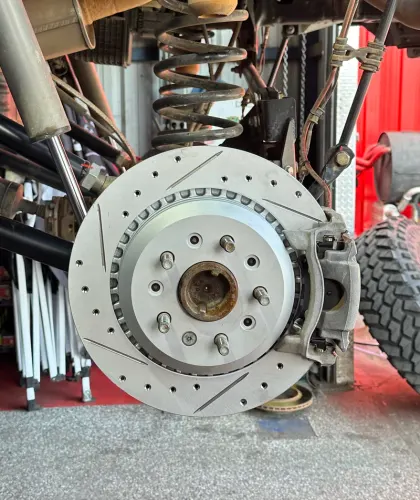
By Slyde Over Team on July 29, 2026
Ram 1500 four-corner air suspension guide - common faults, ride height issues, and inspection tips for load-leveling and off-road modes.
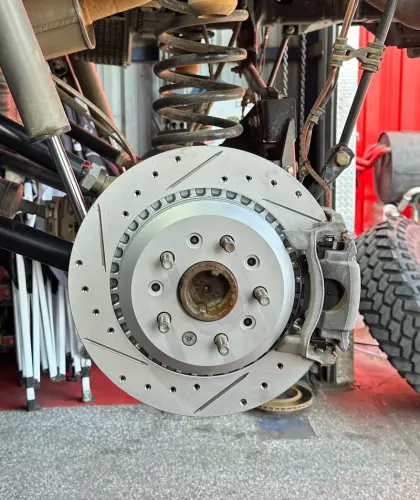
By Slyde Over Team on July 29, 2026
Ram 1500 oil change guide for Pentastar V6 and eTorque V8 engines - correct oil type, capacity, filter, and severe-duty interval.
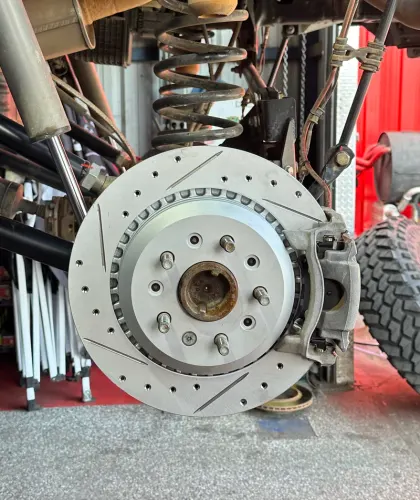
By Slyde Over Team on July 29, 2026
Cabin and engine air filter replacement guide for GMC Yukon and Sierra - interval and symptoms of a clogged filter, including AT4X off-road use.
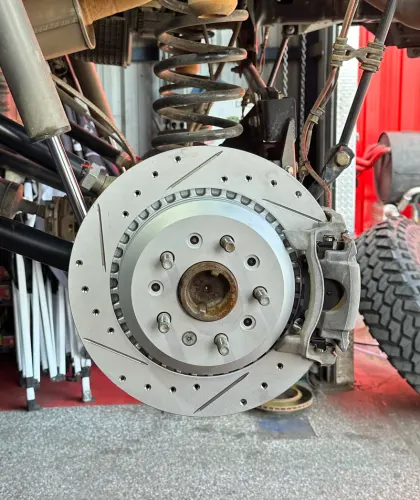
By Slyde Over Team on July 29, 2026
Serpentine belt and alternator inspection guide for GMC Sierra - wear symptoms, interval, and what a squeal usually means.
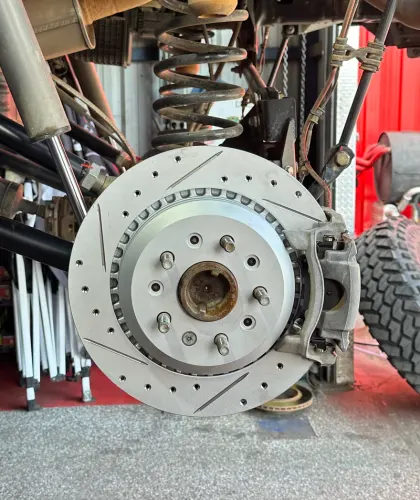
By Slyde Over Team on July 29, 2026
GMC Sierra battery replacement guide - correct group size, dual-battery diesel setups, and signs of a failing battery or alternator.
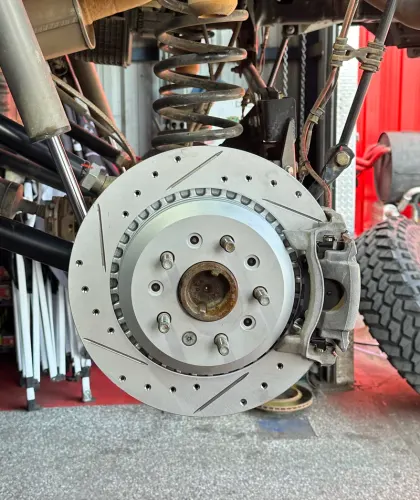
By Slyde Over Team on July 29, 2026
Pre-tow checklist for GMC Yukon and Yukon XL - brakes, cooling system, hitch, tires, and trailer brake controller before a long haul.
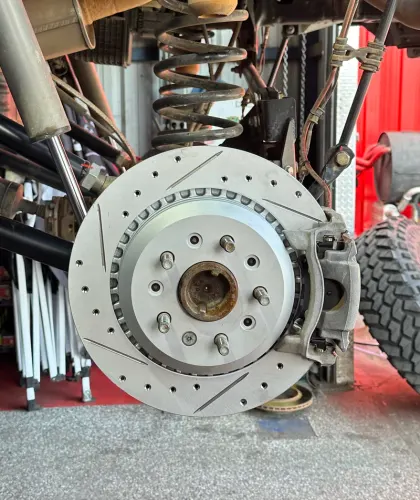
By Slyde Over Team on July 29, 2026
GMC Yukon and Yukon XL Denali air ride/adaptive suspension guide - common faults, ride height issues, and inspection tips.
By Slyde Over Team on July 29, 2026
Sierra AT4X and Denali tire rotation interval and wear pattern guide - how off-road tires and towing loads wear differently.
By Slyde Over Team on July 29, 2026
GMC Sierra AT4/AT4X 4x4 transfer case and front differential fluid service - spec, interval, and why off-road use shortens it.
By Slyde Over Team on July 29, 2026
GMC Sierra MultiPro tailgate maintenance guide - hinge lubrication, sensor cleaning, and troubleshooting common panel and latch issues.
By Slyde Over Team on July 29, 2026
GMC Sierra automatic transmission fluid service guide - fluid spec, realistic interval, and why AT4 off-road and Denali towing add heat load.
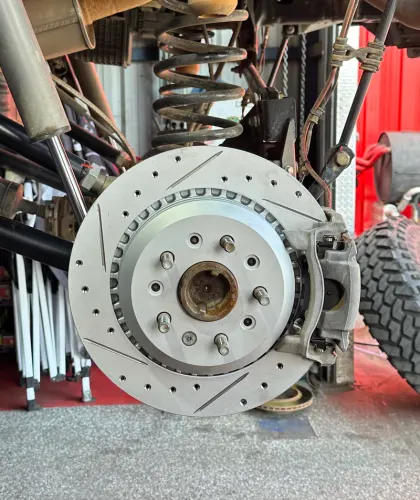
By Slyde Over Team on July 29, 2026
GMC Sierra Denali and AT4 oil change guide - dexos1 oil spec, capacity by engine, and why AT4X off-road use shortens the interval.
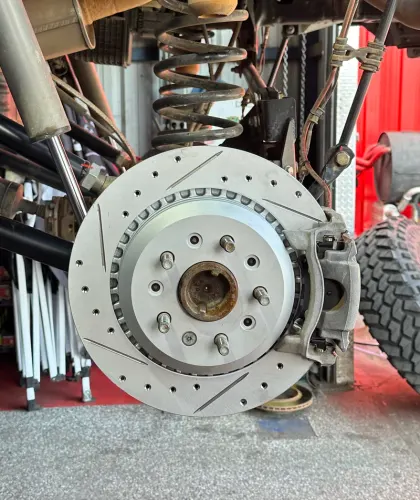
By Slyde Over Team on July 29, 2026
Cabin and engine air filter replacement guide for Chevy Silverado, Tahoe, and Suburban - interval and symptoms of a clogged filter.
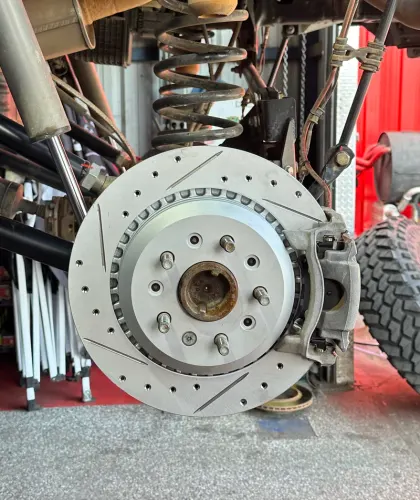
By Slyde Over Team on July 29, 2026
Serpentine belt and alternator inspection guide for Chevy Silverado - wear symptoms, interval, and what a squeal usually means.
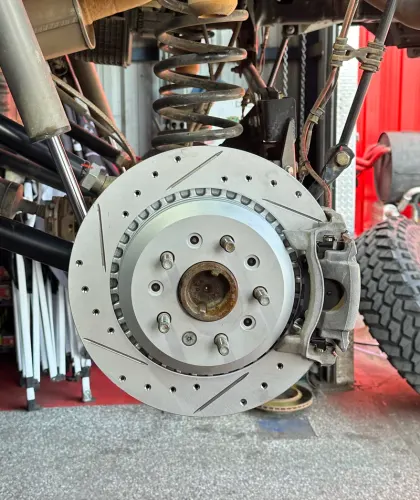
By Slyde Over Team on July 29, 2026
Chevy Silverado battery replacement guide - correct group size, dual-battery diesel setups, and signs of a failing battery or alternator.
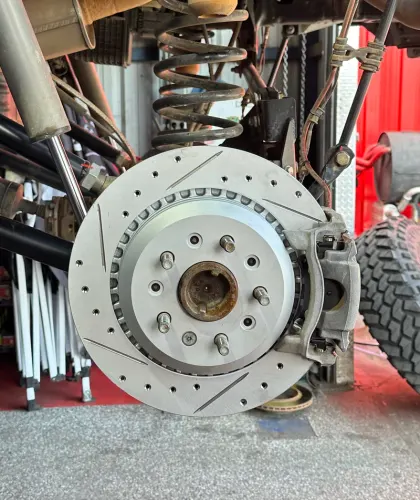
By Slyde Over Team on July 29, 2026
Pre-tow checklist for Chevy Tahoe and Suburban - brakes, cooling system, hitch, tires, and trailer brake controller before a long haul.
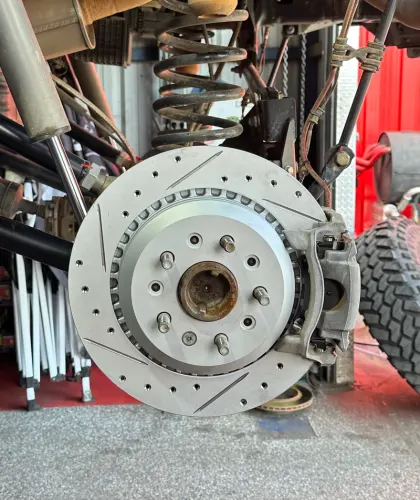
By Slyde Over Team on July 29, 2026
Chevy Tahoe and Suburban air ride/auto-leveling suspension guide - common faults, ride height issues, and inspection tips.
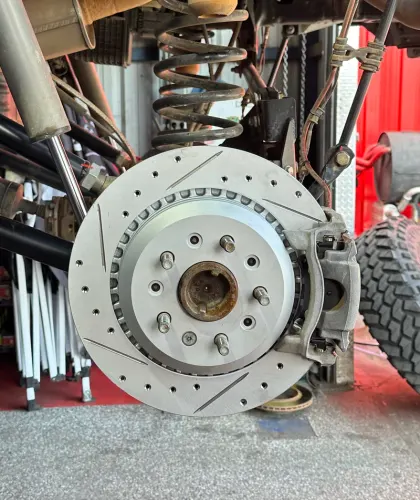
By Slyde Over Team on July 29, 2026
Silverado tire rotation interval and wear pattern guide - why towing and payload wear tires differently, and when to check alignment.
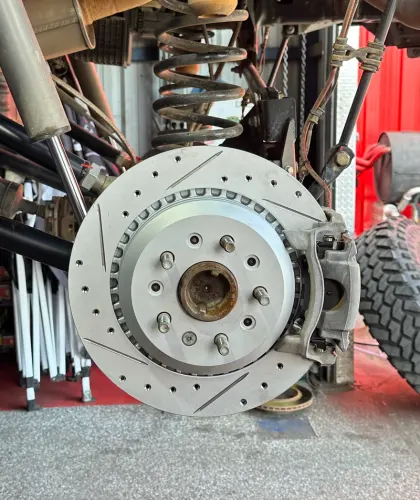
By Slyde Over Team on July 29, 2026
Chevy Silverado 4x4 transfer case and front differential fluid service - spec, interval, and why off-road and towing use both shorten it.
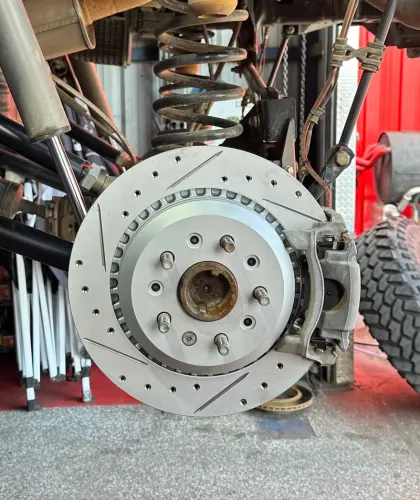
By Slyde Over Team on July 29, 2026
Silverado and Sierra Duramax diesel fuel filter service guide - interval, symptoms of a clogged filter, and water-in-fuel warnings.
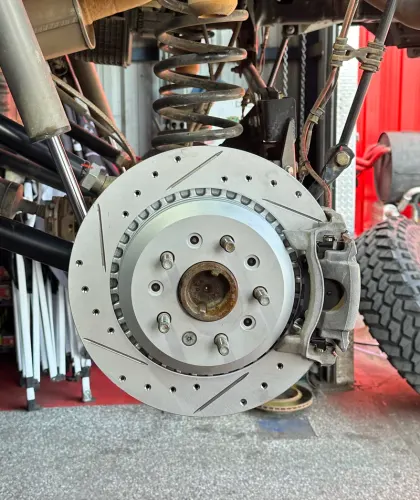
By Slyde Over Team on July 29, 2026
Silverado 1500 automatic transmission fluid service guide - fluid spec, realistic interval, and why towing shortens the service window.
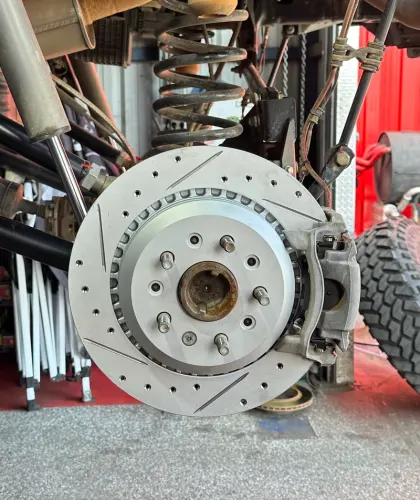
By Slyde Over Team on July 29, 2026
Chevy Silverado 1500 oil change guide for EcoTec3 V6/V8 engines - correct oil type, capacity, filter, and severe-duty interval.
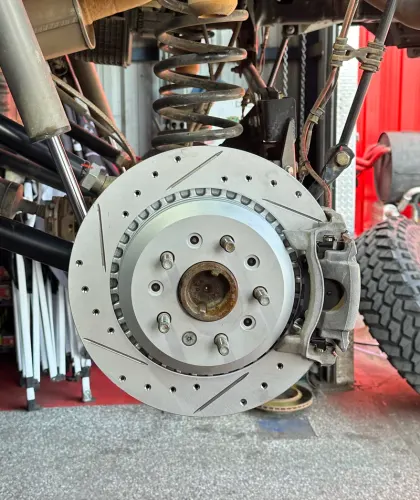
By Slyde Over Team on July 29, 2026
Cabin and engine air filter replacement guide for Ford F-150 and Super Duty - interval, symptoms of a clogged filter, and off-road considerations.
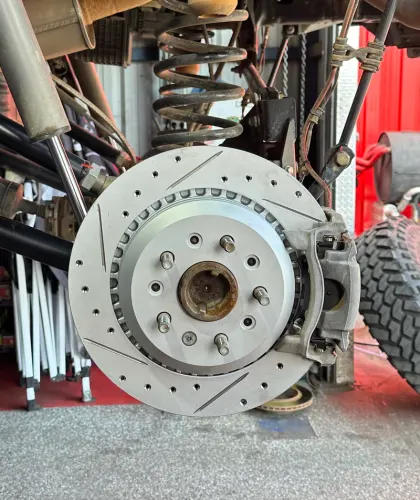
By Slyde Over Team on July 29, 2026
Serpentine belt and alternator inspection guide for Ford F-150 and Super Duty - wear symptoms, interval, and what a squeal usually means.
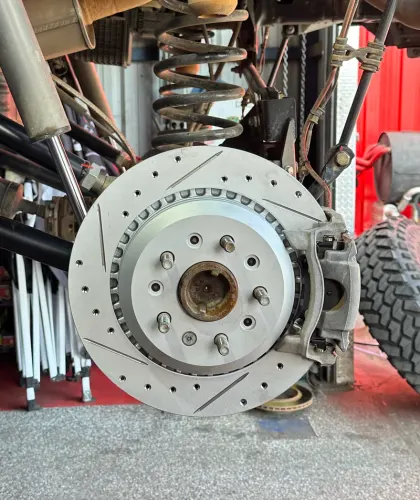
By Slyde Over Team on July 29, 2026
Ford F-150 and Super Duty battery replacement guide - correct group size, dual-battery diesel setups, and signs of a failing battery.
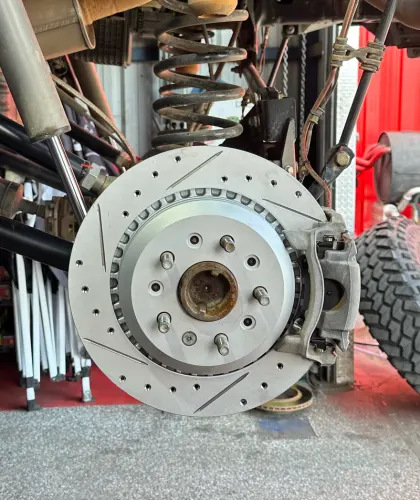
By Slyde Over Team on July 29, 2026
Raptor Fox Live Valve shock inspection and service guide - symptoms of wear, fluid checks, and why desert running shortens the interval.
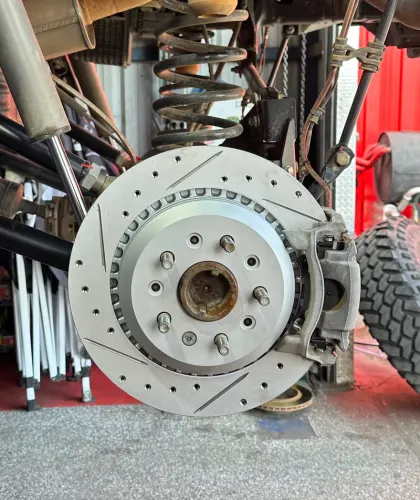
By Slyde Over Team on July 29, 2026
Pre-tow checklist for Ford Super Duty (F-250/F-350) - brakes, cooling system, hitch, tires, and trailer brake controller before a heavy pull.
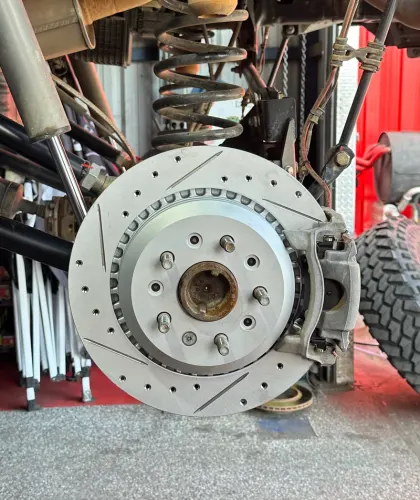
By Slyde Over Team on July 29, 2026
F-250/F-350 Power Stroke diesel fuel filter and DEF service guide - interval, symptoms of a clogged filter, and DEF fluid basics.
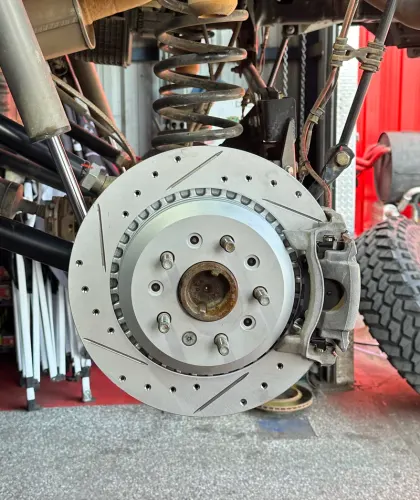
By Slyde Over Team on July 29, 2026
F-150 and Raptor tire rotation interval and wear pattern guide - why towing, payload, and off-road use each wear tires differently.
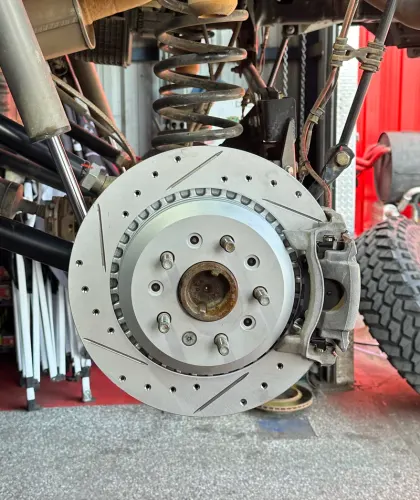
By Slyde Over Team on July 29, 2026
Ford F-150 4x4 transfer case and front differential fluid service - spec, interval, and why off-road and towing use both shorten it.
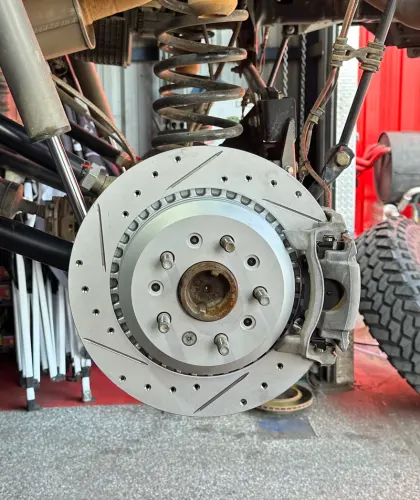
By Slyde Over Team on July 29, 2026
F-150 10-speed automatic transmission fluid service guide. Fluid spec, when to change it, and why towing shortens the practical interval.
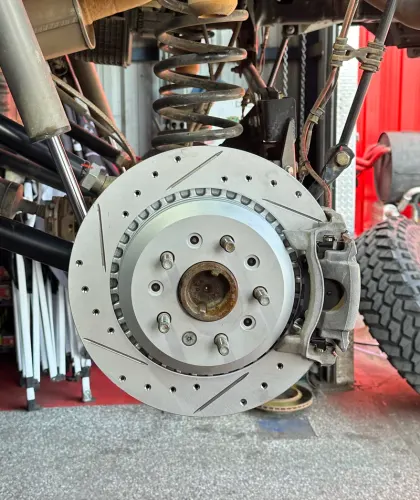
By Slyde Over Team on July 29, 2026
Complete Ford F-150 oil change guide for EcoBoost and 5.0L V8 engines. Correct oil type, capacity, filter, and severe-duty interval.
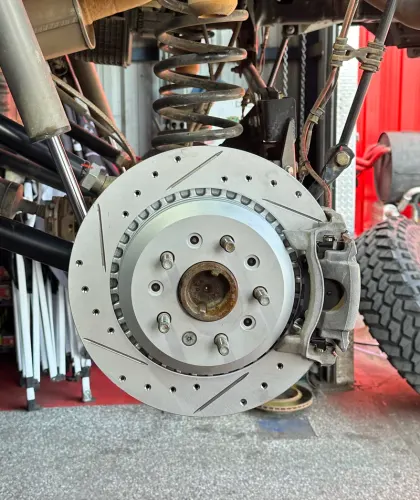
By Slyde Over Team on July 29, 2026
Roundup of the most common Mopar SRT problems - intercooler pump, belt wear, motor mounts, adaptive dampers, brakes, and electrical issues.
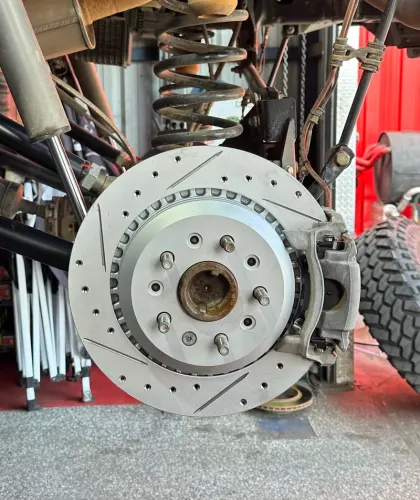
By Slyde Over Team on July 29, 2026
Jeep Grand Cherokee Trackhawk maintenance schedule - oil, brakes, tires, fluids, and SUV service intervals for 707 HP ownership.
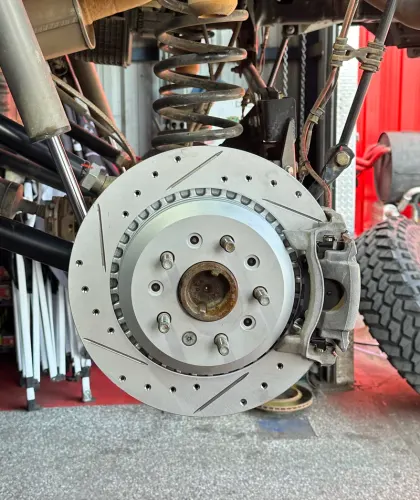
By Slyde Over Team on July 29, 2026
Full Dodge Hellcat maintenance schedule - oil, plugs, belts, brakes, fluids, and inspection intervals for Challenger and Charger owners.
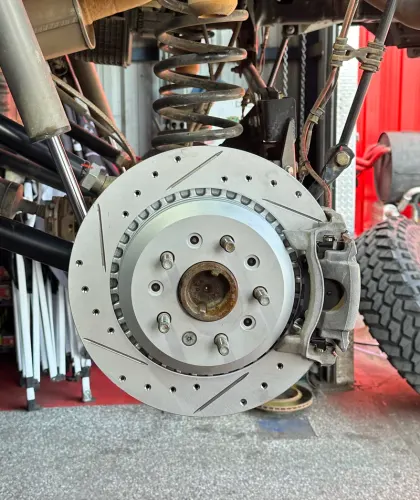
By Slyde Over Team on July 29, 2026
Jeep Grand Cherokee SRT maintenance guide covering 392 SRT and Trackhawk - oil, brakes, tires, and SUV-specific service.
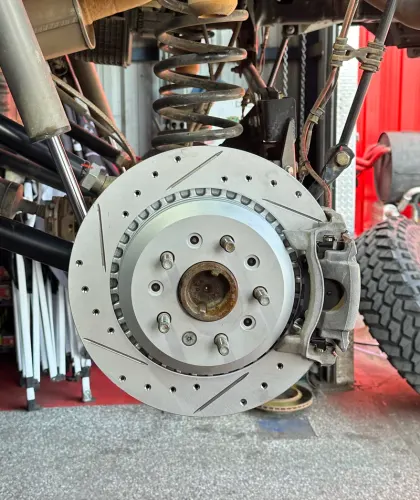
By Slyde Over Team on July 29, 2026
Jeep Wrangler and Gladiator differential and transfer case fluid service - intervals, specs, and 4WD maintenance.
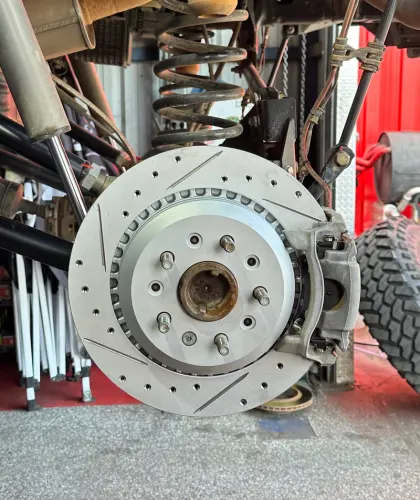
By Slyde Over Team on July 29, 2026
Ram 1500 TRX maintenance guide - supercharged 6.2L Hemi oil, filters, fluids, and service intervals for the 702 HP truck.
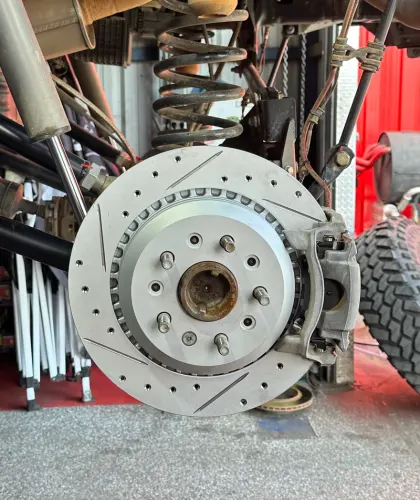
By Slyde Over Team on July 29, 2026
Hellcat and Trackhawk wheel bearing failure symptoms - humming, ABS faults, and replacement overview.
By Slyde Over Team on July 29, 2026
Bilstein adaptive damper troubleshooting on Hellcat, Trackhawk, and Durango SRT. Auto mode faults and service tips.
By Slyde Over Team on July 29, 2026
Hellcat and Charger suspension bushing wear - clunk, wandering, and control arm replacement on 700+ HP Mopar.
By Slyde Over Team on July 29, 2026
Why Hellcat and Trackhawk tires wear unevenly - alignment specs, rotation interval, and inner edge wear.
By Slyde Over Team on July 29, 2026
Hellcat and Trackhawk AGM battery guide - correct group size, parasitic drain issues, and electrical gremlins.
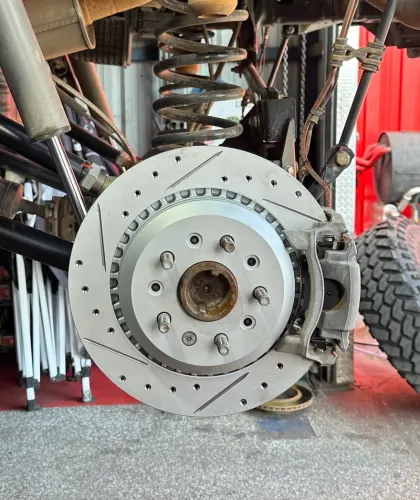
By Slyde Over Team on July 29, 2026
Hellcat and Trackhawk motor mount wear symptoms. High-torque 707 HP Mopar mounts degrade faster.
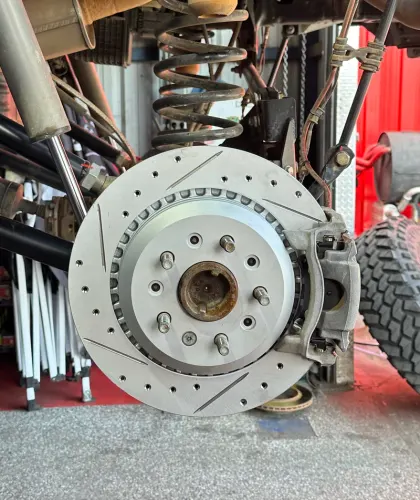
By Slyde Over Team on July 29, 2026
PCV valve and oil separator guide for Hemi engines - Hellcat, Trackhawk, 392 Scat Pack.
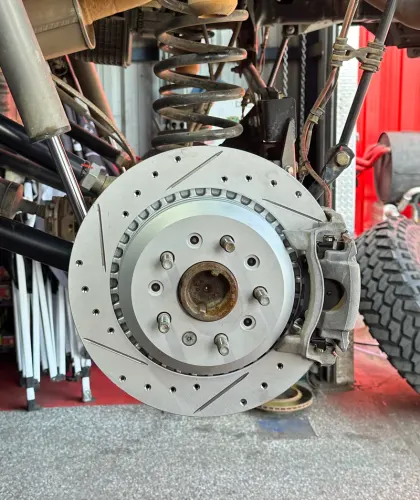
By Slyde Over Team on July 29, 2026
ZF 8HP90 transmission fluid service guide for Hellcat, Trackhawk, and Durango SRT.
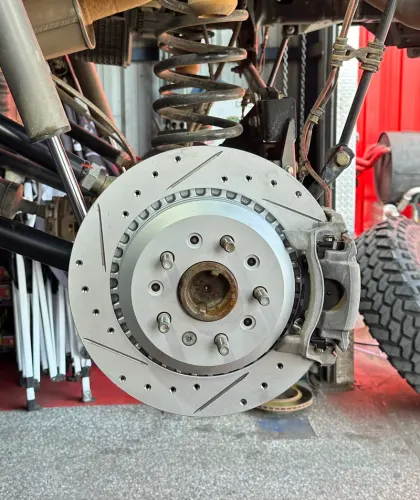
By Slyde Over Team on July 29, 2026
Hellcat and Trackhawk intercooler pump failure symptoms, coolant spec, and repair overview.
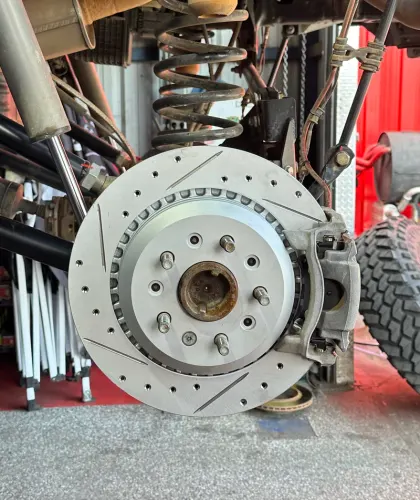
By Slyde Over Team on July 29, 2026
Supercharged Hemi spark plug replacement guide for Hellcat and Trackhawk. Factory interval and symptoms.
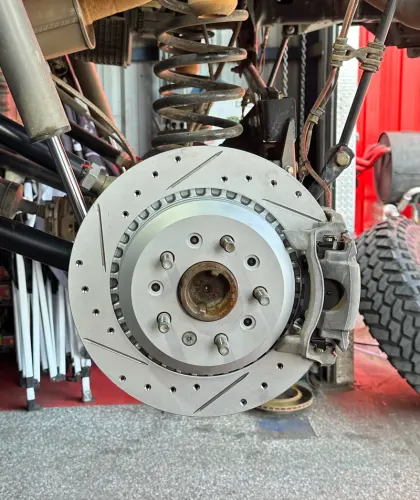
By Slyde Over Team on July 29, 2026
When to replace the Hellcat and Trackhawk supercharger drive belt and tensioner. Symptoms and interval.
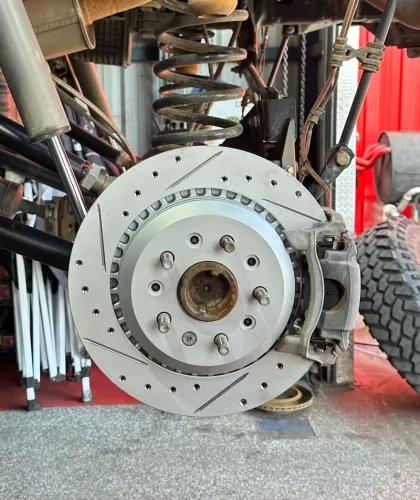
By Slyde Over Team on July 29, 2026
392 Hemi oil change guide for Scat Pack, Durango SRT, Grand Cherokee SRT, and Chrysler 300 SRT.
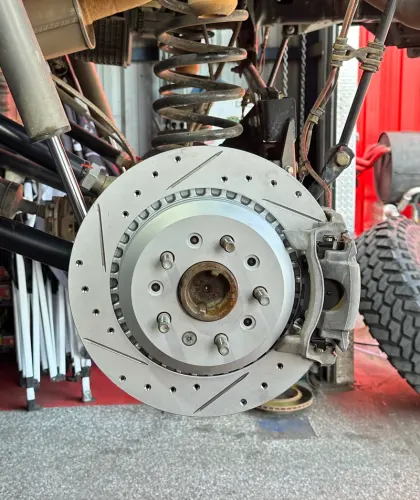
By Slyde Over Team on July 29, 2026
Jeep Grand Cherokee Trackhawk oil change guide - 0W-40 spec, filter, interval, and severe-duty schedule.
By Slyde Over Team on July 29, 2026
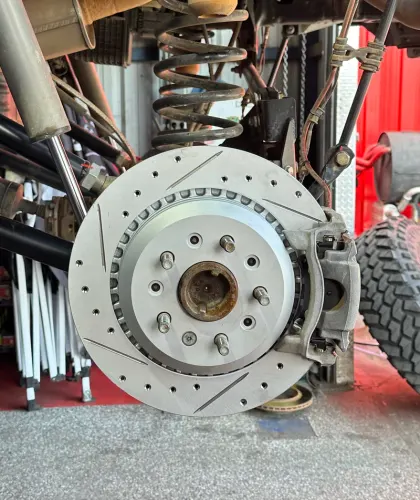
Complete Hellcat oil change guide for the 6.2L supercharged Hemi. OEM oil type, filter, and interval.
By Slyde Over Team on July 28, 2026
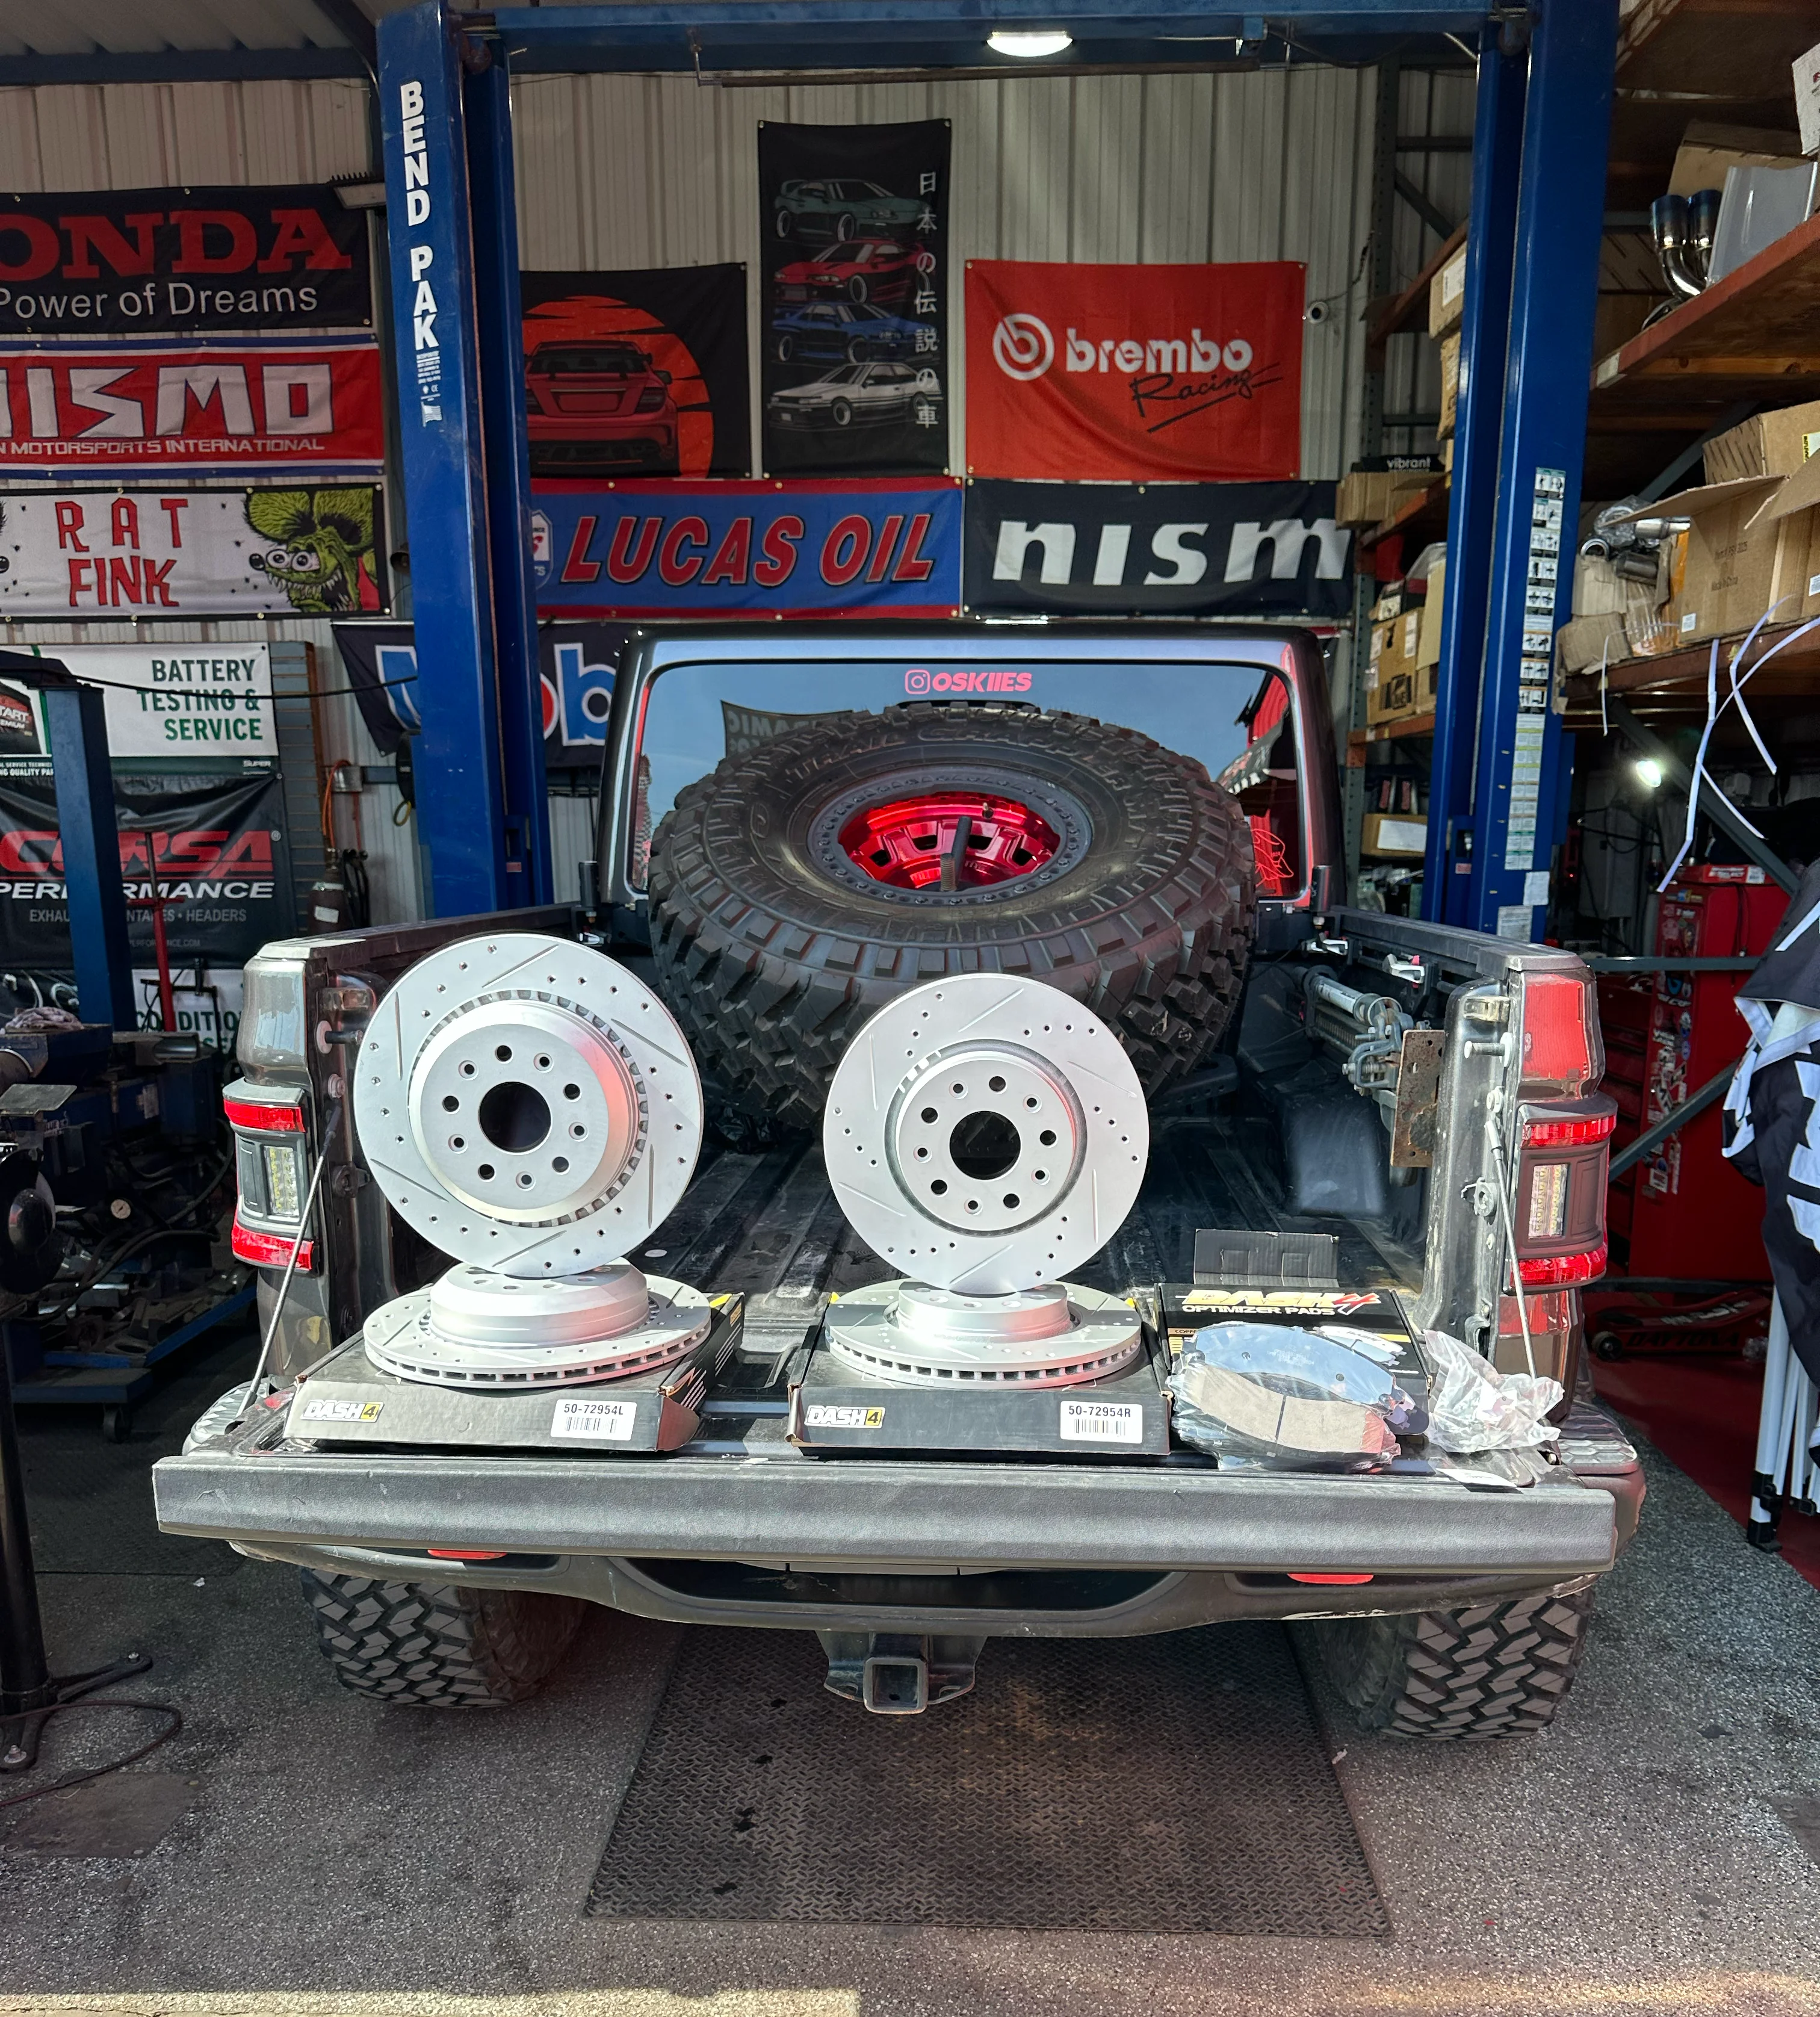
Why OEM Wrangler pads fade on trail descents and glaze from mud - and why carbon ceramic pads are the correct off-road upgrade for JL and JK.
By Slyde Over Team on July 28, 2026
Why OEM Wrangler rotors rust after creek crossings and warp on descents - and how GEOMET-coated G11H18 rotors deliver off-road durability.
By Slyde Over Team on July 28, 2026
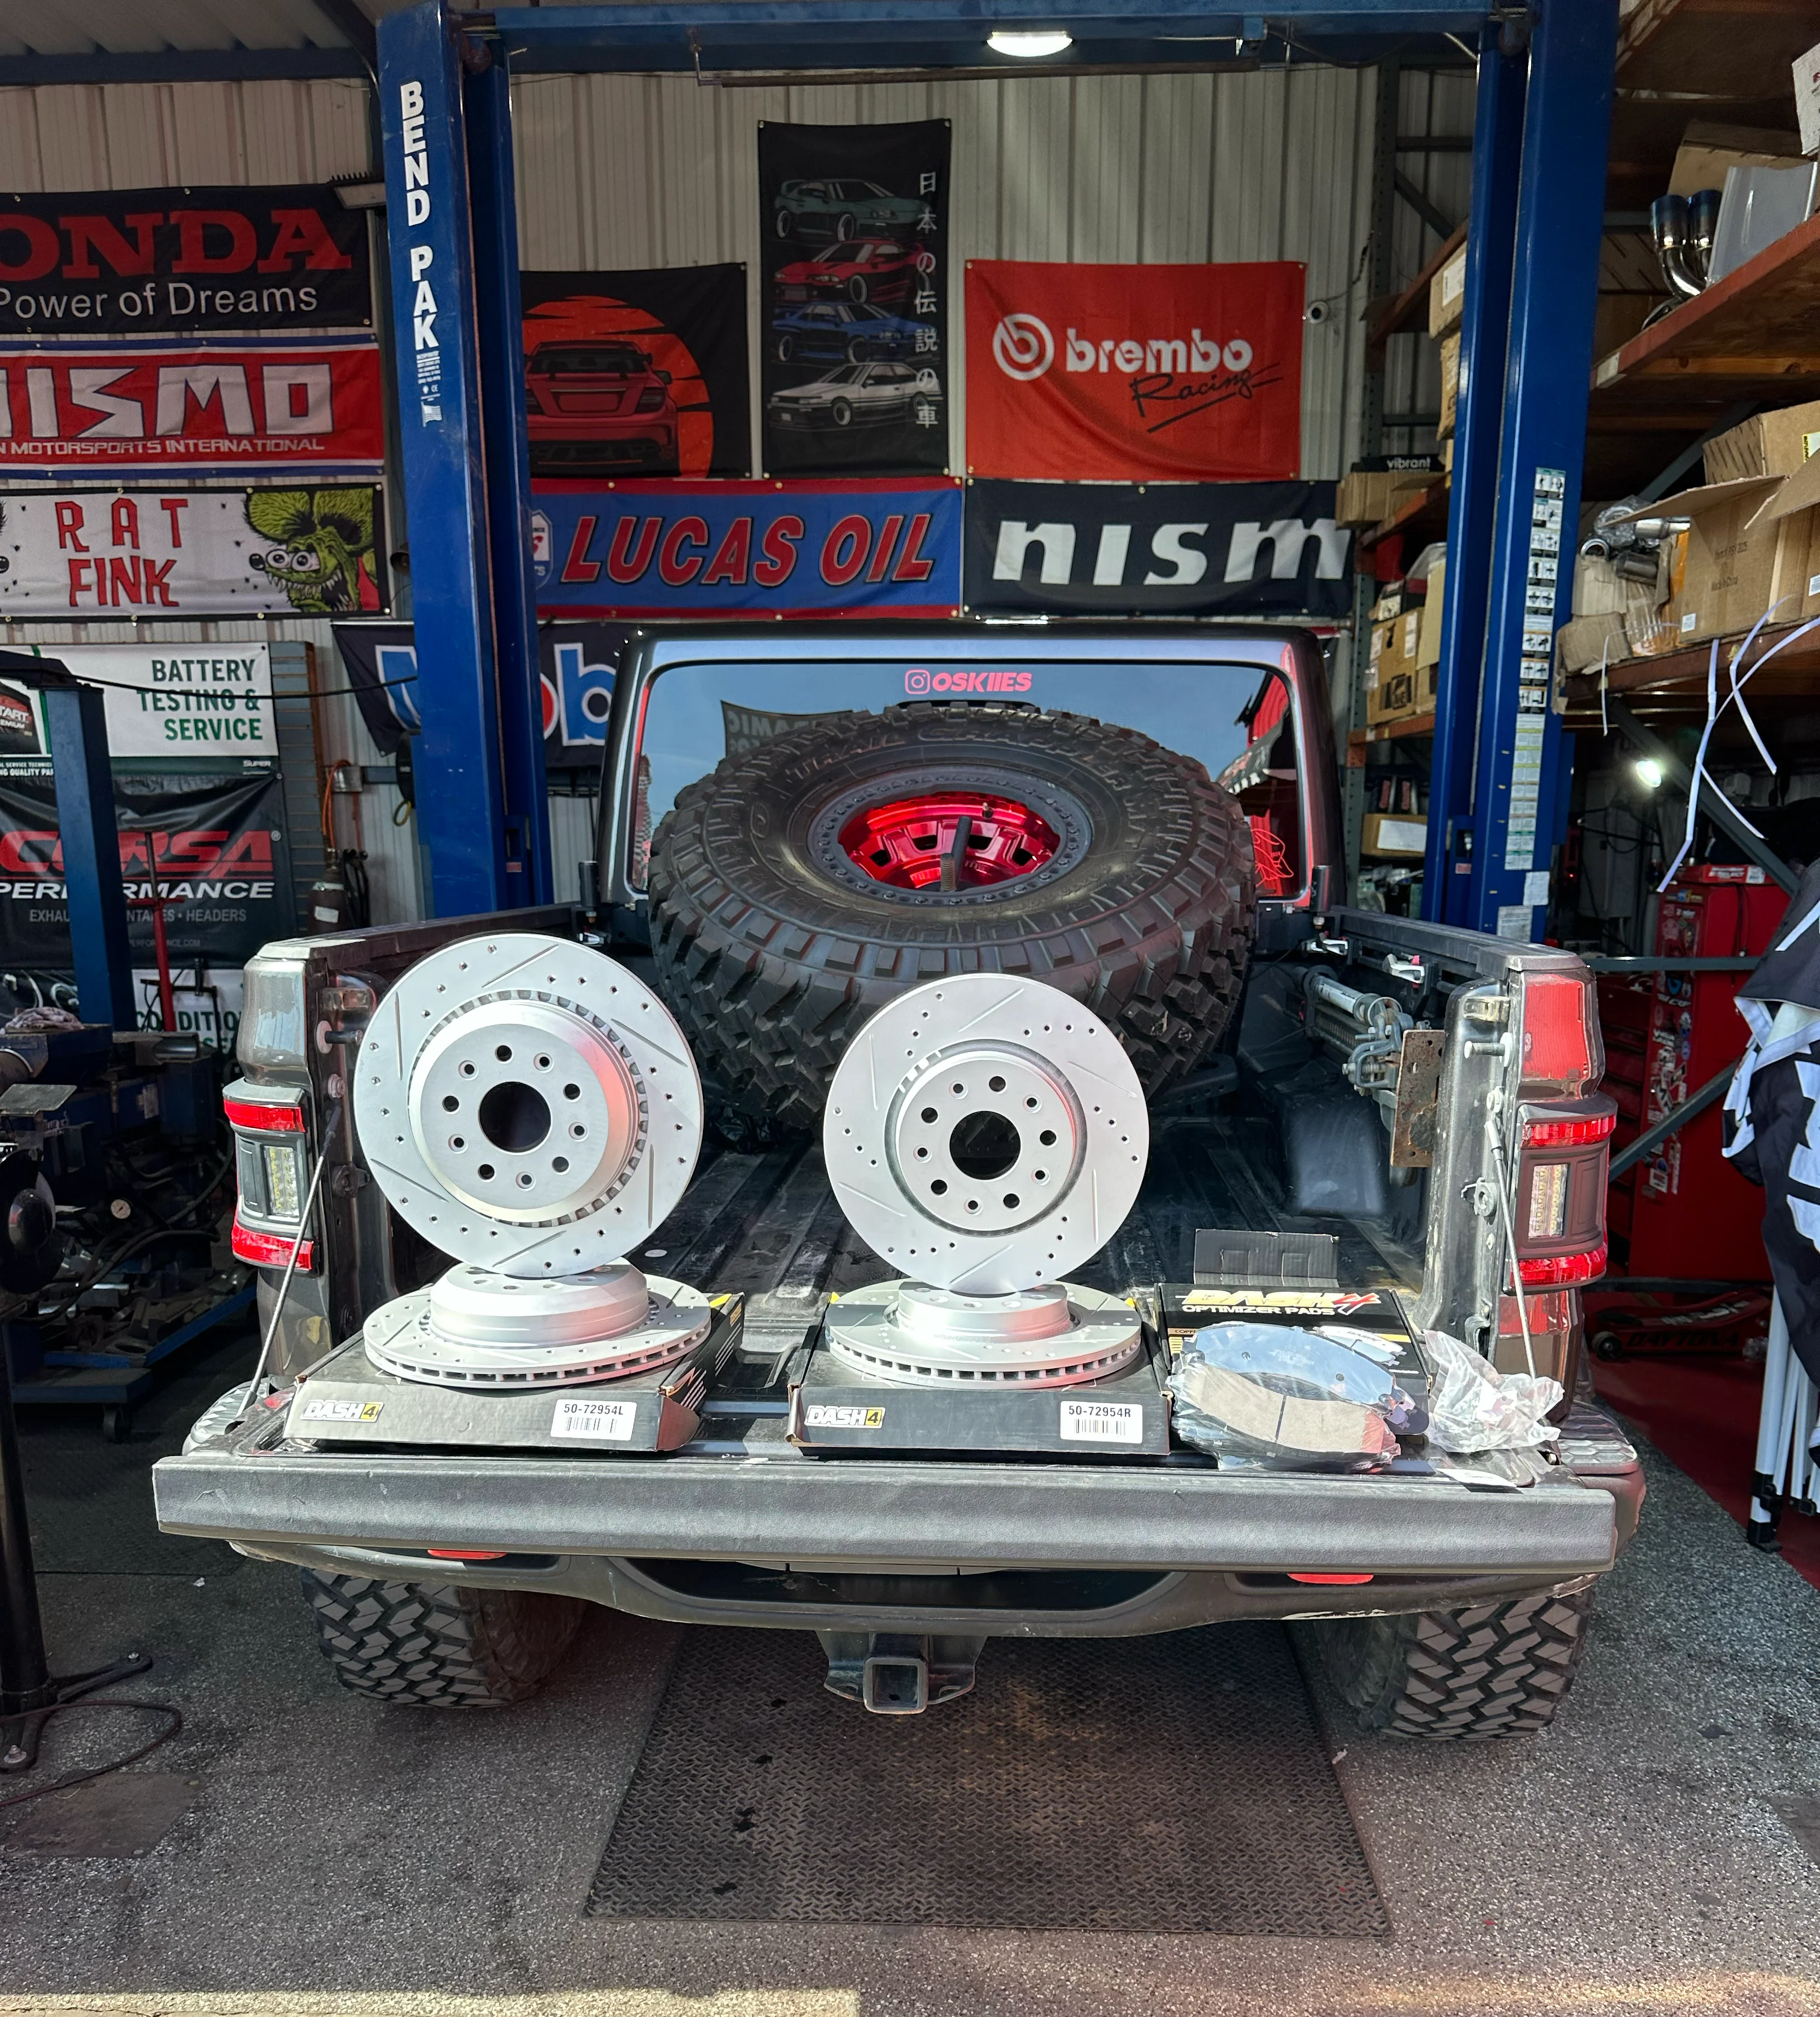
Why OEM Gladiator pads fail under towing and trail use - and why carbon ceramic pads are the correct dual-use upgrade for the truck-bed Wrangler.
By Slyde Over Team on July 28, 2026
Why OEM Gladiator rotors warp under towing load and rust after water crossings - and how GEOMET-coated rotors handle the dual-use profile.
By Slyde Over Team on July 28, 2026
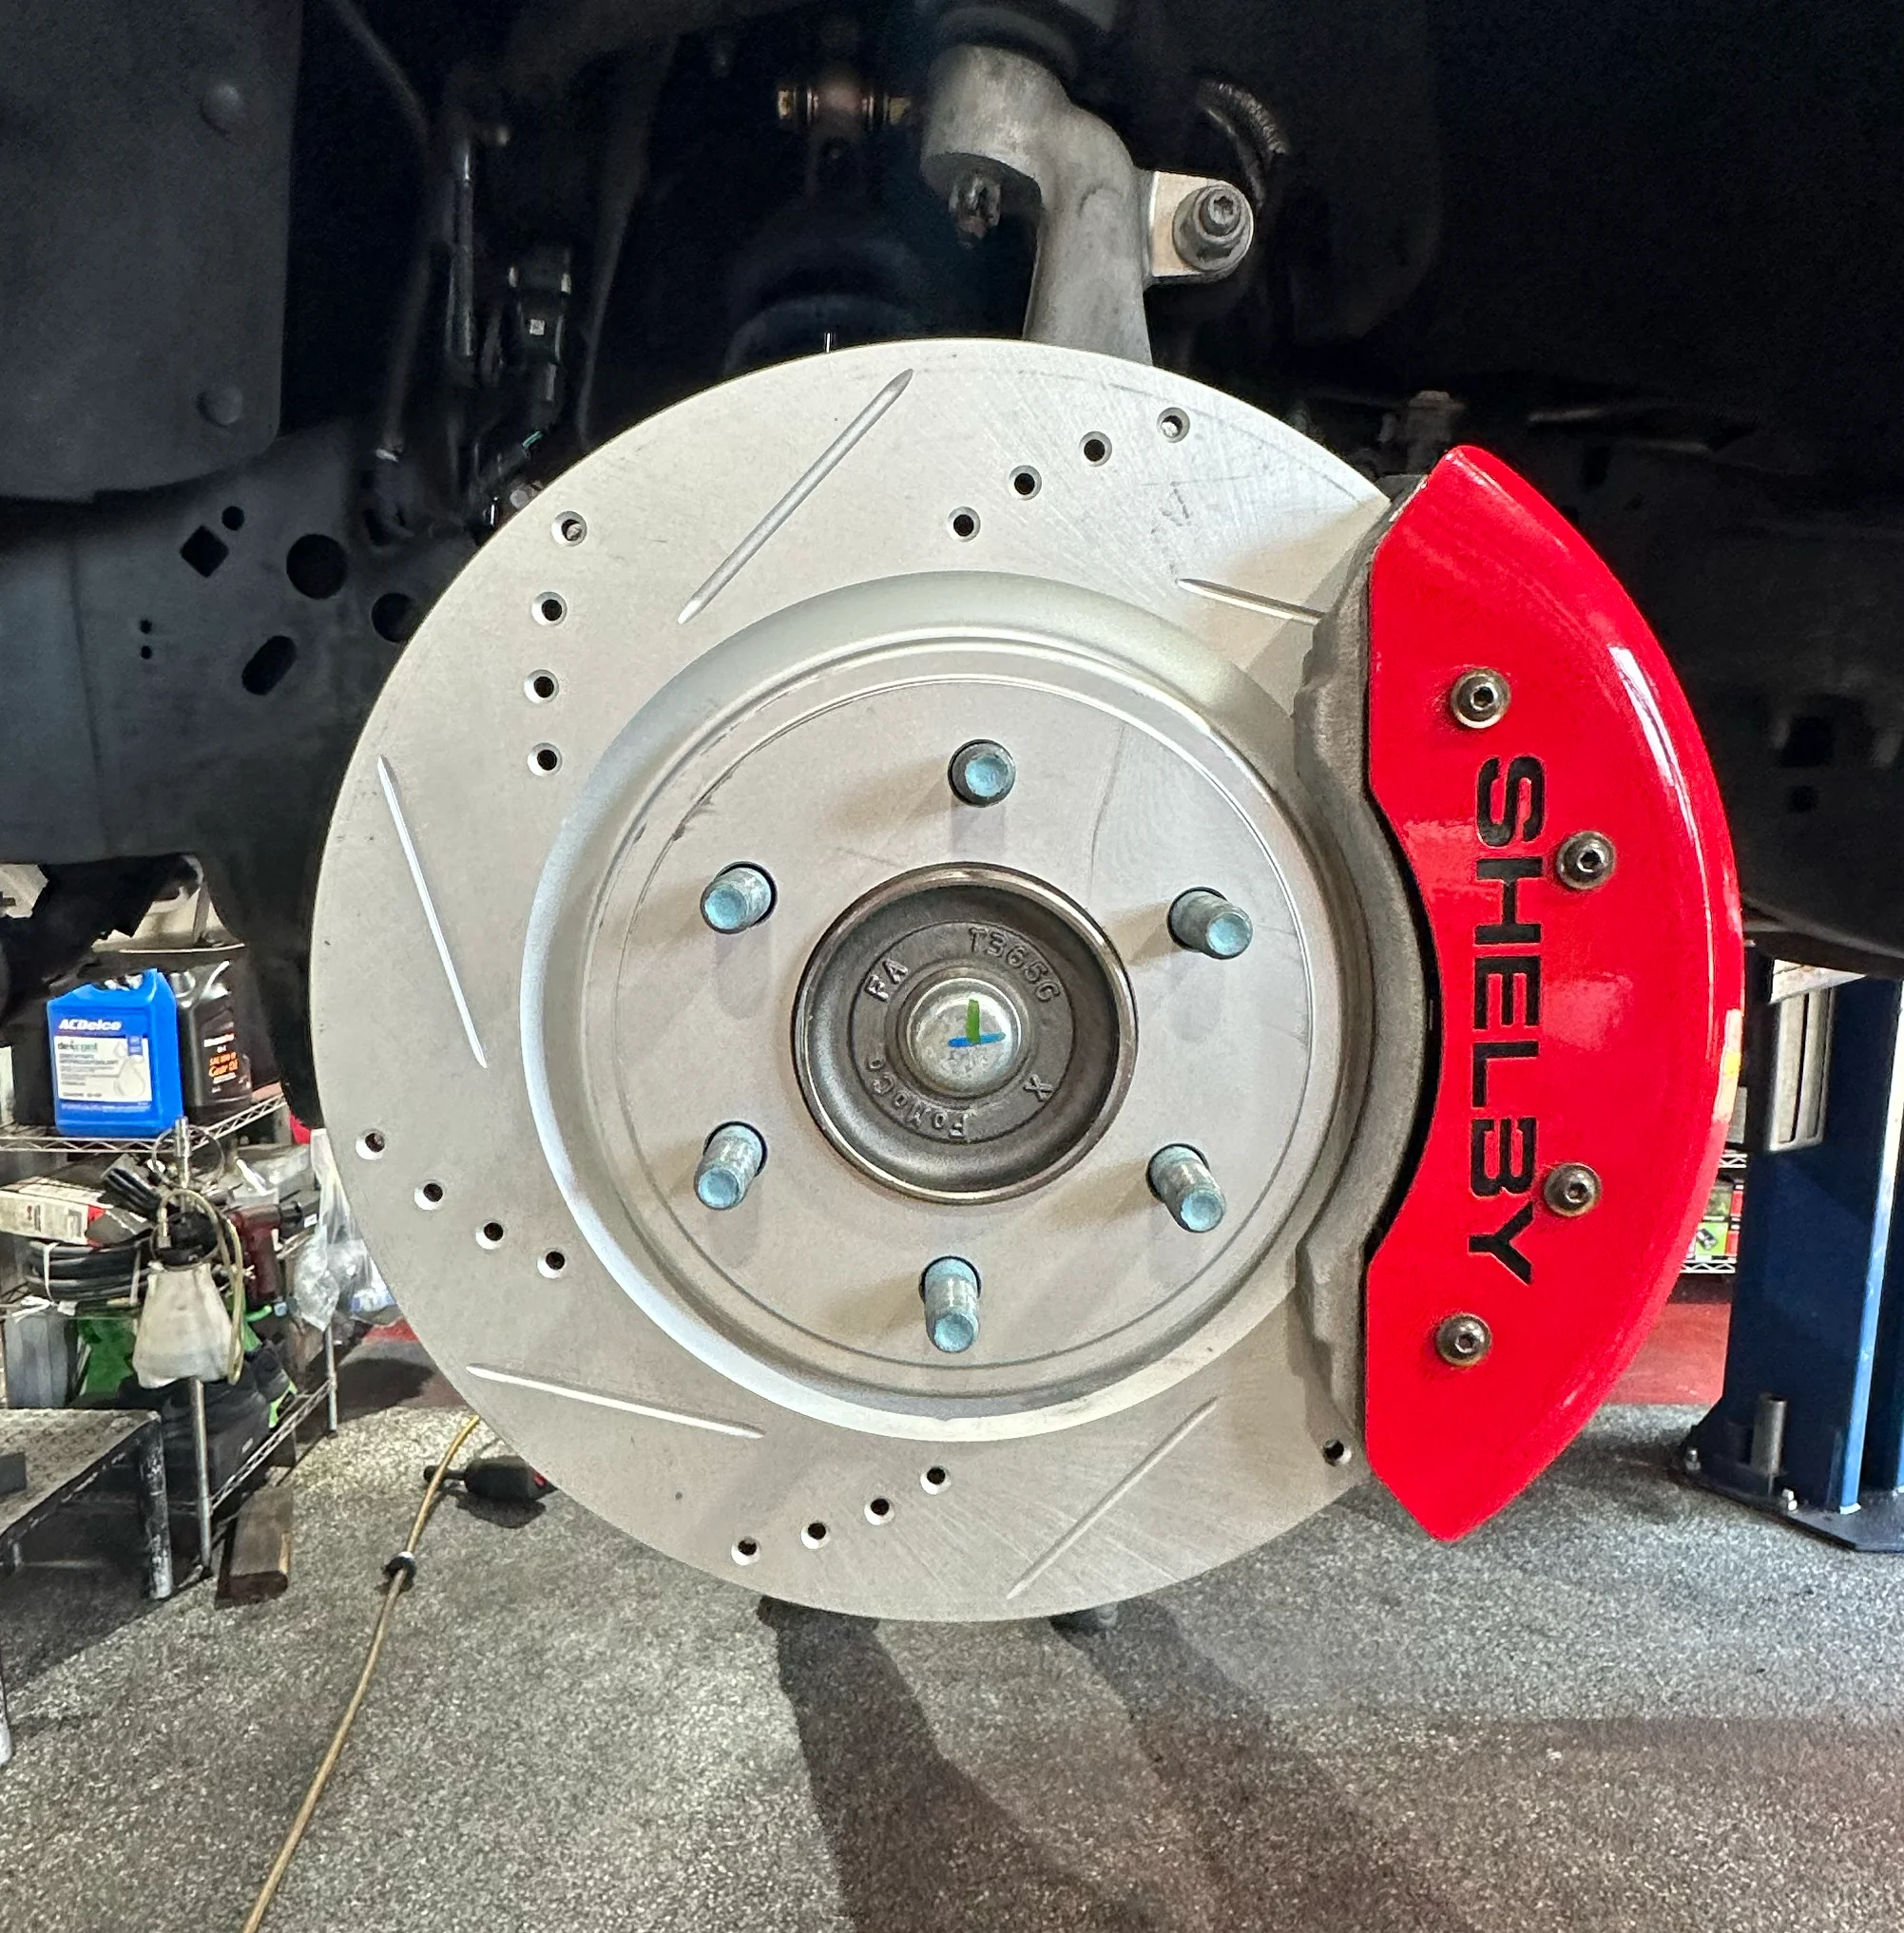
Why OEM Bronco pads fade on descents and glaze from mud - and why carbon ceramic pads are the correct off-road upgrade for 2-door, 4-door, and Raptor.
By Slyde Over Team on July 28, 2026
Why OEM Bronco rotors rust after creek crossings and warp on trail descents - and how GEOMET-coated G11H18 rotors fix off-road brake failure.
By Slyde Over Team on July 28, 2026
Why OEM Trackhawk pads fade under towing and heavy SUV loads - and why carbon ceramic pads are the correct upgrade for Jeep Grand Cherokee Trackhawk.
By Slyde Over Team on July 28, 2026
Trackhawk rotors and complete brake upgrades - why OEM rotors warp on the 707 HP Grand Cherokee and how G3500 2-piece front rotors fix fade.
By Slyde Over Team on July 28, 2026
Why OEM Corvette pads fade on C7 and C8 track days and why carbon ceramic pads are the correct upgrade for Stingray, Z51, Z06, and ZR1.
By Slyde Over Team on July 28, 2026
Why OEM Camaro pads fade on ZL1 and 1LE track use and why carbon ceramic pads are the correct upgrade for Gen6 SS through ZL1.

By Slyde Over Team on July 28, 2026
Why OEM Ram 1500 and TRX pads fade under towing and heavy truck loads - and why carbon ceramic pads are the correct upgrade for Sport, Rebel, and TRX fitment.
By Slyde Over Team on July 28, 2026
Why OEM Silverado semi-metallic pads fail under towing and hauling - and why carbon ceramic pads with GEOMET-coated rotors are the right upgrade for Chevy Silverado 1500.
By Slyde Over Team on July 28, 2026
Why OEM F-150 pads fade under towing loads and why carbon ceramic pads deliver fade-resistant, low-dust stopping power for Ford F-150 work trucks and daily drivers.

By Slyde Over Team on July 28, 2026
Why OEM Raptor pads glaze under off-road contamination and towing heat - and why carbon ceramic pads are the correct upgrade for F-150 Raptor and Raptor R.
By Slyde Over Team on July 28, 2026
Raptor rotors and complete brake upgrades explained - why OEM single-piece rotors warp and crack, and how G11H18 drilled rotors fix fade and pulsation.
By Slyde Over Team on July 25, 2026
Why OEM Hellcat pads fade at 707+ HP and why carbon ceramic pads are the correct upgrade for Challenger Hellcat, Charger Hellcat, and 300 SRT track and street use.
By Slyde Over Team on August 20, 2026
Chrysler 300 SRT8 rotors and complete brake upgrades — 777-XAM1043 fitment, G3500 2-piece front rotors, and why OEM G3000 rotors warp on 2005–2020 300 SRT models.
By Slyde Over Team on August 20, 2026
Why OEM 300 SRT8 pads fade and coat wheels in dust — and why carbon ceramic pads in the 777-XAM1043 kit are the correct upgrade.
By Slyde Over Team on August 20, 2026
Complete 300 SRT8 brake upgrade buyer guide — 777-XAM1043, 2-piece floating rotors, carbon ceramic pads, and fitment for 2005–2020 Chrysler 300 SRT.
By Slyde Over Team on July 25, 2026
Hellcat rotors and complete brake upgrades explained - why OEM single-piece rotors warp at 700+ HP and how 2-piece floating rotors fix fade and pulsation.
By Slyde Over Team on March 1, 2026
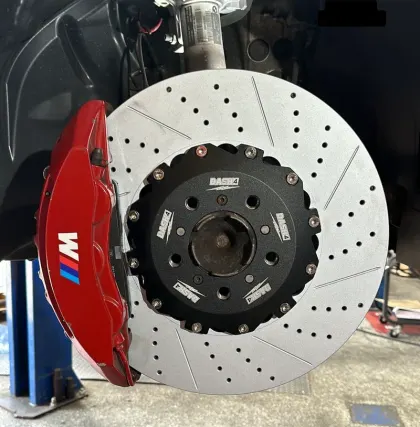
Engineering behind longer-lasting brake rotors. Thermal expansion, reduced warping, and extended service life.
By Slyde Over Team on March 1, 2026
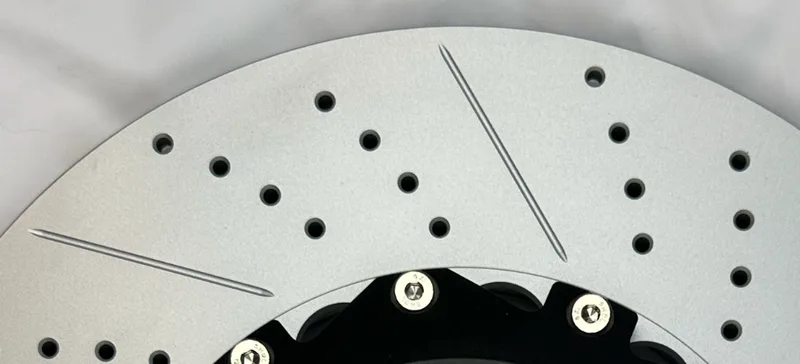
Why diamond slot pattern delivers better heat evacuation, pad contact, and wear characteristics.
By Slyde Over Team on March 1, 2026
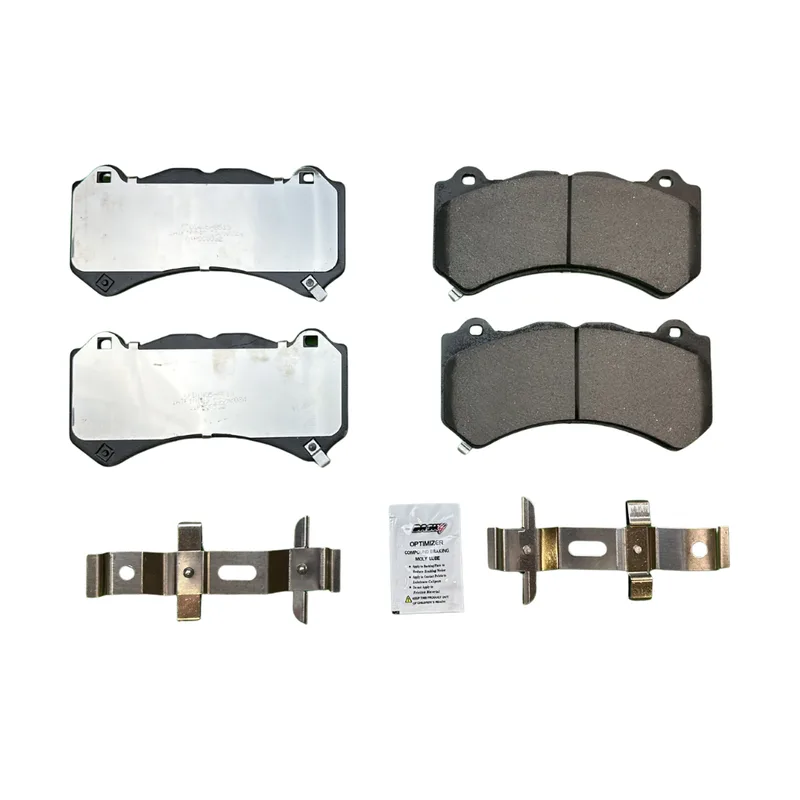
Low dust, high performance, and fade resistance. We compare carbon ceramic and semi-metallic pads.
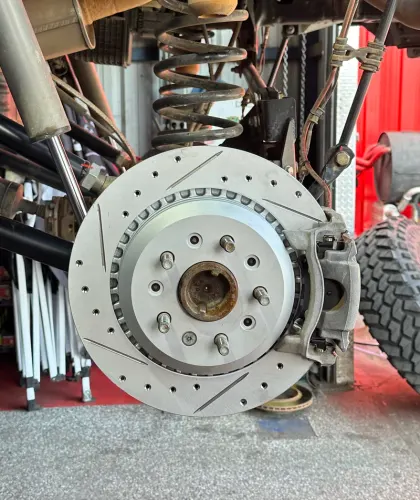
By Slyde Over Team on February 28, 2026
How to choose the right brake kit for your vehicle. Rotor size, pad type, and fitment explained.
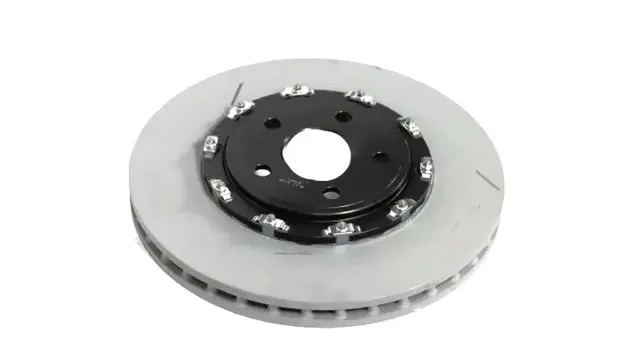
By Slyde Over Team on February 27, 2026
Compare OEM vs Ghost Brakes: longevity, performance, and low-dust advantages. Learn why 2-piece floating design wins.
By Slyde Over Team on February 26, 2026
Step-by-step break-in procedure for peak performance and long rotor life. Follow our guide for proper bedding of new rotors and pads.
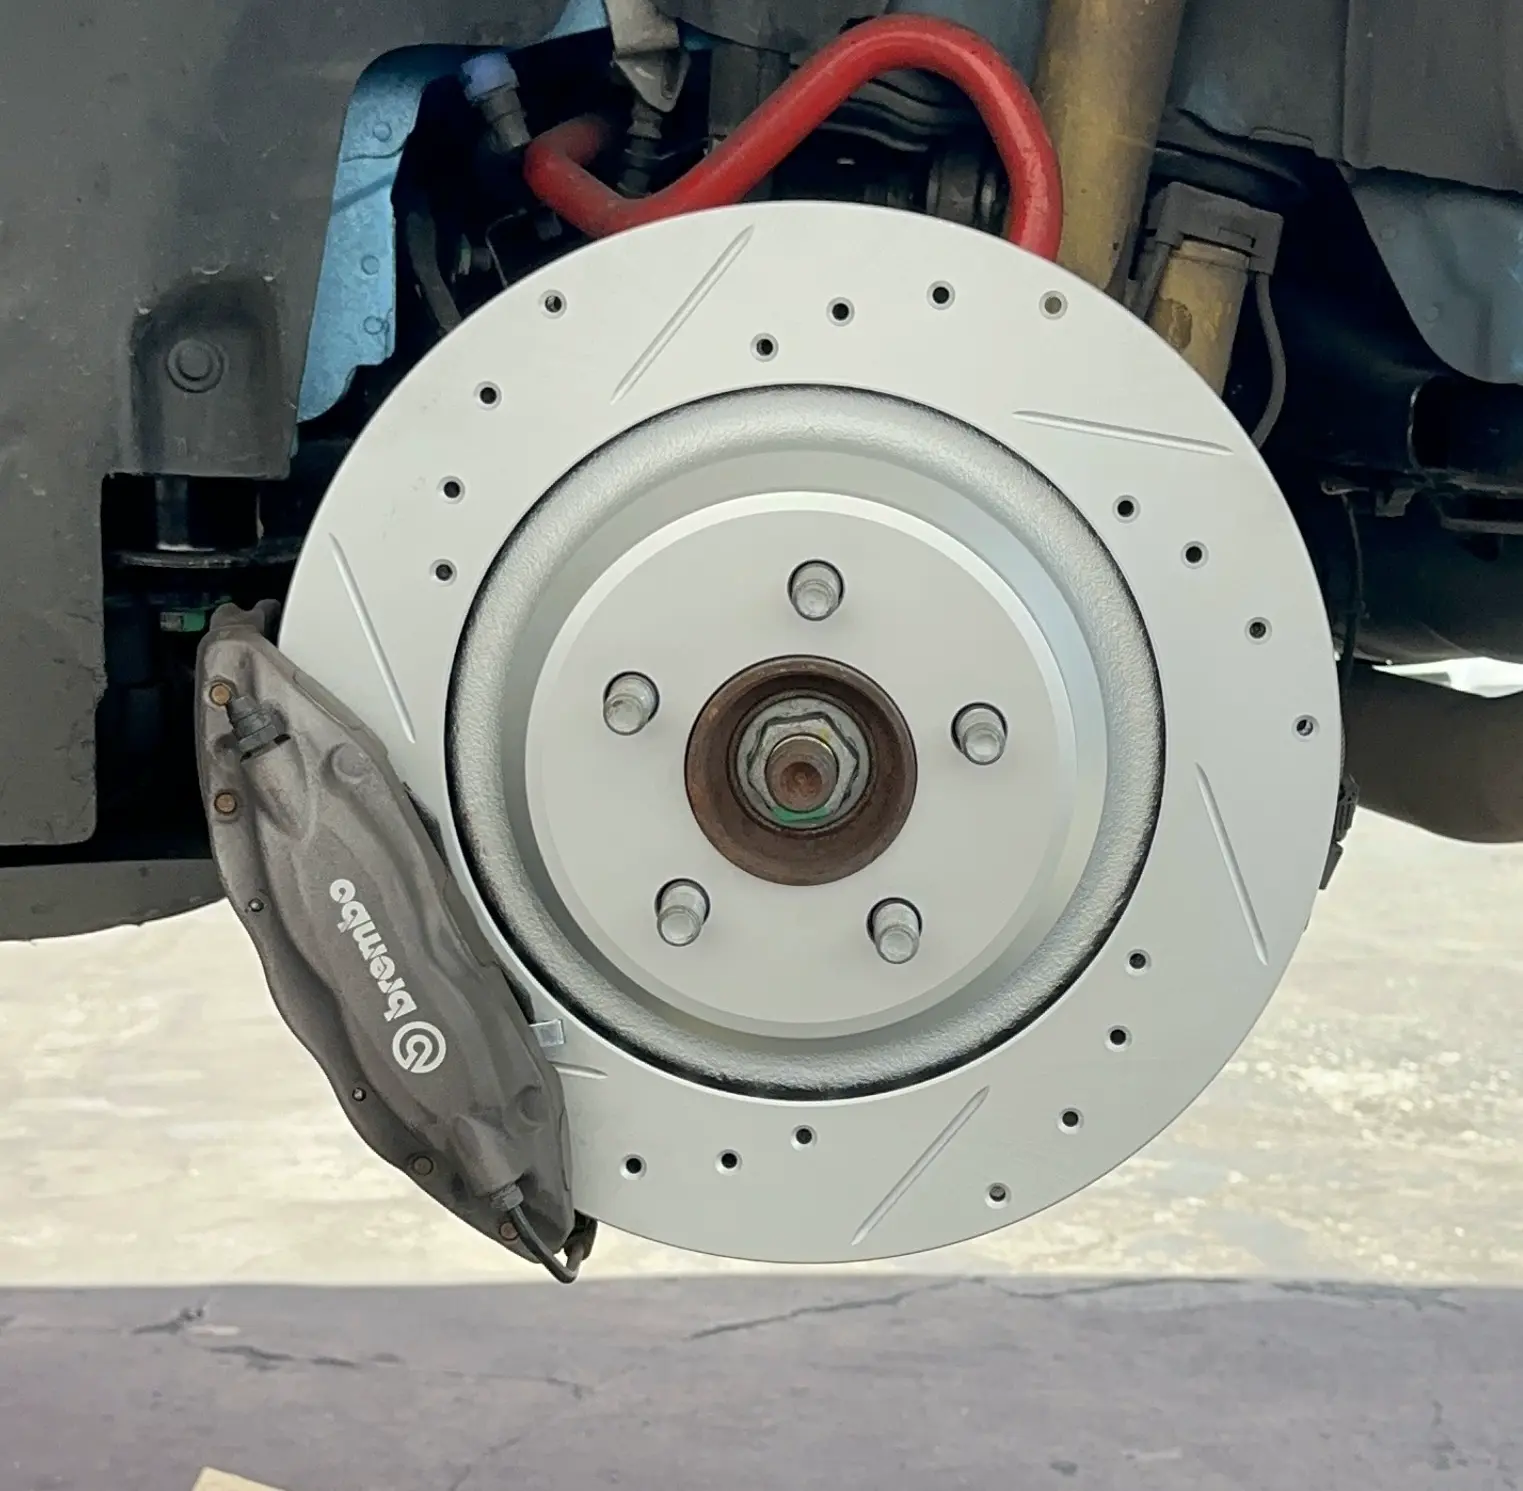
By Slyde Over Team on April 7, 2026
The TRX's supercharged HEMI puts OEM brakes to the test. Here's the upgrade that matches the truck's actual performance capability.
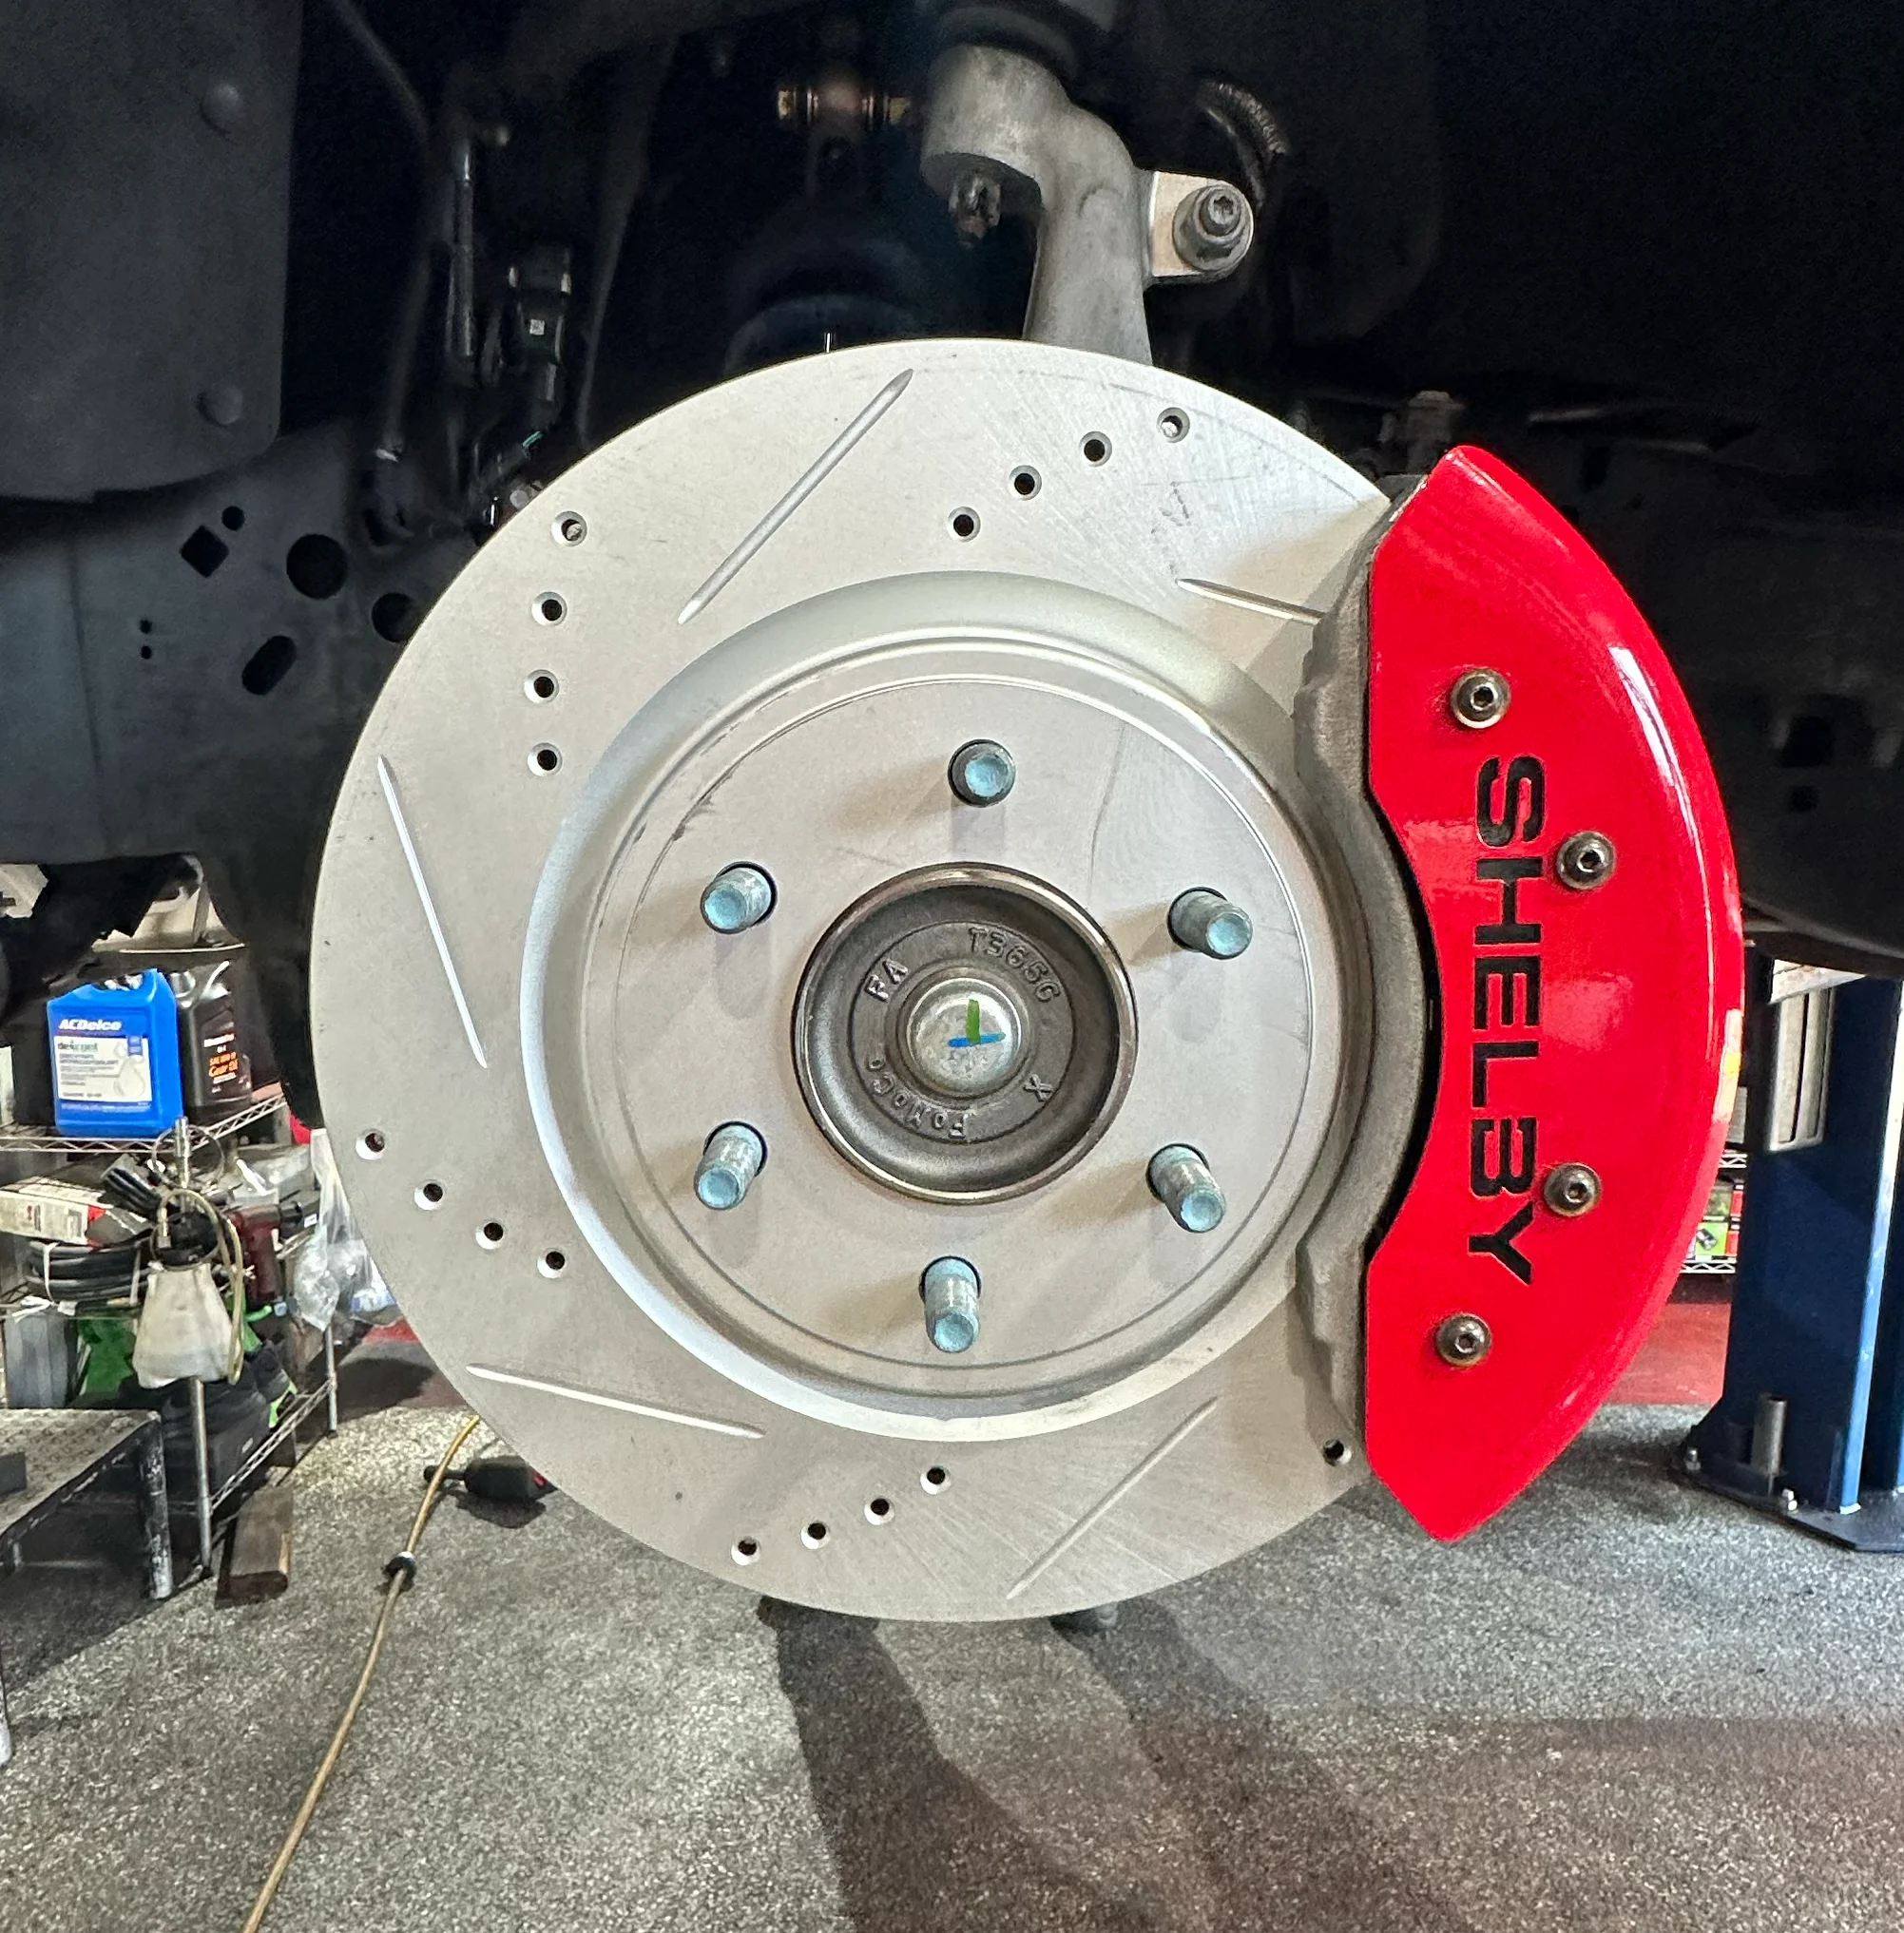
By Slyde Over Team on April 7, 2026
How off-road use destroys OEM Bronco brakes faster than normal driving - and the Ghost Brakes 2-piece upgrade that handles every trail condition.
By Slyde Over Team on April 7, 2026
Every Grand Cherokee variant from the base V6 to the 707 HP Trackhawk - why stock brakes fail and the right Ghost Brakes upgrade for each.
By Slyde Over Team on May 18, 2026
Three performance tiers, three brake conversations - the complete Mustang brake upgrade guide for GT through GT500, S550 and S650.
By Slyde Over Team on May 18, 2026
Why OEM Camaro brakes hit the thermal ceiling at the track - and the Ghost Brakes upgrade that lets the ZL1 and 1LE actually perform at their limit.
By Slyde Over Team on May 18, 2026
The 485 HP Scat Pack outgrows its brakes faster than most owners realize - complete guide covering R/T, Scat Pack, Widebody, and Daytona fitment.
By Slyde Over Team on May 18, 2026
Why the Durango SRT's 5,500 lb curb weight and 475 HP demand a brake upgrade - and why towing use makes it even more urgent.
By Slyde Over Team on May 18, 2026
Water crossings, rocky descents, mud contamination - why off-road use destroys OEM Wrangler brakes and the Ghost Brakes kit that handles every trail condition.
By Slyde Over Team on May 18, 2026
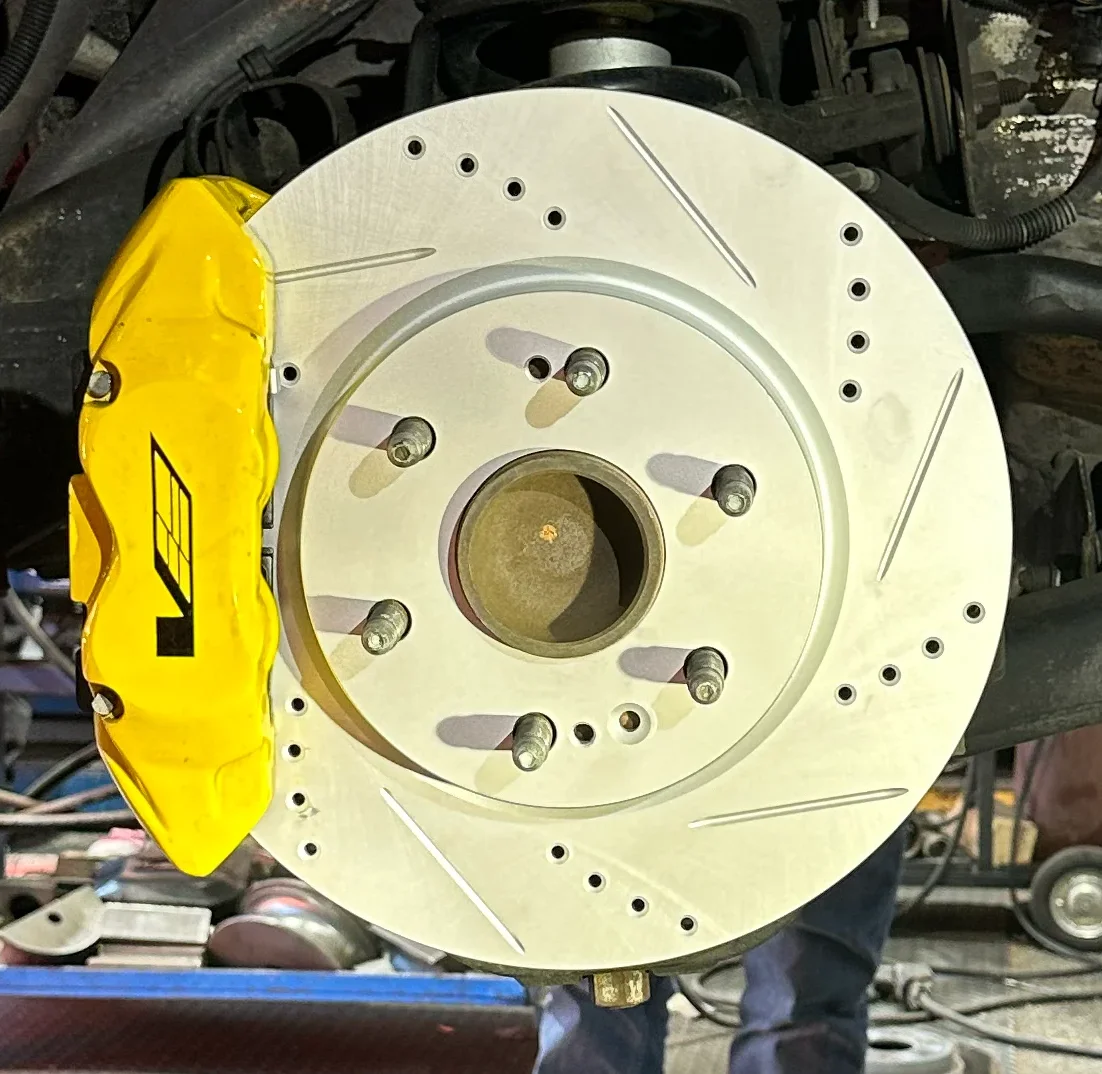
The Gladiator does trucks and off-road in one - why its dual-use demands make the brake upgrade essential before the first serious tow or trail descent.
By Slyde Over Team on May 18, 2026
Why heavy family SUVs need a brake upgrade before the first towing season - and the Ghost Brakes kit that handles Tahoe and Suburban loads without fade.

By Slyde Over Team on May 18, 2026
BMW platform, Brembo calipers, and OEM pad fade after 4 laps - complete GR Supra A90 brake upgrade guide for 2.0, 3.0, and 3.0+ configurations.

By Slyde Over Team on May 18, 2026
BuyBrakes sells OEM-replacement hardware. Ghost Brakes builds 2-piece floating rotors for performance and towing. Here's the honest comparison.

By Slyde Over Team on May 18, 2026
EBC Redstuff is a respected street pad. Ghost Brakes carbon ceramic goes further - 2-piece rotors, sustained high-heat performance, and a lifetime warranty.

By Slyde Over Team on May 18, 2026
StopTech is a performance brake institution. Ghost Brakes delivers comparable 2-piece engineering at a lower price - here's how they compare across rotor construction, pads, and value.

By Slyde Over Team on May 18, 2026
Head-to-head: 2-piece floating rotors vs PowerStop Z36. Rotor construction, pad compounds, warranties, and which kit wins for towing and track use.

By Slyde Over Team on May 18, 2026
How 2-piece floating rotors prevent warp under towing and track use, weight advantages, and when the upgrade makes sense over single-piece hardware.

By Slyde Over Team on May 18, 2026
Pedal pulsation explained - what actually causes "warped" rotors (hint: it's usually DTV), how to fix it, and how to prevent it with 2-piece floating design.

By Slyde Over Team on May 18, 2026
Why brakes squeal - pad material, glazing, wear indicator, hardware resonance - what's normal vs. a warning sign, and how carbon ceramic eliminates recurring squeal.
By Slyde Over Team on May 18, 2026
Complete comparison of rotor surface patterns - what drilled and slotted designs actually do, which is best for towing vs track vs street, and why construction quality matters more.
By Slyde Over Team on May 18, 2026
Pad fade vs fluid fade - what you feel when brakes fade, the towing and track scenarios that cause it, and how to prevent it completely with carbon ceramic pads.
By Slyde Over Team on May 18, 2026
Complete M3/M4 brake upgrade guide - Brembo compatibility, F-chassis vs G-chassis differences, how many track laps before fade, and Ghost Brakes kit selection.
By Slyde Over Team on May 18, 2026
Complete Golf R and GTI brake upgrade guide - MK8 Brembo spec, MK7 differences, FWD/AWD track brake dynamics, and dust reduction for VW factory wheels.
By Slyde Over Team on April 7, 2026
Why OEM F-150 brakes fail under towing loads and exactly which Ghost Brakes kit delivers consistent stopping power when hauling a trailer.
By Slyde Over Team on August 18, 2026
Everything F-150 owners need to know about drilled and slotted truck rotors - towing grades, G11H18 metallurgy, fitment by year, and which Ghost Brakes kit to buy.
By Slyde Over Team on April 7, 2026
The honest answer for Silverado owners who tow regularly - and the upgrade that solves fade, warp, and premature wear at the same time.
By Slyde Over Team on August 18, 2026
Silverado 1500 and HD owners: why drilled and slotted truck rotors beat OEM under trailer load, and how to pick the right Ghost Brakes kit.
By Slyde Over Team on April 7, 2026
F-150, Silverado, Ram, Expedition, Tahoe - every major tow vehicle covered. The physics of towing brake failure and the right fix for each.
By Slyde Over Team on May 18, 2026
12,000 lbs of tow capacity demands more than OEM brake hardware - complete guide covering 2nd gen V8, 3rd gen turbo, i-FORCE MAX hybrid, and TRD Pro configurations.
By Slyde Over Team on August 18, 2026
Toyota Tundra drilled and slotted truck rotors explained - i-FORCE MAX, TRD Pro, and max tow rating brake upgrades that hold up on grades.
By Slyde Over Team on April 7, 2026
Raptor brake fitment is different from standard F-150. This guide covers rotor spec, Raptor R differences, and the upgrade that handles desert running.
By Slyde Over Team on May 18, 2026
Water crossings, mud contamination, and towing to trailheads - why TRD Pro use destroys OEM Tacoma brakes and the Ghost Brakes kit that handles every trail condition.
By Slyde Over Team on August 18, 2026
Ram 1500 Rebel, Laramie, and Big Horn towing brake guide - drilled and slotted truck rotors, carbon ceramic pads, and fitment by generation.
By Slyde Over Team on August 18, 2026
GMC Sierra 1500, Denali, and AT4/AT4X buyer guide - G11H18 drilled and slotted truck rotors, carbon ceramic pads, and fitment for regular towing.
By Slyde Over Team on August 18, 2026
Ford F-250/F-350 Super Duty buyer guide - G11H18 drilled and slotted truck rotors, carbon ceramic pads, and heavy-duty towing fitment for Power Stroke diesel trucks.
By Slyde Over Team on August 18, 2026
Honest comparison for truck owners: Ghost Brakes G11H18 drilled and slotted kits vs PowerStop Z23 for F-150 and Silverado towing duty.
By Slyde Over Team on May 18, 2026
Why OEM Challenger Hellcat, Redeye, and Super Stock brakes fail under serious use - and the Ghost Brakes 2-piece kit that actually matches the Challenger's performance.
By Slyde Over Team on May 18, 2026
C7 vs C8 brake dynamics, Z06 track-day demands, and the Ghost Brakes kit that handles America's sports car from canyon roads to track days.
By Slyde Over Team on August 7, 2026
CT5-V Blackwing carbon aero mods done? Upgrade brakes next - Ghost Brakes 2-piece floating rotors for 668 HP V-Series track performance.
By Slyde Over Team on August 7, 2026
Added Z06 or Z07 carbon aero to your C8? Upgrade brakes next - G3500 2-piece floating rotors for C8 Z06, E-Ray, and ZR1.
By Slyde Over Team on August 7, 2026
Installed ZL1 or 1LE track-package aero on your Camaro? Here is the brake upgrade that matches your new cornering speed.
By Slyde Over Team on July 30, 2026
Complete Kia K5 / Stinger brake upgrade guide - Ghost Brakes G11H18 drilled and slotted rotors with carbon ceramic pads. Bolt-on install, lifetime warranty.
By Slyde Over Team on July 30, 2026
Complete Kia Sportage brake upgrade guide - Ghost Brakes G11H18 drilled and slotted rotors with carbon ceramic pads. Bolt-on install, lifetime warranty.
By Slyde Over Team on July 30, 2026
Complete Kia Telluride brake upgrade guide - Ghost Brakes G11H18 drilled and slotted rotors with carbon ceramic pads. Bolt-on install, lifetime warranty.
By Slyde Over Team on July 30, 2026
Complete Audi S4 / RS5 brake upgrade guide - Ghost Brakes G11H18 drilled and slotted rotors with carbon ceramic pads. Bolt-on install, lifetime warranty.
By Slyde Over Team on July 30, 2026
Complete Audi Q5 / SQ5 brake upgrade guide - Ghost Brakes G11H18 drilled and slotted rotors with carbon ceramic pads. Bolt-on install, lifetime warranty.
By Slyde Over Team on July 30, 2026
Complete Audi A4 / S4 brake upgrade guide - Ghost Brakes G11H18 drilled and slotted rotors with carbon ceramic pads. Bolt-on install, lifetime warranty.
By Slyde Over Team on July 30, 2026
Complete Mercedes GLE brake upgrade guide - Ghost Brakes G11H18 drilled and slotted rotors with carbon ceramic pads. Bolt-on install, lifetime warranty.
By Slyde Over Team on July 30, 2026
Complete Mercedes E-Class brake upgrade guide - Ghost Brakes G11H18 drilled and slotted rotors with carbon ceramic pads. Bolt-on install, lifetime warranty.
By Slyde Over Team on July 30, 2026
Complete Mercedes C-Class brake upgrade guide - Ghost Brakes G11H18 drilled and slotted rotors with carbon ceramic pads. Bolt-on install, lifetime warranty.
By Slyde Over Team on July 30, 2026
Complete Porsche Macan brake upgrade guide - Ghost Brakes G11H18 drilled and slotted rotors with carbon ceramic pads. Bolt-on install, lifetime warranty.
By Slyde Over Team on July 30, 2026
Complete Acura Integra Type S brake upgrade guide - Ghost Brakes G11H18 drilled and slotted rotors with carbon ceramic pads. Bolt-on install, lifetime warranty.
By Slyde Over Team on July 30, 2026
Complete BMW M2 brake upgrade guide - Ghost Brakes G11H18 drilled and slotted rotors with carbon ceramic pads. Bolt-on install, lifetime warranty.
By Slyde Over Team on July 30, 2026
Complete Lexus IS / RC F brake upgrade guide - Ghost Brakes G11H18 drilled and slotted rotors with carbon ceramic pads. Bolt-on install, lifetime warranty.
By Slyde Over Team on July 30, 2026
Complete Nissan Z brake upgrade guide - Ghost Brakes G11H18 drilled and slotted rotors with carbon ceramic pads. Bolt-on install, lifetime warranty.
By Slyde Over Team on July 30, 2026
Complete Subaru WRX brake upgrade guide - Ghost Brakes G11H18 drilled and slotted rotors with carbon ceramic pads. Bolt-on install, lifetime warranty.
By Slyde Over Team on July 30, 2026
Complete Honda Civic Type R brake upgrade guide - Ghost Brakes G11H18 drilled and slotted rotors with carbon ceramic pads. Bolt-on install, lifetime warranty.
By Slyde Over Team on July 30, 2026
Complete Toyota 4Runner TRD brake upgrade guide - Ghost Brakes G11H18 drilled and slotted rotors with carbon ceramic pads. Bolt-on install, lifetime warranty.
By Slyde Over Team on July 30, 2026
Complete Cadillac Escalade brake upgrade guide - Ghost Brakes G11H18 drilled and slotted rotors with carbon ceramic pads. Bolt-on install, lifetime warranty.
By Slyde Over Team on July 30, 2026
Complete Lincoln Navigator brake upgrade guide - Ghost Brakes G11H18 drilled and slotted rotors with carbon ceramic pads. Bolt-on install, lifetime warranty.
By Slyde Over Team on July 30, 2026
Complete Ford Expedition brake upgrade guide - Ghost Brakes G11H18 drilled and slotted rotors with carbon ceramic pads. Bolt-on install, lifetime warranty.
By Slyde Over Team on July 30, 2026
Complete Jeep Wrangler JL and Gladiator JT off-road maintenance schedule - oil, diffs, brakes, tires, and inspection intervals for 35"+ trail use.
By Slyde Over Team on July 30, 2026
Serpentine belt inspection and replacement guide for Jeep Wrangler JL and Gladiator JT - wear symptoms, interval, and what a squeal means on a trail rig.
By Slyde Over Team on July 30, 2026
Jeep Wrangler JL and Gladiator JT battery replacement and electrical guide - group size, dual-battery setups for winches, and signs of a failing battery on trai
By Slyde Over Team on July 30, 2026
Jeep Wrangler and Gladiator tire rotation interval and wear pattern guide for 35"+ off-road tires - rotation patterns, alignment checks, and trail wear symptoms
By Slyde Over Team on July 30, 2026
Jeep Wrangler and Gladiator sway bar disconnect and suspension inspection guide - electronic Rubicon disconnect, manual setups, and 35"+ tire considerations.
By Slyde Over Team on July 30, 2026
Jeep Wrangler JL and Gladiator JT differential and transfer case fluid service - specs, intervals, and why off-road use with 35"+ tires demands shorter service.
By Slyde Over Team on July 30, 2026
Complete Jeep Gladiator JT oil change guide for 3.6L Pentastar and 3.0L EcoDiesel engines. Correct oil type, capacity, filter, and severe-duty interval for towi
By Slyde Over Team on July 30, 2026
Complete Jeep Wrangler JL oil change guide for 3.6L Pentastar and 2.0L Turbo engines. Correct oil type, capacity, filter, and severe-duty interval for off-road
By Slyde Over Team on July 30, 2026
Complete Toyota Tundra and Tacoma TRD maintenance schedule - oil, fluids, filters, brakes, and inspection intervals for towing and off-road use.
By Slyde Over Team on July 30, 2026
Serpentine belt and alternator inspection guide for Toyota Tundra and Tacoma - wear symptoms, interval, and what a squeal usually means.
By Slyde Over Team on July 30, 2026
Toyota Tundra and Tacoma battery replacement guide - correct group size, i-FORCE MAX hybrid considerations, and signs of a failing battery.
By Slyde Over Team on July 30, 2026
Toyota TRD Pro Fox shock inspection and service guide for Tundra and Tacoma - symptoms of wear, fluid checks, and why off-road use shortens the interval.
By Slyde Over Team on July 30, 2026
Toyota Tundra and Tacoma TRD tire rotation interval and wear pattern guide - why towing, payload, and off-road use each wear tires differently.
By Slyde Over Team on July 30, 2026
Toyota Tundra and Tacoma TRD 4x4 transfer case and differential fluid service - spec, interval, and why off-road and towing use both shorten it.
By Slyde Over Team on July 30, 2026
Toyota Tacoma TRD Pro and Off-Road oil change guide for 4th-gen 2.4L turbo and 3rd-gen V6 engines. Oil type, capacity, filter, and off-road interval.
By Slyde Over Team on July 30, 2026
Complete Toyota Tundra oil change guide for 3.5L twin-turbo and i-FORCE MAX hybrid engines. Correct oil type, capacity, filter, and severe-duty interval for tow
By Slyde Over Team on July 30, 2026
Ghost Brakes vs DBA Disc Brakes Australia - compare 2-piece rotor technology, pad options, GEOMET coating, and fitment for American muscle and trucks.
By Slyde Over Team on July 30, 2026
Ghost Brakes 2-piece floating kits vs Baer Brakes Pro+ and Eradispeed - rotor technology, install complexity, and fitment for American muscle.
By Slyde Over Team on July 30, 2026
Ghost Brakes bolt-on 2-piece kits vs Wilwood big brake kits - rotor architecture, caliper requirements, and which fits your muscle car or truck.
By Slyde Over Team on July 30, 2026
Ghost Brakes complete 2-piece brake kits vs Hawk Performance pad-focused upgrades - rotor architecture, compounds, and recommendations.
By Slyde Over Team on July 30, 2026
Ghost Brakes 2-piece rotors vs Brembo OEM and aftermarket kits - rotor construction, pad compounds, pricing, and fitment for Hellcat, Z06, and ZL1.
By Slyde Over Team on July 30, 2026
Complete Corvette Z06 maintenance schedule for C7 LT4 and C8 LT6. Oil, DCT, diff, brakes, and track prep.
By Slyde Over Team on July 30, 2026
Corvette Z06 battery guide for C7 and C8. AGM group size, frunk access on C8, and pre-track checks.
By Slyde Over Team on July 30, 2026
Corvette Z06 track alignment and tire guide for C7 and C8. Camber, toe, and hot tire pressures for HPDE.
By Slyde Over Team on July 30, 2026
Corvette Z06 spark plug replacement for C7 LT4 and C8 LT6. Factory interval and misfire symptoms under load.
By Slyde Over Team on July 30, 2026
Corvette Z06 brake fluid flush guide for C7 and C8. Racing DOT 4, Brembo bleed procedure, and track tips.
By Slyde Over Team on July 30, 2026
Corvette Z06 rear differential fluid service for C7 and C8. eLSD fluid spec, interval, and track maintenance.
By Slyde Over Team on July 30, 2026
Corvette Z06 transmission fluid service for C8 DCT and C7 TR6060 manual. Fluid spec and track-day tips.
By Slyde Over Team on July 30, 2026
Complete Corvette Z06 oil change guide for C7 LT4 and C8 Z06 LT6. Dry-sump service, capacity, and track interval.
By Slyde Over Team on July 30, 2026
Complete Camaro ZL1 maintenance schedule for street and track use. Oil, trans, diff, brakes, and seasonal prep intervals.
By Slyde Over Team on July 30, 2026
Camaro ZL1 battery replacement guide. Correct group size, AGM vs flooded, and pre-track electrical checks.
By Slyde Over Team on July 30, 2026
Camaro ZL1 track alignment and tire pressure guide. Recommended camber, toe, and hot pressures for HPDE.
By Slyde Over Team on July 30, 2026
Camaro ZL1 LT4 spark plug and ignition coil replacement guide. Factory interval, heat range, and misfire symptoms.
By Slyde Over Team on July 30, 2026
Camaro ZL1 brake fluid flush guide for street and track. When to upgrade to DOT 4 racing fluid and bleed Brembo calipers.
By Slyde Over Team on July 30, 2026
Camaro ZL1 rear differential fluid service guide. Fluid spec for the limited-slip MRC diff and track-day maintenance.
By Slyde Over Team on July 30, 2026
Camaro ZL1 transmission fluid service for 10L90 automatic and TR6060 manual. Fluid spec, interval, and track use tips.
By Slyde Over Team on July 30, 2026
Complete Camaro ZL1 oil change guide for the supercharged LT4. Correct Dexos oil spec, capacity, filter, and track-day interval.
By Slyde Over Team on July 29, 2026
Serpentine belt and alternator inspection guide for Ram 1500 and 2500 - wear symptoms, interval, and what a squeal usually means.
By Slyde Over Team on July 29, 2026
Ram 1500 and 2500 battery replacement guide - correct group size, dual-battery diesel setups, and signs of a failing battery.
By Slyde Over Team on July 29, 2026
Ram 1500 and 2500 tire rotation interval and wear pattern guide - why towing, payload, and off-road use each wear tires differently.
By Slyde Over Team on July 29, 2026
Ram 1500 and 2500 4x4 transfer case and front differential fluid service - spec, interval, and why off-road and towing use both shorten it.
By Slyde Over Team on July 29, 2026
Pre-tow checklist for Ram 2500 - brakes, cooling system, hitch, tires, and trailer brake controller before a heavy pull.
By Slyde Over Team on July 29, 2026
Ram 2500 6.7L Cummins diesel fuel filter and DEF service guide - interval, symptoms of a clogged filter, and DEF fluid basics.
By Slyde Over Team on July 29, 2026
Ram 1500 four-corner air suspension guide - common faults, ride height issues, and inspection tips for load-leveling and off-road modes.
By Slyde Over Team on July 29, 2026
Ram 1500 oil change guide for Pentastar V6 and eTorque V8 engines - correct oil type, capacity, filter, and severe-duty interval.
By Slyde Over Team on July 29, 2026
Cabin and engine air filter replacement guide for GMC Yukon and Sierra - interval and symptoms of a clogged filter, including AT4X off-road use.
By Slyde Over Team on July 29, 2026
Serpentine belt and alternator inspection guide for GMC Sierra - wear symptoms, interval, and what a squeal usually means.
By Slyde Over Team on July 29, 2026
GMC Sierra battery replacement guide - correct group size, dual-battery diesel setups, and signs of a failing battery or alternator.
By Slyde Over Team on July 29, 2026
Pre-tow checklist for GMC Yukon and Yukon XL - brakes, cooling system, hitch, tires, and trailer brake controller before a long haul.
By Slyde Over Team on July 29, 2026
GMC Yukon and Yukon XL Denali air ride/adaptive suspension guide - common faults, ride height issues, and inspection tips.
By Slyde Over Team on July 29, 2026
Sierra AT4X and Denali tire rotation interval and wear pattern guide - how off-road tires and towing loads wear differently.
By Slyde Over Team on July 29, 2026
GMC Sierra AT4/AT4X 4x4 transfer case and front differential fluid service - spec, interval, and why off-road use shortens it.
By Slyde Over Team on July 29, 2026
GMC Sierra MultiPro tailgate maintenance guide - hinge lubrication, sensor cleaning, and troubleshooting common panel and latch issues.
By Slyde Over Team on July 29, 2026
GMC Sierra automatic transmission fluid service guide - fluid spec, realistic interval, and why AT4 off-road and Denali towing add heat load.
By Slyde Over Team on July 29, 2026
GMC Sierra Denali and AT4 oil change guide - dexos1 oil spec, capacity by engine, and why AT4X off-road use shortens the interval.
By Slyde Over Team on July 29, 2026
Cabin and engine air filter replacement guide for Chevy Silverado, Tahoe, and Suburban - interval and symptoms of a clogged filter.
By Slyde Over Team on July 29, 2026
Serpentine belt and alternator inspection guide for Chevy Silverado - wear symptoms, interval, and what a squeal usually means.
By Slyde Over Team on July 29, 2026
Chevy Silverado battery replacement guide - correct group size, dual-battery diesel setups, and signs of a failing battery or alternator.
By Slyde Over Team on July 29, 2026
Pre-tow checklist for Chevy Tahoe and Suburban - brakes, cooling system, hitch, tires, and trailer brake controller before a long haul.
By Slyde Over Team on July 29, 2026
Chevy Tahoe and Suburban air ride/auto-leveling suspension guide - common faults, ride height issues, and inspection tips.
By Slyde Over Team on July 29, 2026
Silverado tire rotation interval and wear pattern guide - why towing and payload wear tires differently, and when to check alignment.
By Slyde Over Team on July 29, 2026
Chevy Silverado 4x4 transfer case and front differential fluid service - spec, interval, and why off-road and towing use both shorten it.
By Slyde Over Team on July 29, 2026
Silverado and Sierra Duramax diesel fuel filter service guide - interval, symptoms of a clogged filter, and water-in-fuel warnings.
By Slyde Over Team on July 29, 2026
Silverado 1500 automatic transmission fluid service guide - fluid spec, realistic interval, and why towing shortens the service window.
By Slyde Over Team on July 29, 2026
Chevy Silverado 1500 oil change guide for EcoTec3 V6/V8 engines - correct oil type, capacity, filter, and severe-duty interval.
By Slyde Over Team on July 29, 2026
Cabin and engine air filter replacement guide for Ford F-150 and Super Duty - interval, symptoms of a clogged filter, and off-road considerations.
By Slyde Over Team on July 29, 2026
Serpentine belt and alternator inspection guide for Ford F-150 and Super Duty - wear symptoms, interval, and what a squeal usually means.
By Slyde Over Team on July 29, 2026
Ford F-150 and Super Duty battery replacement guide - correct group size, dual-battery diesel setups, and signs of a failing battery.
By Slyde Over Team on July 29, 2026
Raptor Fox Live Valve shock inspection and service guide - symptoms of wear, fluid checks, and why desert running shortens the interval.
By Slyde Over Team on July 29, 2026
Pre-tow checklist for Ford Super Duty (F-250/F-350) - brakes, cooling system, hitch, tires, and trailer brake controller before a heavy pull.
By Slyde Over Team on July 29, 2026
F-250/F-350 Power Stroke diesel fuel filter and DEF service guide - interval, symptoms of a clogged filter, and DEF fluid basics.
By Slyde Over Team on July 29, 2026
F-150 and Raptor tire rotation interval and wear pattern guide - why towing, payload, and off-road use each wear tires differently.
By Slyde Over Team on July 29, 2026
Ford F-150 4x4 transfer case and front differential fluid service - spec, interval, and why off-road and towing use both shorten it.
By Slyde Over Team on July 29, 2026
F-150 10-speed automatic transmission fluid service guide. Fluid spec, when to change it, and why towing shortens the practical interval.
By Slyde Over Team on July 29, 2026
Complete Ford F-150 oil change guide for EcoBoost and 5.0L V8 engines. Correct oil type, capacity, filter, and severe-duty interval.
By Slyde Over Team on July 29, 2026
Roundup of the most common Mopar SRT problems - intercooler pump, belt wear, motor mounts, adaptive dampers, brakes, and electrical issues.
By Slyde Over Team on July 29, 2026
Jeep Grand Cherokee Trackhawk maintenance schedule - oil, brakes, tires, fluids, and SUV service intervals for 707 HP ownership.
By Slyde Over Team on July 29, 2026
Full Dodge Hellcat maintenance schedule - oil, plugs, belts, brakes, fluids, and inspection intervals for Challenger and Charger owners.
By Slyde Over Team on July 29, 2026
Jeep Grand Cherokee SRT maintenance guide covering 392 SRT and Trackhawk - oil, brakes, tires, and SUV-specific service.
By Slyde Over Team on July 29, 2026
Jeep Wrangler and Gladiator differential and transfer case fluid service - intervals, specs, and 4WD maintenance.
By Slyde Over Team on July 29, 2026
Ram 1500 TRX maintenance guide - supercharged 6.2L Hemi oil, filters, fluids, and service intervals for the 702 HP truck.
By Slyde Over Team on July 29, 2026
Hellcat and Trackhawk wheel bearing failure symptoms - humming, ABS faults, and replacement overview.
By Slyde Over Team on July 29, 2026
Bilstein adaptive damper troubleshooting on Hellcat, Trackhawk, and Durango SRT. Auto mode faults and service tips.
By Slyde Over Team on July 29, 2026
Hellcat and Charger suspension bushing wear - clunk, wandering, and control arm replacement on 700+ HP Mopar.
By Slyde Over Team on July 29, 2026
Why Hellcat and Trackhawk tires wear unevenly - alignment specs, rotation interval, and inner edge wear.
By Slyde Over Team on July 29, 2026
Hellcat and Trackhawk AGM battery guide - correct group size, parasitic drain issues, and electrical gremlins.
By Slyde Over Team on July 29, 2026
Hellcat and Trackhawk motor mount wear symptoms. High-torque 707 HP Mopar mounts degrade faster.
By Slyde Over Team on July 29, 2026
PCV valve and oil separator guide for Hemi engines - Hellcat, Trackhawk, 392 Scat Pack.
By Slyde Over Team on July 29, 2026
ZF 8HP90 transmission fluid service guide for Hellcat, Trackhawk, and Durango SRT.
By Slyde Over Team on July 29, 2026
Hellcat and Trackhawk intercooler pump failure symptoms, coolant spec, and repair overview.
By Slyde Over Team on July 29, 2026
Supercharged Hemi spark plug replacement guide for Hellcat and Trackhawk. Factory interval and symptoms.
By Slyde Over Team on July 29, 2026
When to replace the Hellcat and Trackhawk supercharger drive belt and tensioner. Symptoms and interval.
By Slyde Over Team on July 29, 2026
392 Hemi oil change guide for Scat Pack, Durango SRT, Grand Cherokee SRT, and Chrysler 300 SRT.
By Slyde Over Team on July 29, 2026
Jeep Grand Cherokee Trackhawk oil change guide - 0W-40 spec, filter, interval, and severe-duty schedule.
By Slyde Over Team on July 29, 2026
Complete Hellcat oil change guide for the 6.2L supercharged Hemi. OEM oil type, filter, and interval.
By Slyde Over Team on July 28, 2026
Why OEM Wrangler pads fade on trail descents and glaze from mud - and why carbon ceramic pads are the correct off-road upgrade for JL and JK.
By Slyde Over Team on July 28, 2026
Why OEM Wrangler rotors rust after creek crossings and warp on descents - and how GEOMET-coated G11H18 rotors deliver off-road durability.
By Slyde Over Team on July 28, 2026
Why OEM Gladiator pads fail under towing and trail use - and why carbon ceramic pads are the correct dual-use upgrade for the truck-bed Wrangler.
By Slyde Over Team on July 28, 2026
Why OEM Gladiator rotors warp under towing load and rust after water crossings - and how GEOMET-coated rotors handle the dual-use profile.
By Slyde Over Team on July 28, 2026
Why OEM Bronco pads fade on descents and glaze from mud - and why carbon ceramic pads are the correct off-road upgrade for 2-door, 4-door, and Raptor.
By Slyde Over Team on July 28, 2026
Why OEM Bronco rotors rust after creek crossings and warp on trail descents - and how GEOMET-coated G11H18 rotors fix off-road brake failure.
By Slyde Over Team on July 28, 2026
Why OEM Trackhawk pads fade under towing and heavy SUV loads - and why carbon ceramic pads are the correct upgrade for Jeep Grand Cherokee Trackhawk.
By Slyde Over Team on July 28, 2026
Trackhawk rotors and complete brake upgrades - why OEM rotors warp on the 707 HP Grand Cherokee and how G3500 2-piece front rotors fix fade.
By Slyde Over Team on July 28, 2026
Why OEM Corvette pads fade on C7 and C8 track days and why carbon ceramic pads are the correct upgrade for Stingray, Z51, Z06, and ZR1.
By Slyde Over Team on July 28, 2026
Why OEM Camaro pads fade on ZL1 and 1LE track use and why carbon ceramic pads are the correct upgrade for Gen6 SS through ZL1.
By Slyde Over Team on July 28, 2026
Why OEM Ram 1500 and TRX pads fade under towing and heavy truck loads - and why carbon ceramic pads are the correct upgrade for Sport, Rebel, and TRX fitment.
By Slyde Over Team on July 28, 2026
Why OEM Silverado semi-metallic pads fail under towing and hauling - and why carbon ceramic pads with GEOMET-coated rotors are the right upgrade for Chevy Silverado 1500.
By Slyde Over Team on July 28, 2026
Why OEM F-150 pads fade under towing loads and why carbon ceramic pads deliver fade-resistant, low-dust stopping power for Ford F-150 work trucks and daily drivers.
By Slyde Over Team on July 28, 2026
Why OEM Raptor pads glaze under off-road contamination and towing heat - and why carbon ceramic pads are the correct upgrade for F-150 Raptor and Raptor R.
By Slyde Over Team on July 28, 2026
Raptor rotors and complete brake upgrades explained - why OEM single-piece rotors warp and crack, and how G11H18 drilled rotors fix fade and pulsation.
By Slyde Over Team on July 25, 2026
Why OEM Hellcat pads fade at 707+ HP and why carbon ceramic pads are the correct upgrade for Challenger Hellcat, Charger Hellcat, and 300 SRT track and street use.
By Slyde Over Team on August 20, 2026
Chrysler 300 SRT8 rotors and complete brake upgrades — 777-XAM1043 fitment, G3500 2-piece front rotors, and why OEM G3000 rotors warp on 2005–2020 300 SRT models.
By Slyde Over Team on August 20, 2026
Why OEM 300 SRT8 pads fade and coat wheels in dust — and why carbon ceramic pads in the 777-XAM1043 kit are the correct upgrade.
By Slyde Over Team on August 20, 2026
Complete 300 SRT8 brake upgrade buyer guide — 777-XAM1043, 2-piece floating rotors, carbon ceramic pads, and fitment for 2005–2020 Chrysler 300 SRT.
By Slyde Over Team on July 25, 2026
Hellcat rotors and complete brake upgrades explained - why OEM single-piece rotors warp at 700+ HP and how 2-piece floating rotors fix fade and pulsation.
By Slyde Over Team on March 1, 2026
Engineering behind longer-lasting brake rotors. Thermal expansion, reduced warping, and extended service life.
By Slyde Over Team on March 1, 2026
Why diamond slot pattern delivers better heat evacuation, pad contact, and wear characteristics.
By Slyde Over Team on March 1, 2026
Low dust, high performance, and fade resistance. We compare carbon ceramic and semi-metallic pads.
By Slyde Over Team on February 28, 2026
How to choose the right brake kit for your vehicle. Rotor size, pad type, and fitment explained.
By Slyde Over Team on February 27, 2026
Compare OEM vs Ghost Brakes: longevity, performance, and low-dust advantages. Learn why 2-piece floating design wins.
By Slyde Over Team on February 26, 2026
Step-by-step break-in procedure for peak performance and long rotor life. Follow our guide for proper bedding of new rotors and pads.
By Slyde Over Team on April 7, 2026
The TRX's supercharged HEMI puts OEM brakes to the test. Here's the upgrade that matches the truck's actual performance capability.
By Slyde Over Team on April 7, 2026
How off-road use destroys OEM Bronco brakes faster than normal driving - and the Ghost Brakes 2-piece upgrade that handles every trail condition.
By Slyde Over Team on April 7, 2026
Every Grand Cherokee variant from the base V6 to the 707 HP Trackhawk - why stock brakes fail and the right Ghost Brakes upgrade for each.
By Slyde Over Team on May 18, 2026
Three performance tiers, three brake conversations - the complete Mustang brake upgrade guide for GT through GT500, S550 and S650.
By Slyde Over Team on May 18, 2026
Why OEM Camaro brakes hit the thermal ceiling at the track - and the Ghost Brakes upgrade that lets the ZL1 and 1LE actually perform at their limit.
By Slyde Over Team on May 18, 2026
The 485 HP Scat Pack outgrows its brakes faster than most owners realize - complete guide covering R/T, Scat Pack, Widebody, and Daytona fitment.
By Slyde Over Team on May 18, 2026
Why the Durango SRT's 5,500 lb curb weight and 475 HP demand a brake upgrade - and why towing use makes it even more urgent.
By Slyde Over Team on May 18, 2026
Water crossings, rocky descents, mud contamination - why off-road use destroys OEM Wrangler brakes and the Ghost Brakes kit that handles every trail condition.
By Slyde Over Team on May 18, 2026
The Gladiator does trucks and off-road in one - why its dual-use demands make the brake upgrade essential before the first serious tow or trail descent.
By Slyde Over Team on May 18, 2026
Why heavy family SUVs need a brake upgrade before the first towing season - and the Ghost Brakes kit that handles Tahoe and Suburban loads without fade.
By Slyde Over Team on May 18, 2026
BMW platform, Brembo calipers, and OEM pad fade after 4 laps - complete GR Supra A90 brake upgrade guide for 2.0, 3.0, and 3.0+ configurations.
By Slyde Over Team on May 18, 2026
BuyBrakes sells OEM-replacement hardware. Ghost Brakes builds 2-piece floating rotors for performance and towing. Here's the honest comparison.
By Slyde Over Team on May 18, 2026
EBC Redstuff is a respected street pad. Ghost Brakes carbon ceramic goes further - 2-piece rotors, sustained high-heat performance, and a lifetime warranty.
By Slyde Over Team on May 18, 2026
StopTech is a performance brake institution. Ghost Brakes delivers comparable 2-piece engineering at a lower price - here's how they compare across rotor construction, pads, and value.
By Slyde Over Team on May 18, 2026
Head-to-head: 2-piece floating rotors vs PowerStop Z36. Rotor construction, pad compounds, warranties, and which kit wins for towing and track use.
By Slyde Over Team on May 18, 2026
How 2-piece floating rotors prevent warp under towing and track use, weight advantages, and when the upgrade makes sense over single-piece hardware.
By Slyde Over Team on May 18, 2026
Pedal pulsation explained - what actually causes "warped" rotors (hint: it's usually DTV), how to fix it, and how to prevent it with 2-piece floating design.
By Slyde Over Team on May 18, 2026
Why brakes squeal - pad material, glazing, wear indicator, hardware resonance - what's normal vs. a warning sign, and how carbon ceramic eliminates recurring squeal.
By Slyde Over Team on May 18, 2026
Complete comparison of rotor surface patterns - what drilled and slotted designs actually do, which is best for towing vs track vs street, and why construction quality matters more.
By Slyde Over Team on May 18, 2026
Pad fade vs fluid fade - what you feel when brakes fade, the towing and track scenarios that cause it, and how to prevent it completely with carbon ceramic pads.
By Slyde Over Team on May 18, 2026
Complete M3/M4 brake upgrade guide - Brembo compatibility, F-chassis vs G-chassis differences, how many track laps before fade, and Ghost Brakes kit selection.
By Slyde Over Team on May 18, 2026
Complete Golf R and GTI brake upgrade guide - MK8 Brembo spec, MK7 differences, FWD/AWD track brake dynamics, and dust reduction for VW factory wheels.